How to optimize Windows 11 for gaming performance: 15 Pro Tips
8-9 mins read
by Radiation Games
Image Courtesy: Windows
This easy-to-follow step-by-step guide will take you through all the tips to optimize Windows 11 for gaming.
In the world of gaming, PC Gamers plays a pivotal role with around 1.8 billion PC gamer all over the world, and Windows dominated as the preferred operating system among gaming platform users, with nearly 97 percent gamers choosing it. With the latest Windows 11 from Microsoft people can optimize their system for more better performance in games.
To get the best performance out of your gaming PC and to make your gaming time better, it's important to optimize your Windows 11 for the best performance. This easy-to-follow step-by-step guide will take you through all the tips to optimize Windows 11, highlighting important features and simple adjustments to make your gaming experience top-notch.
Whether to understand how games work on your system, adjusting graphics settings, or using cool features, this article has covered all the tips. It's time to learn how to boost your Windows 11 computer gaming performance – get ready for a guide that turns your gaming setup into a place where every game session is smooth, high FPS and full of joy!
1. Remove all bloatware Apps:
First things first – to optimize the performance of windows 11 we should remove all the bloatware apps which comes pre-installed with windows 11. I mean who likes bloatware apps installed in their system which hardly they use, and it would be consuming your CPU resources in background, which reduces the gaming performance while you are enjoying games.
· Go to Start Menu > Settings.
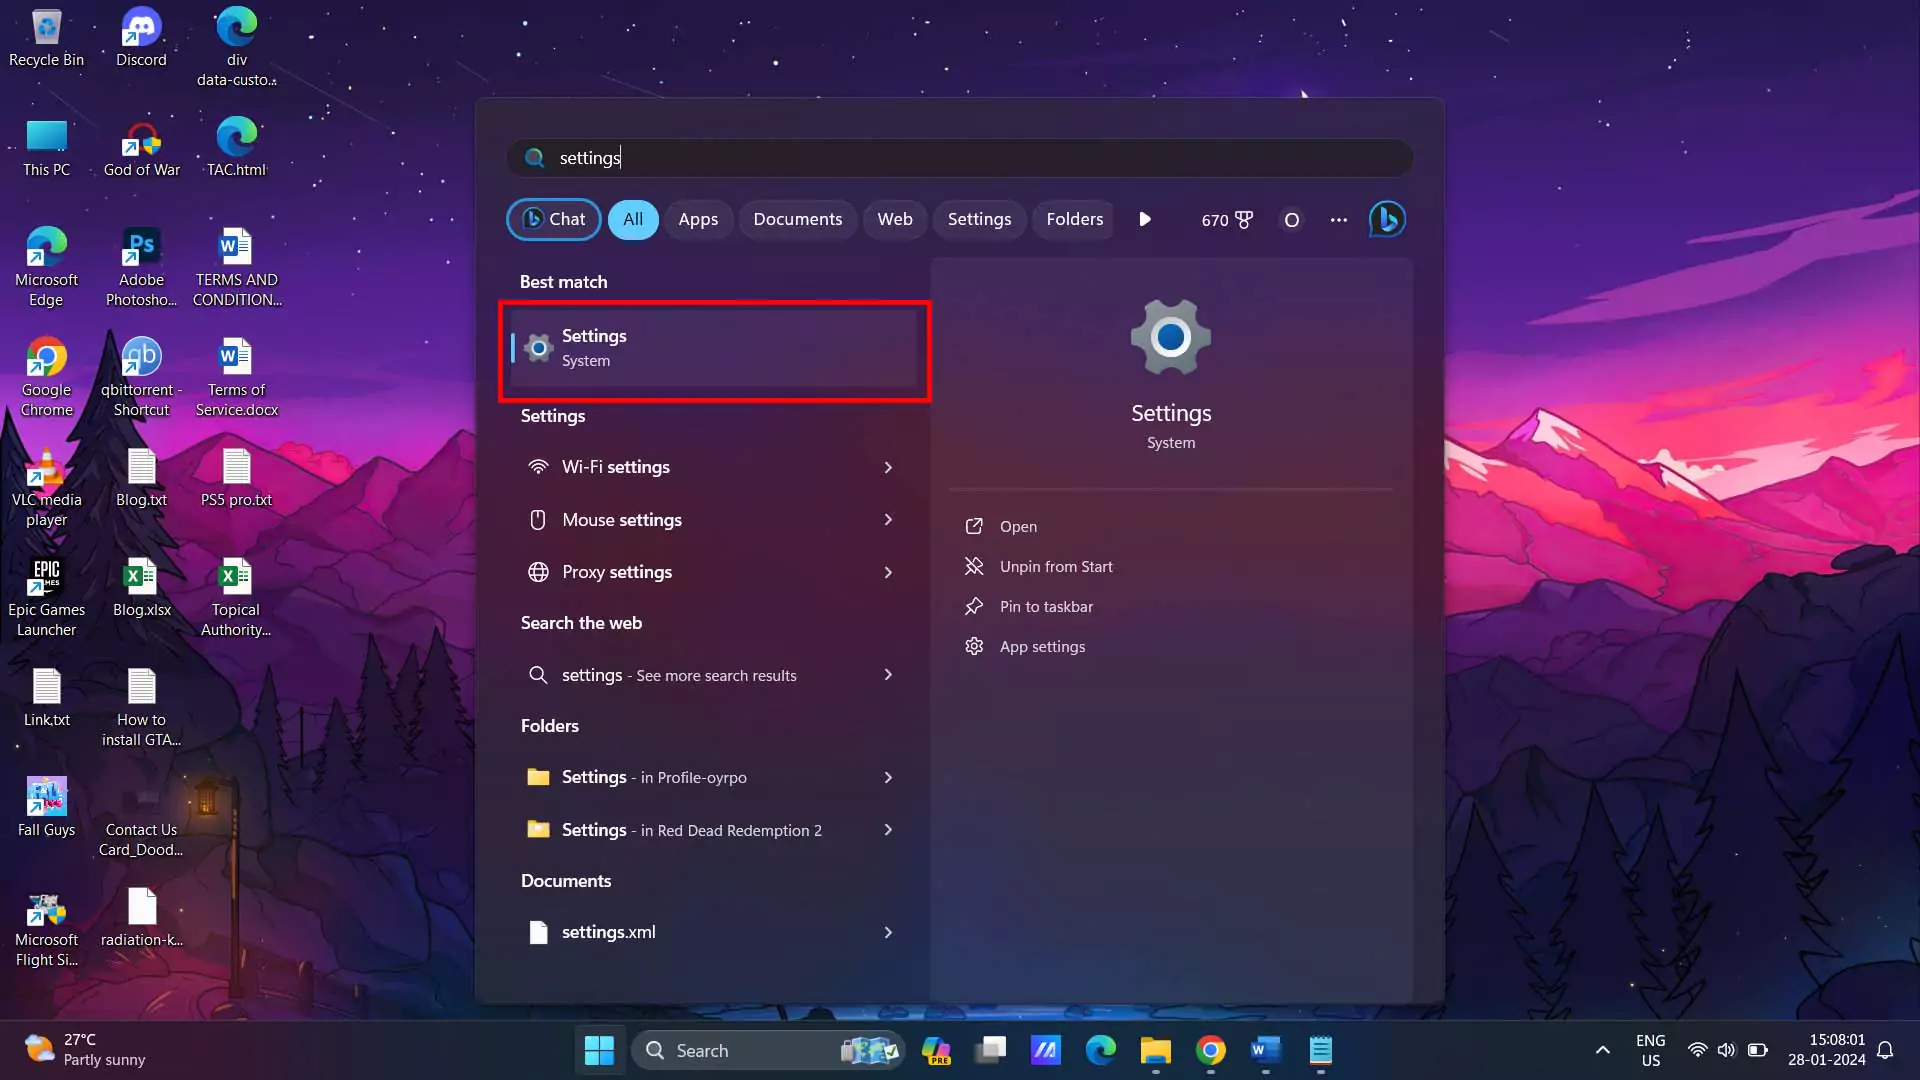
· Then select Apps > Installed Apps.
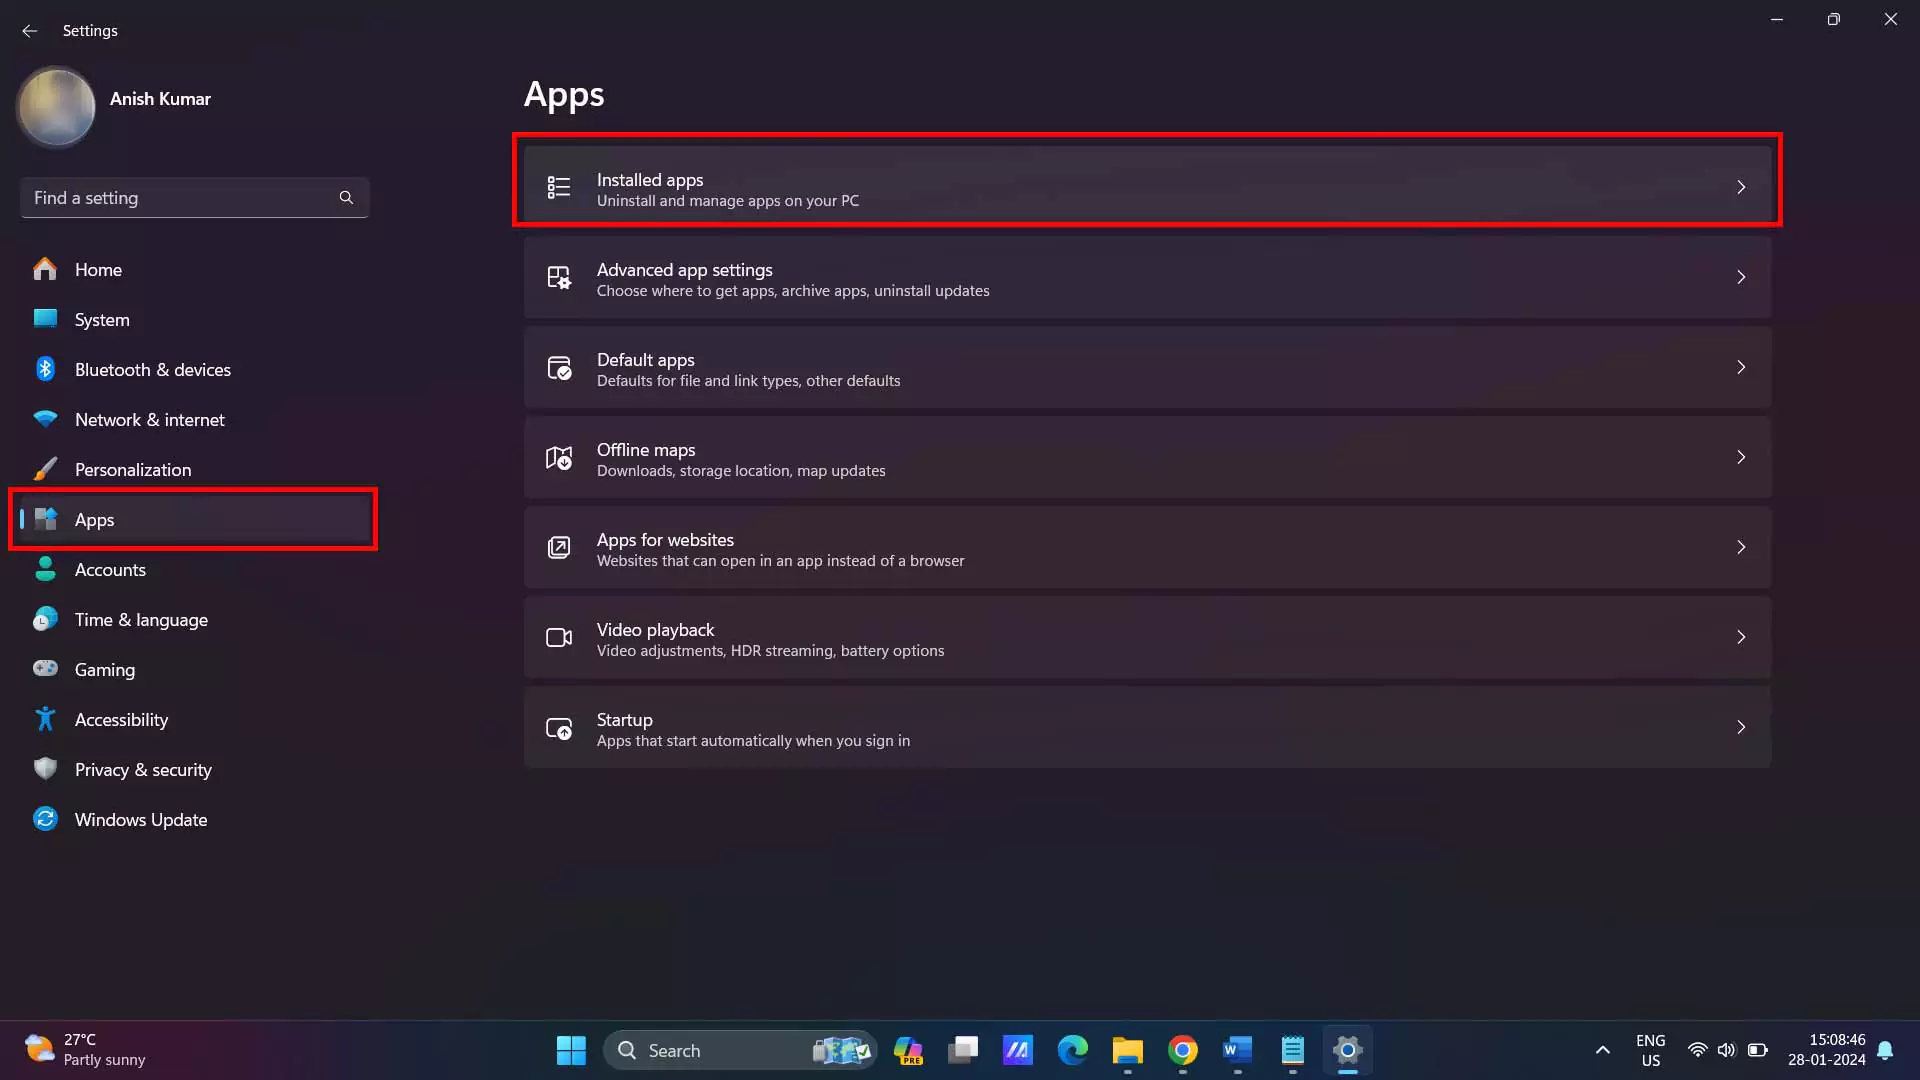
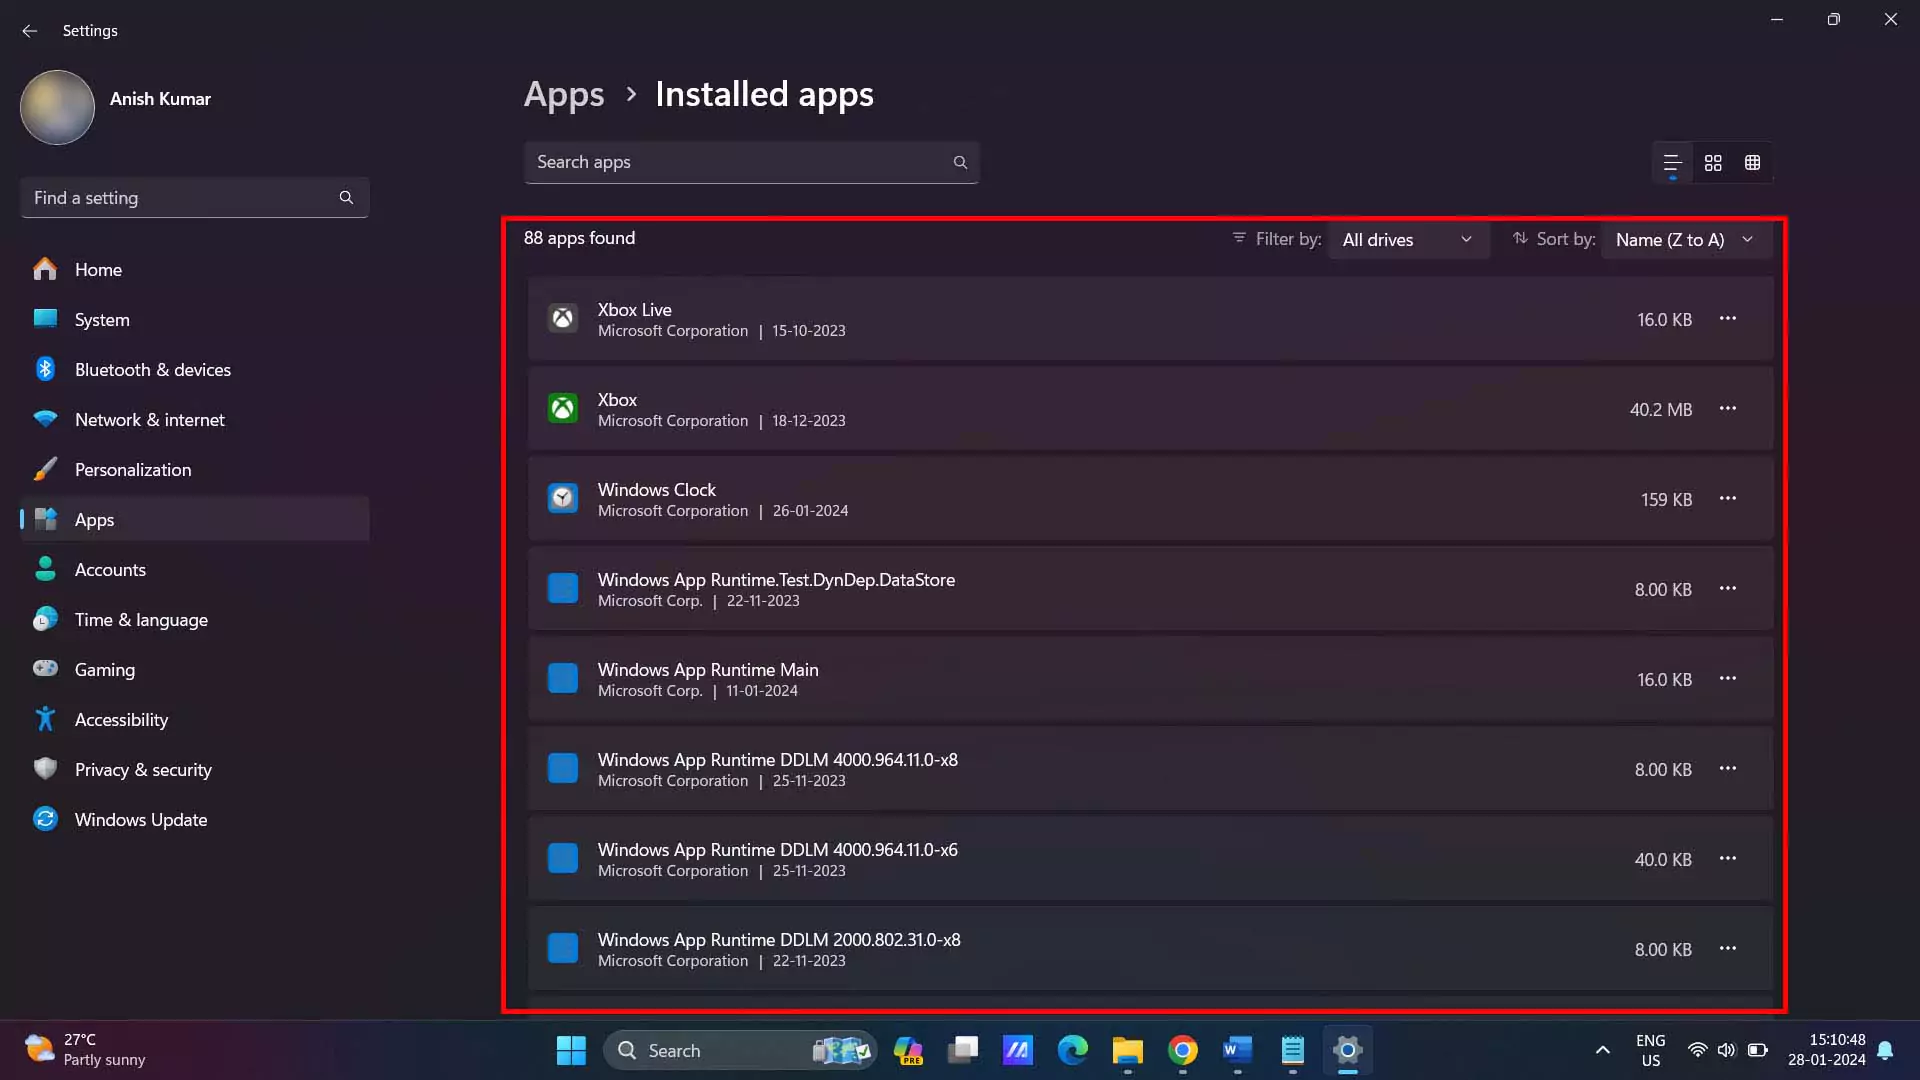
· In Installed Apps go through all the apps and check which is unnecessary and remove the ones which you don’t use.
You can also install a custom tool to remove all the bloatware apps. Go to this guide of XDA Developers, Download JunkCtrl from GitHub and run it to remove all the bloatware in easiest way.
2. Disable Popup Notifications:
· Head to the Settings > System > Notifications.
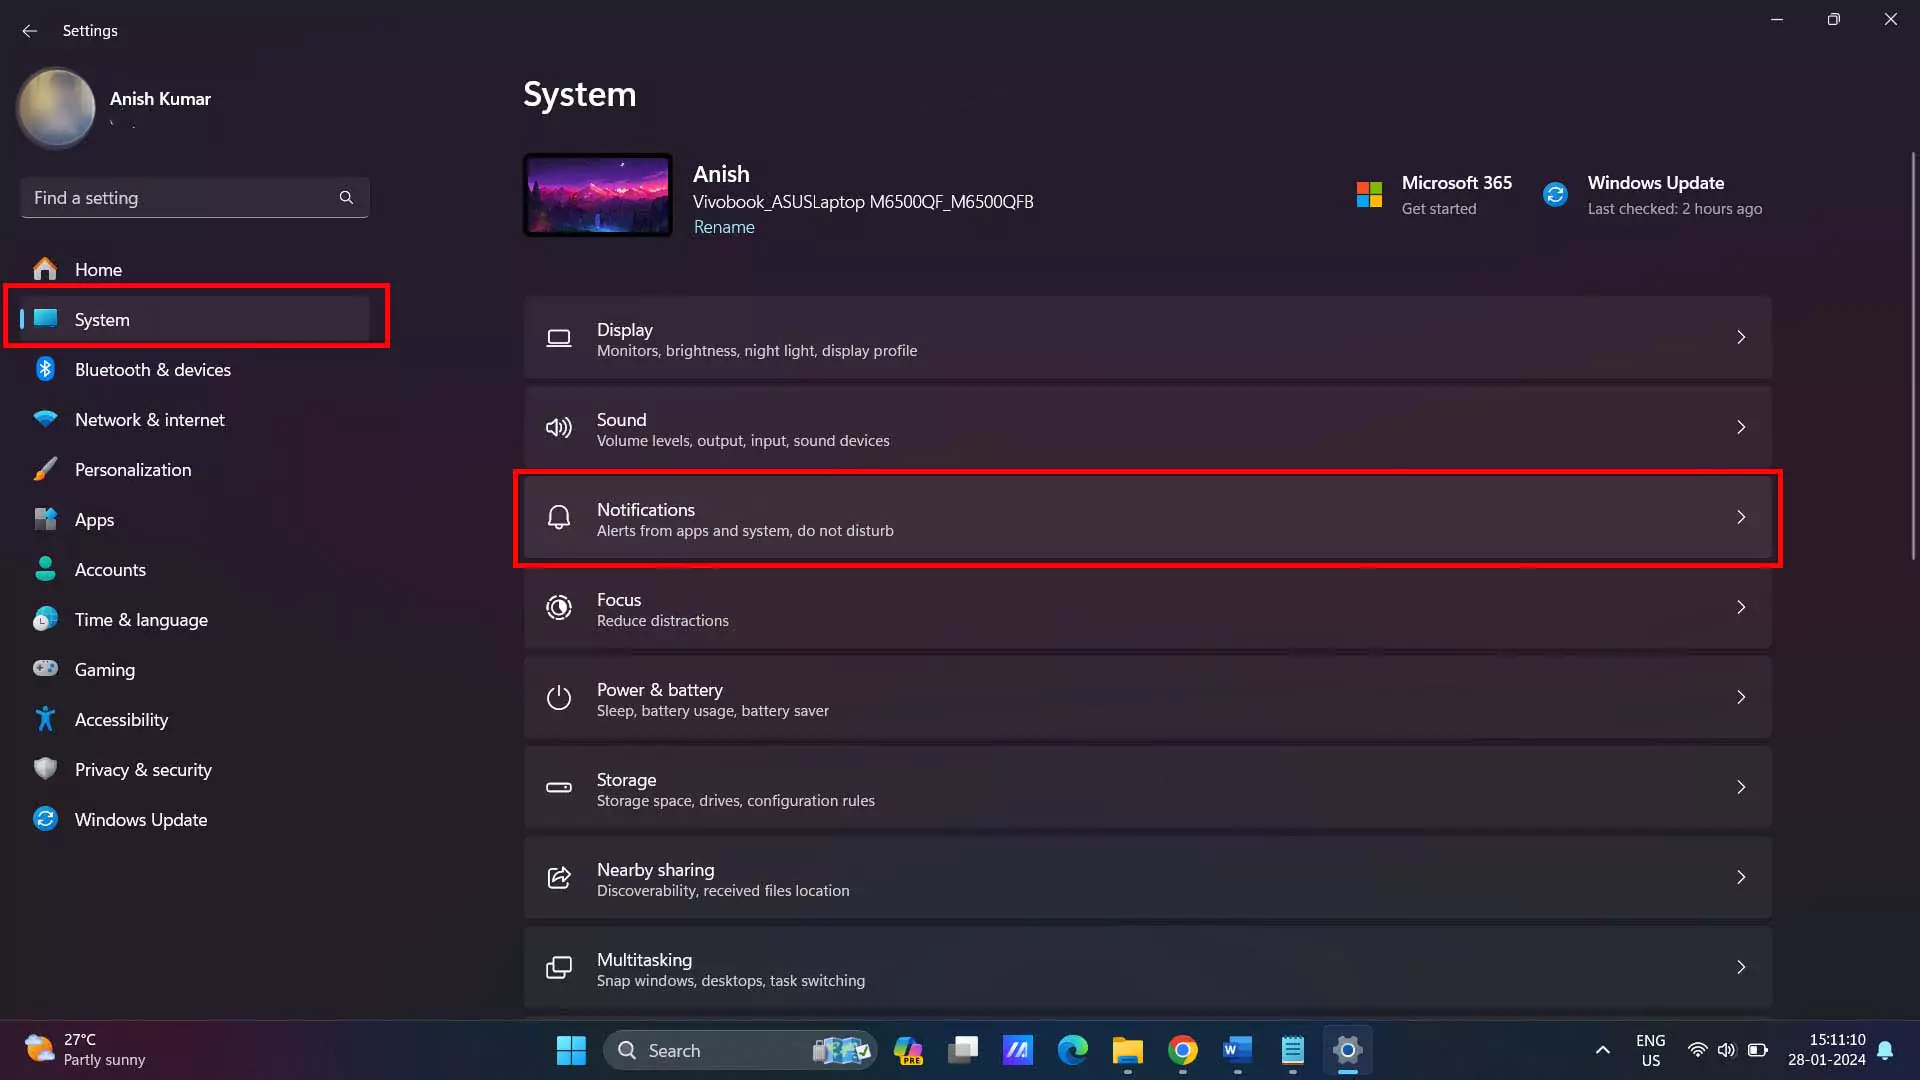
· In the Notification section uncheck the all three options and turn it off.
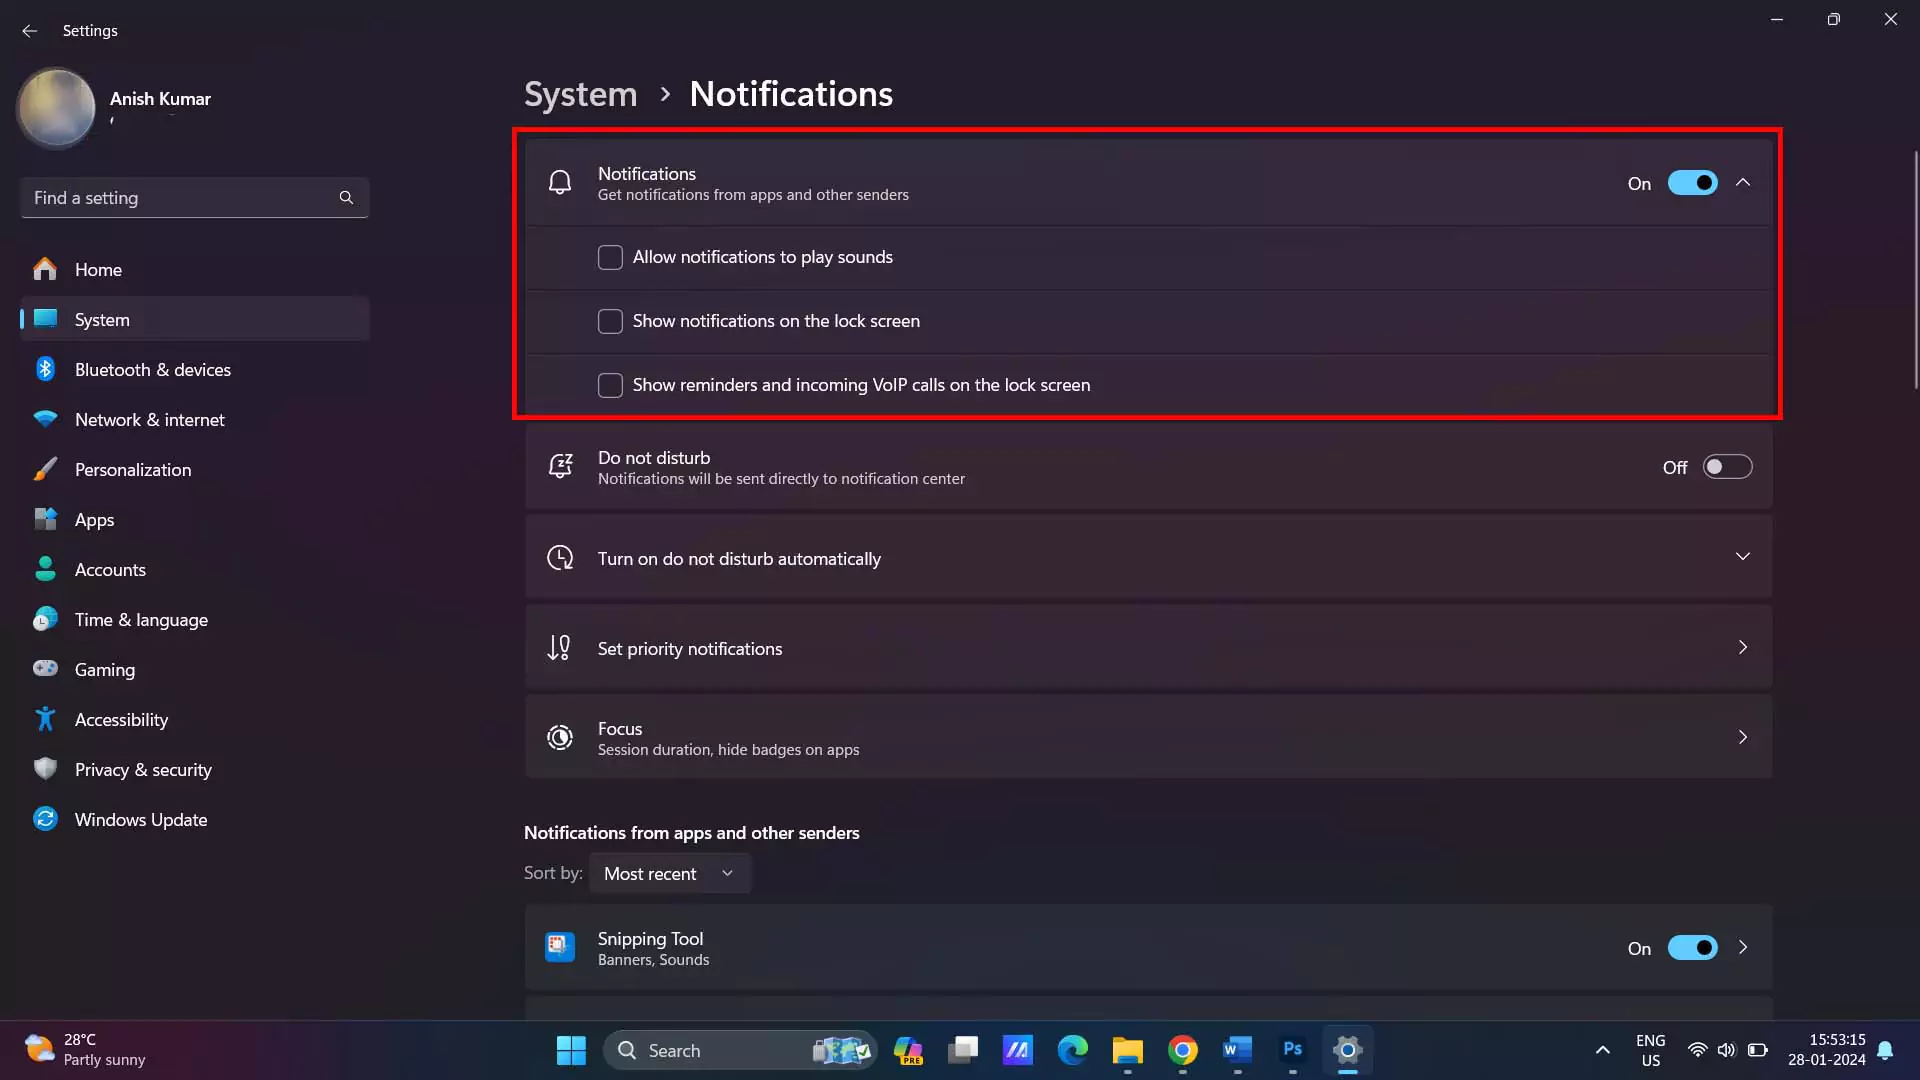
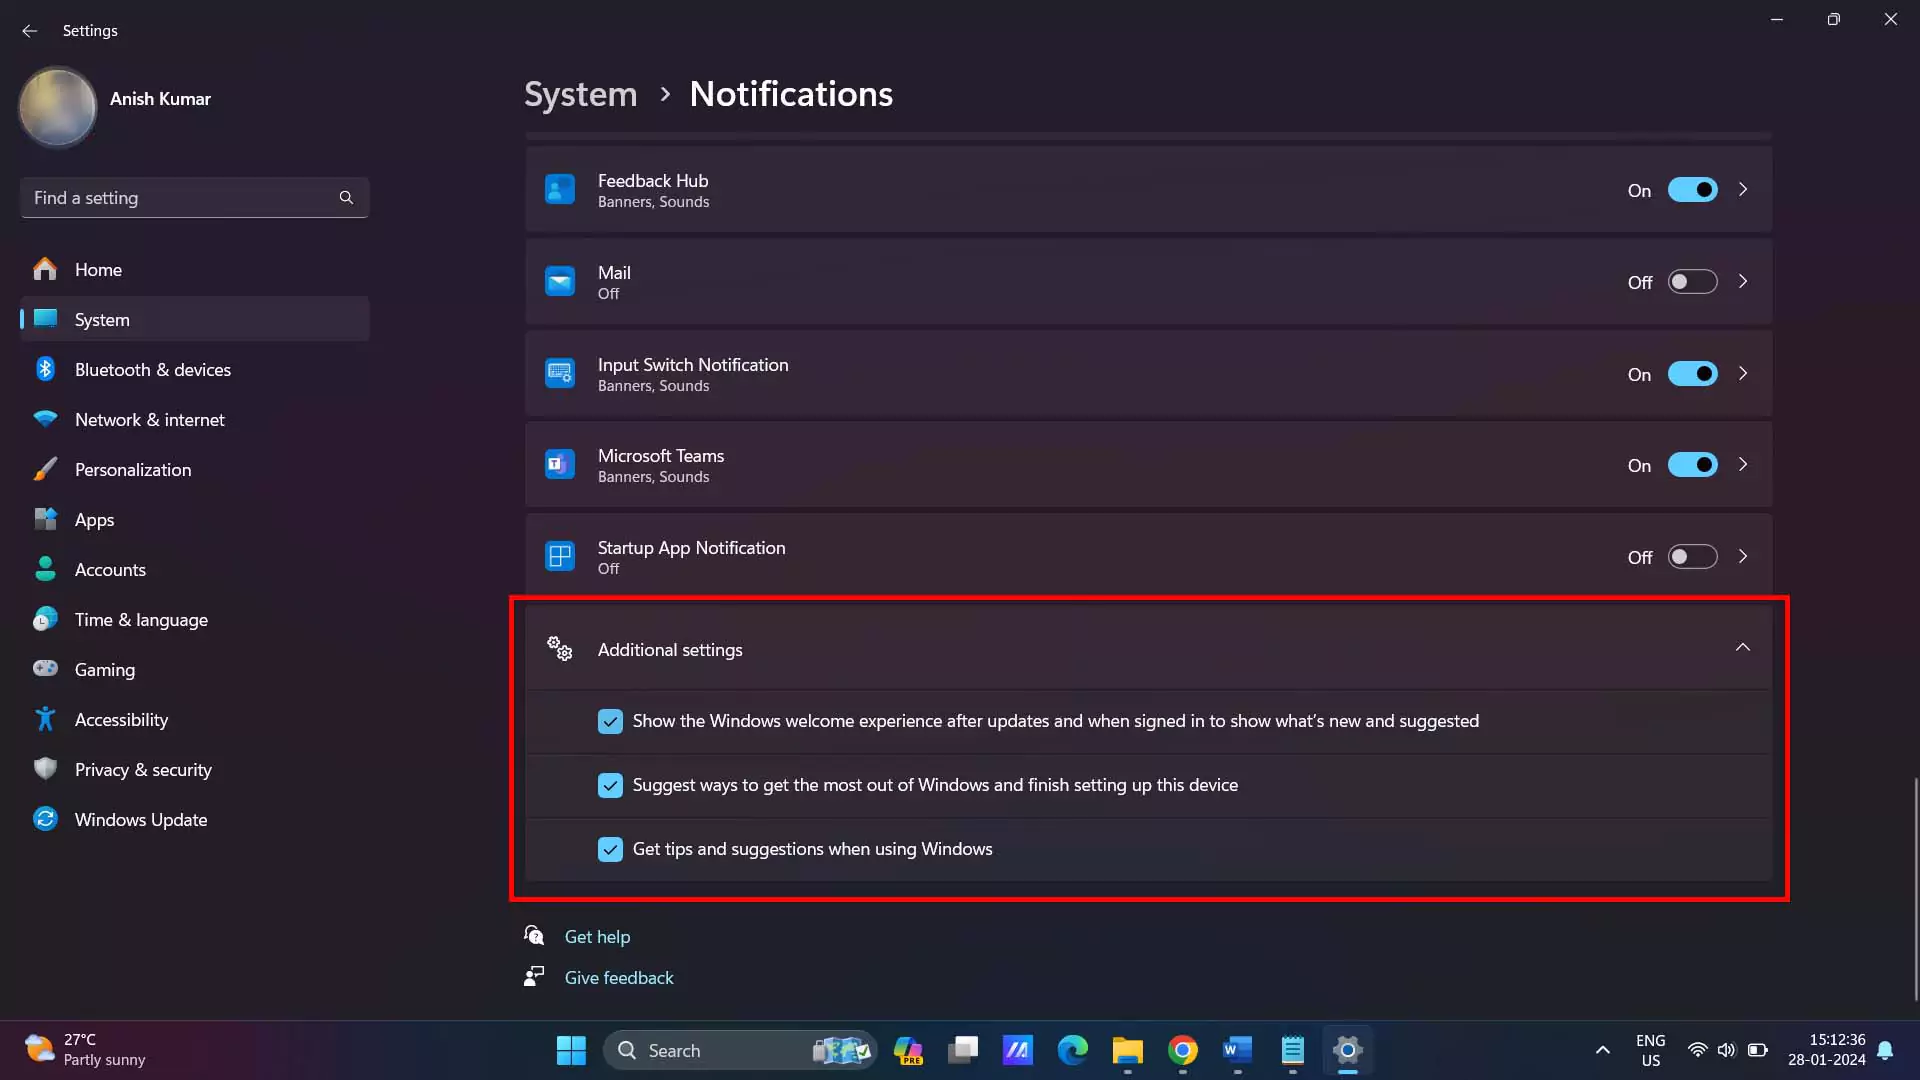
· Scroll Down to Additional settings and uncheck the three options as well to avoid getting the spam of Popup Notifications. These Popup notifications can stutter your games by sending notifications on desktop while you are enjoying your game.
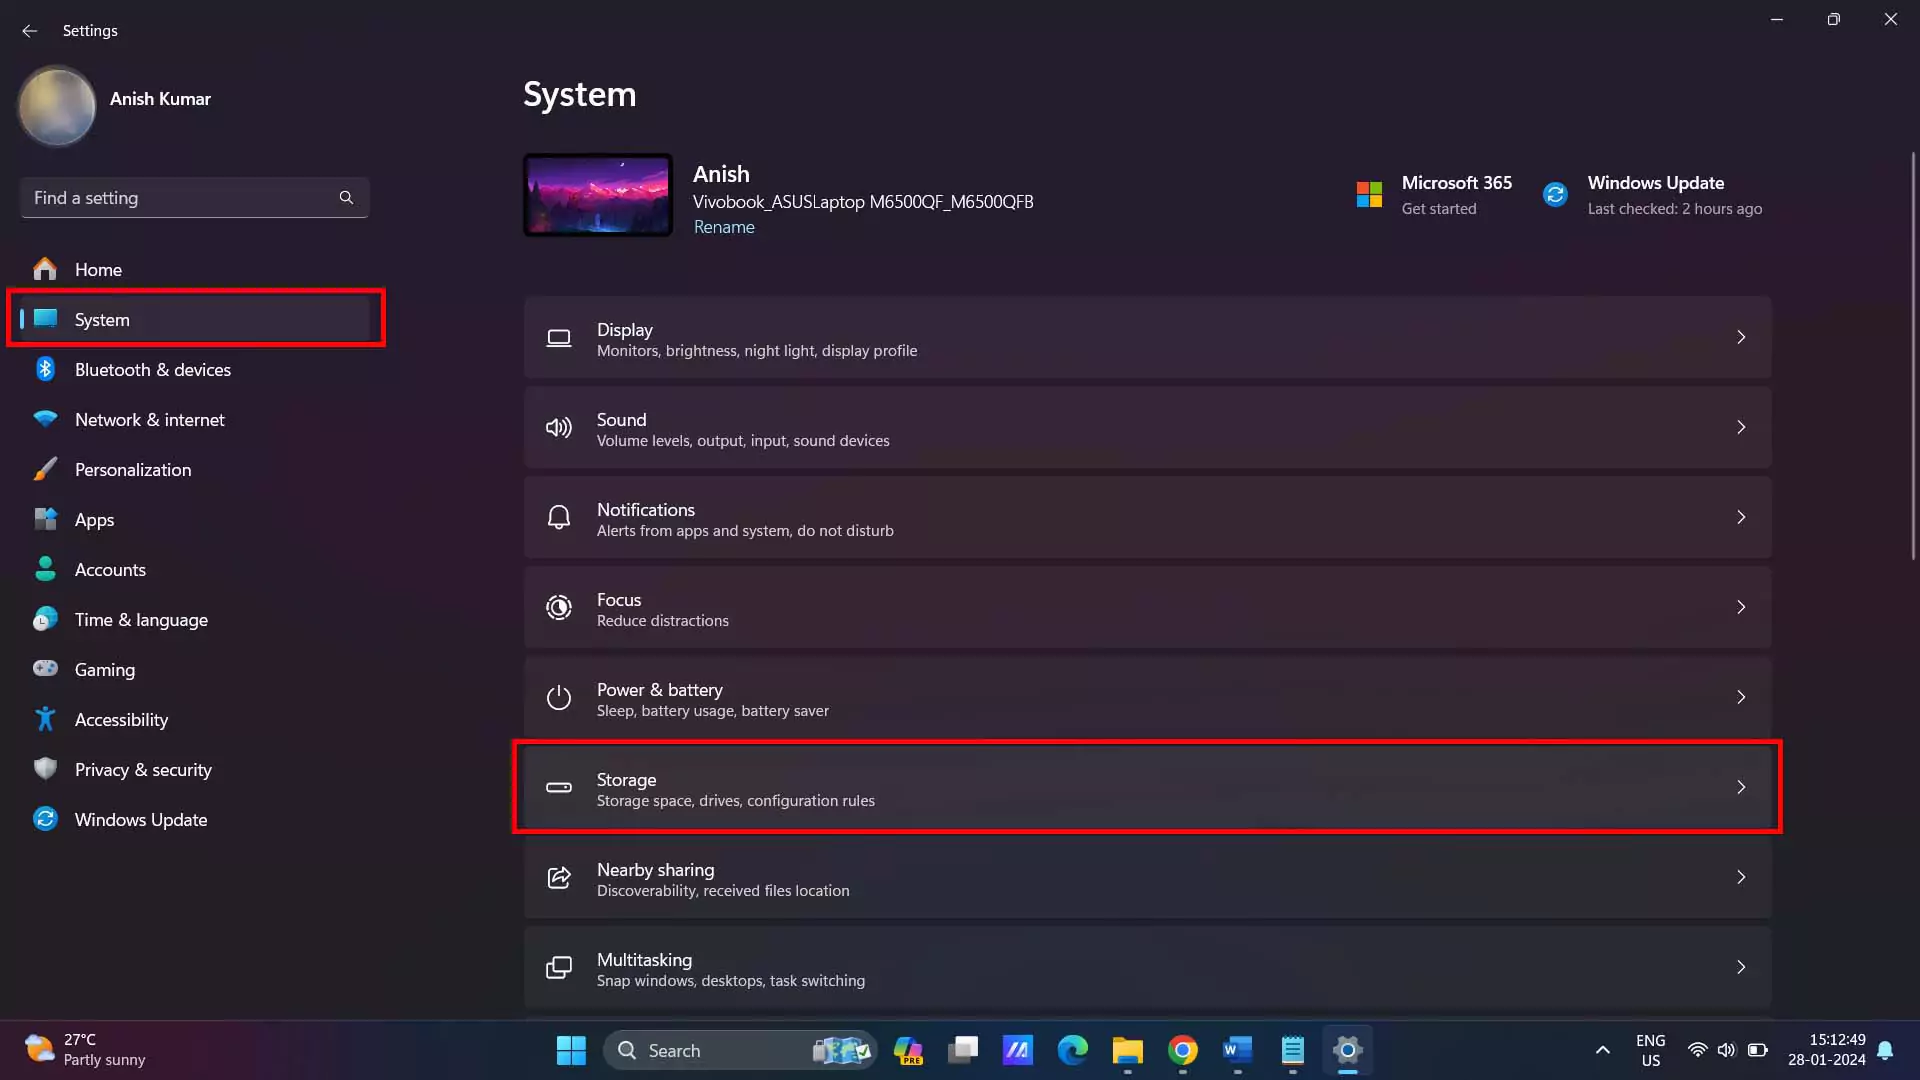
3. Disable Storage Sense:
The Windows 11 comes with Storage Sense which automatically removes the temporary files from your system to keep the storage free. However, disabling it will reduce the unnecessary disk usage while you are gaming on your Windows 11 and will improve your gaming performance.
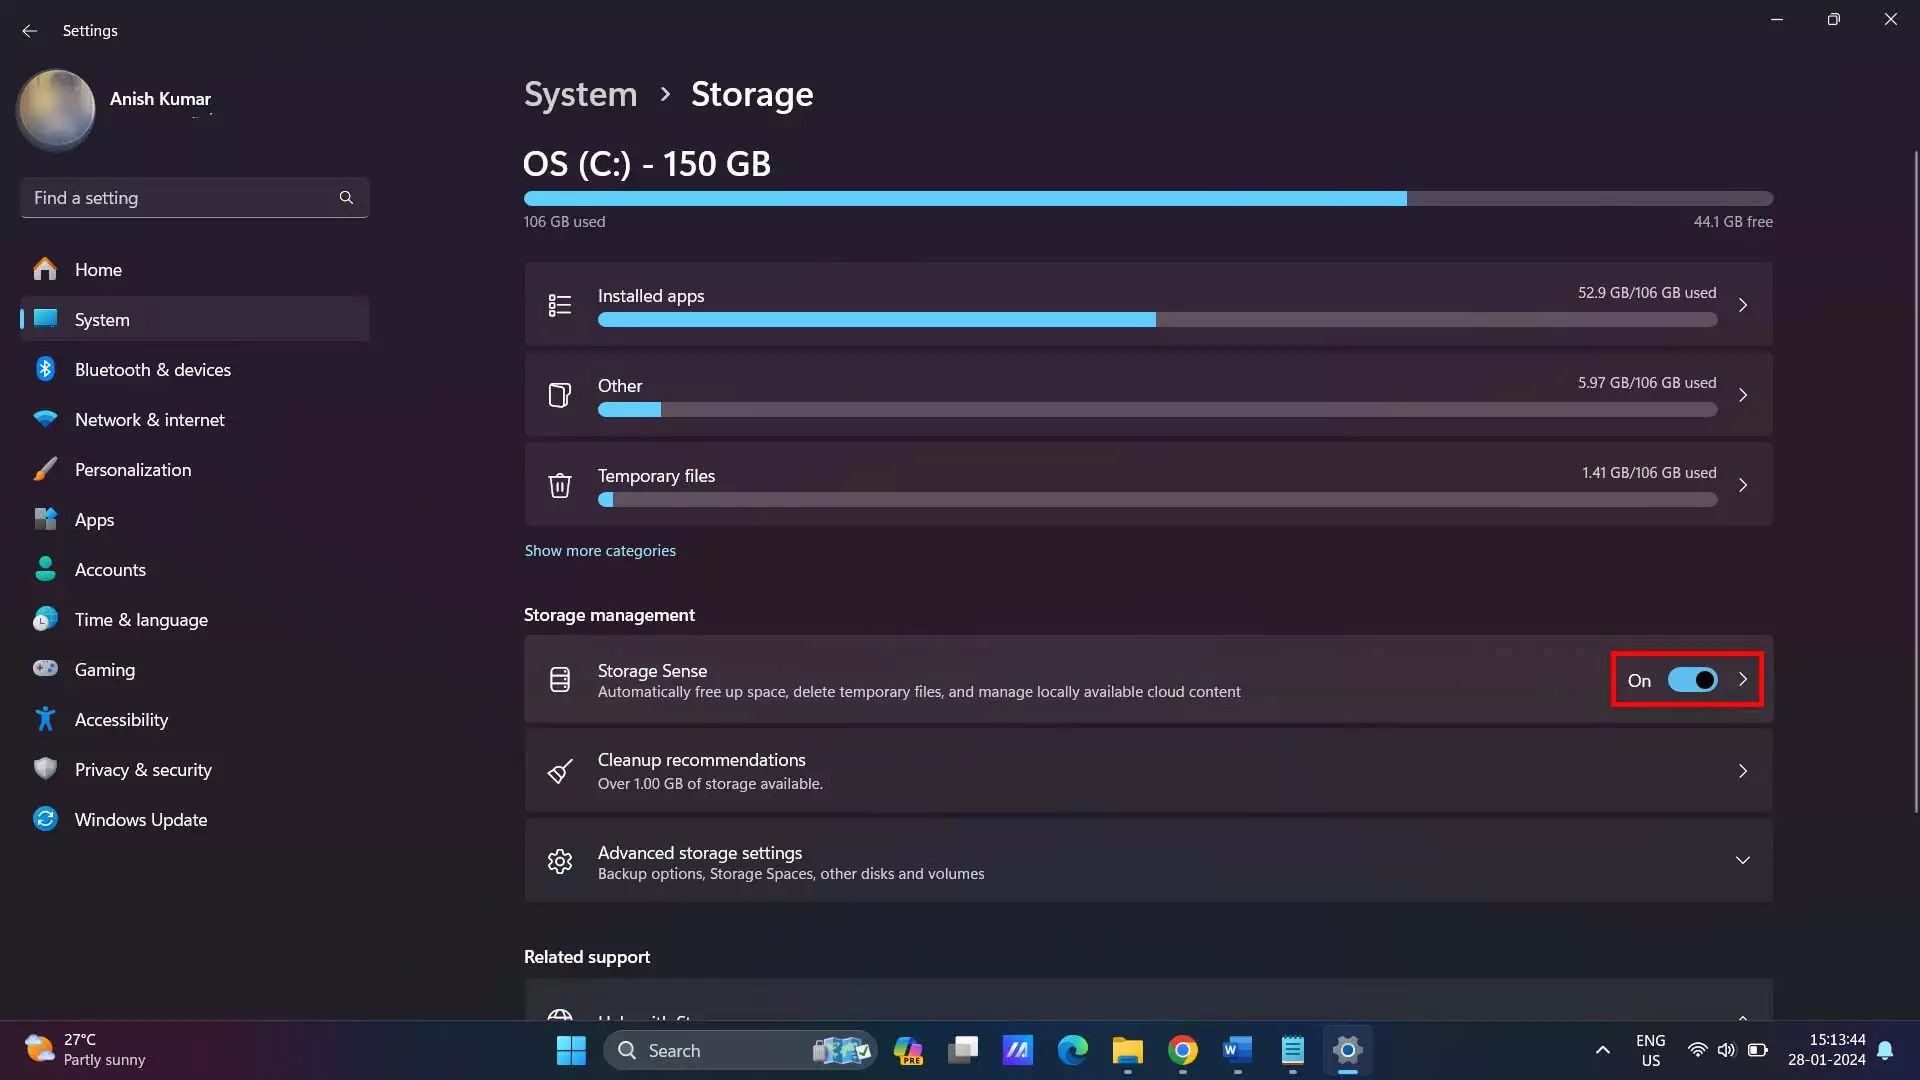
· Go to the Settings > System > Storage.
· Then Go to the Storage Sense option and disable it to turn off. Later when you feel to enable this feature you can enable it through the same way.
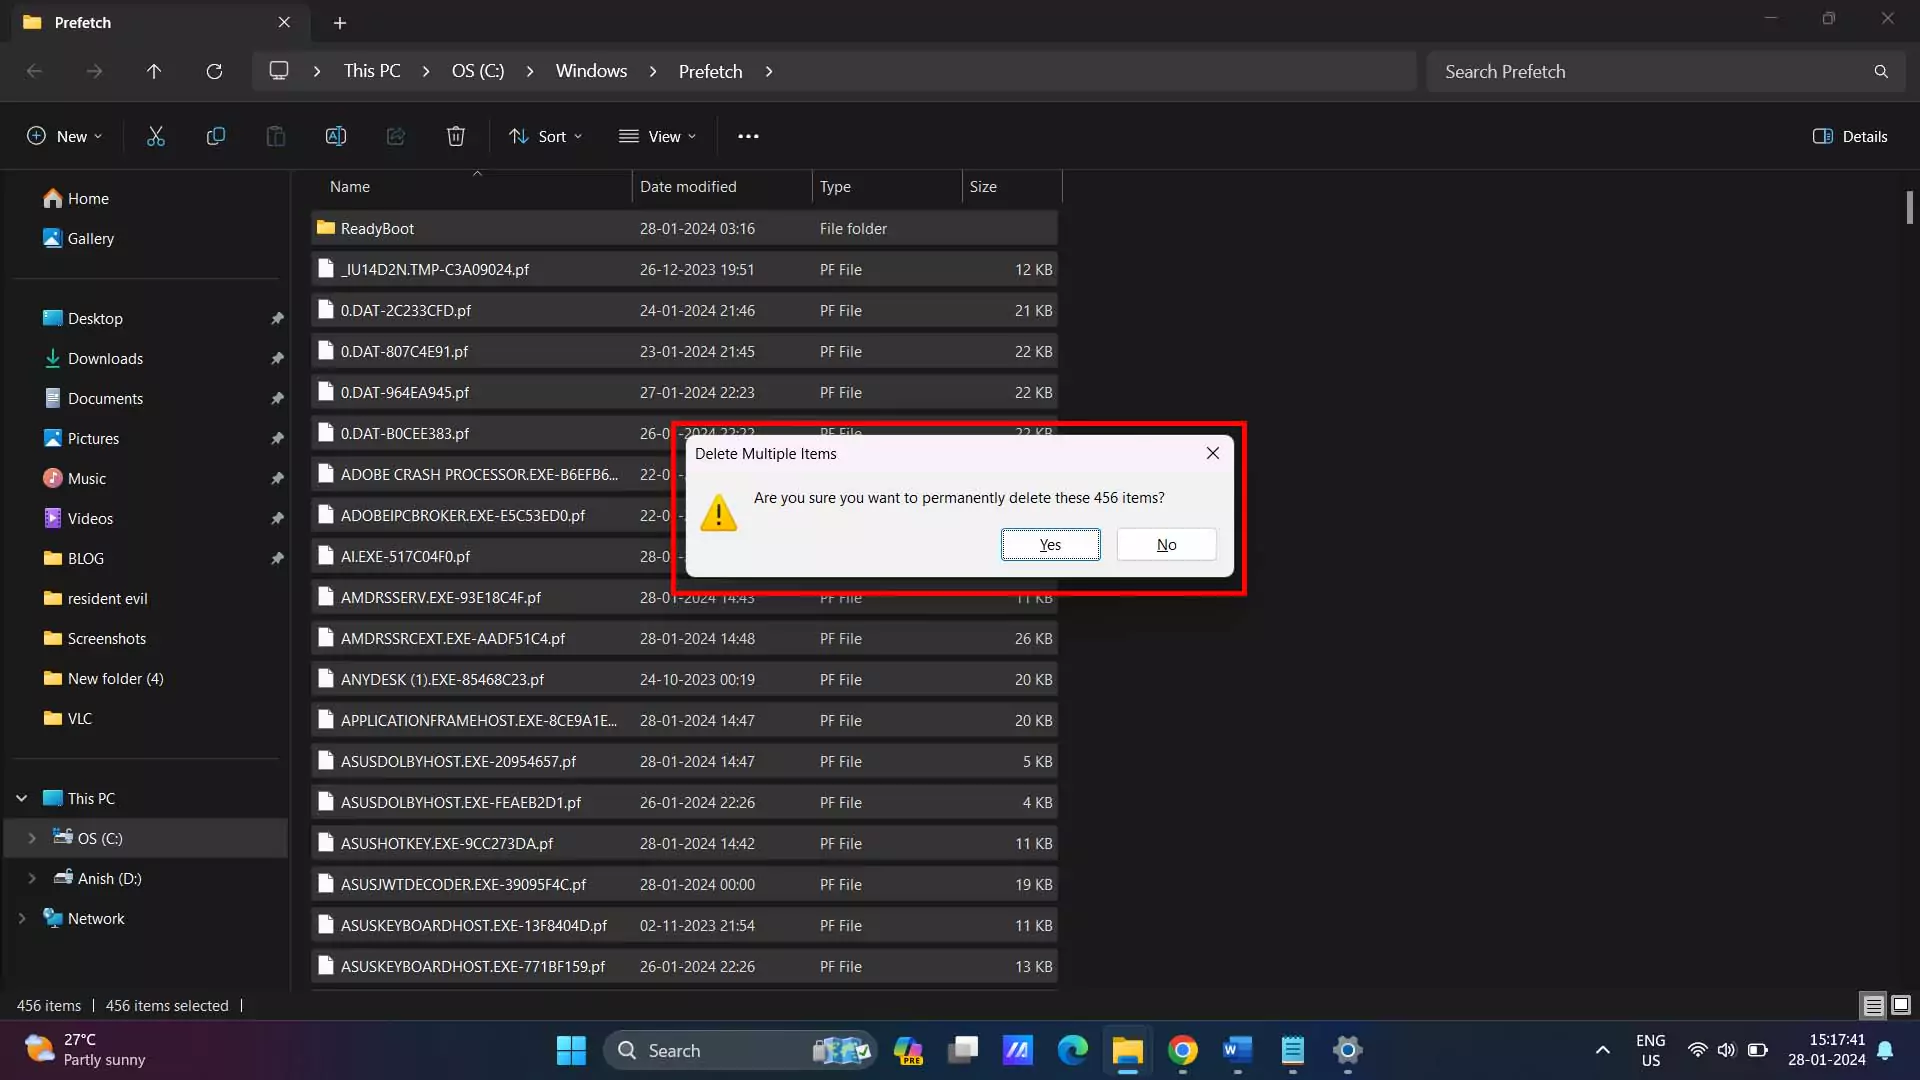
4. Delete Temporary Files from Windows 11:
Basically, temporary files are stored to keep information and free memory for other purposes, but if you have not cleared your Temp files from longer period then its better to clear the temp files to increase the general speed of Windows 11, which will improve your gaming performance.
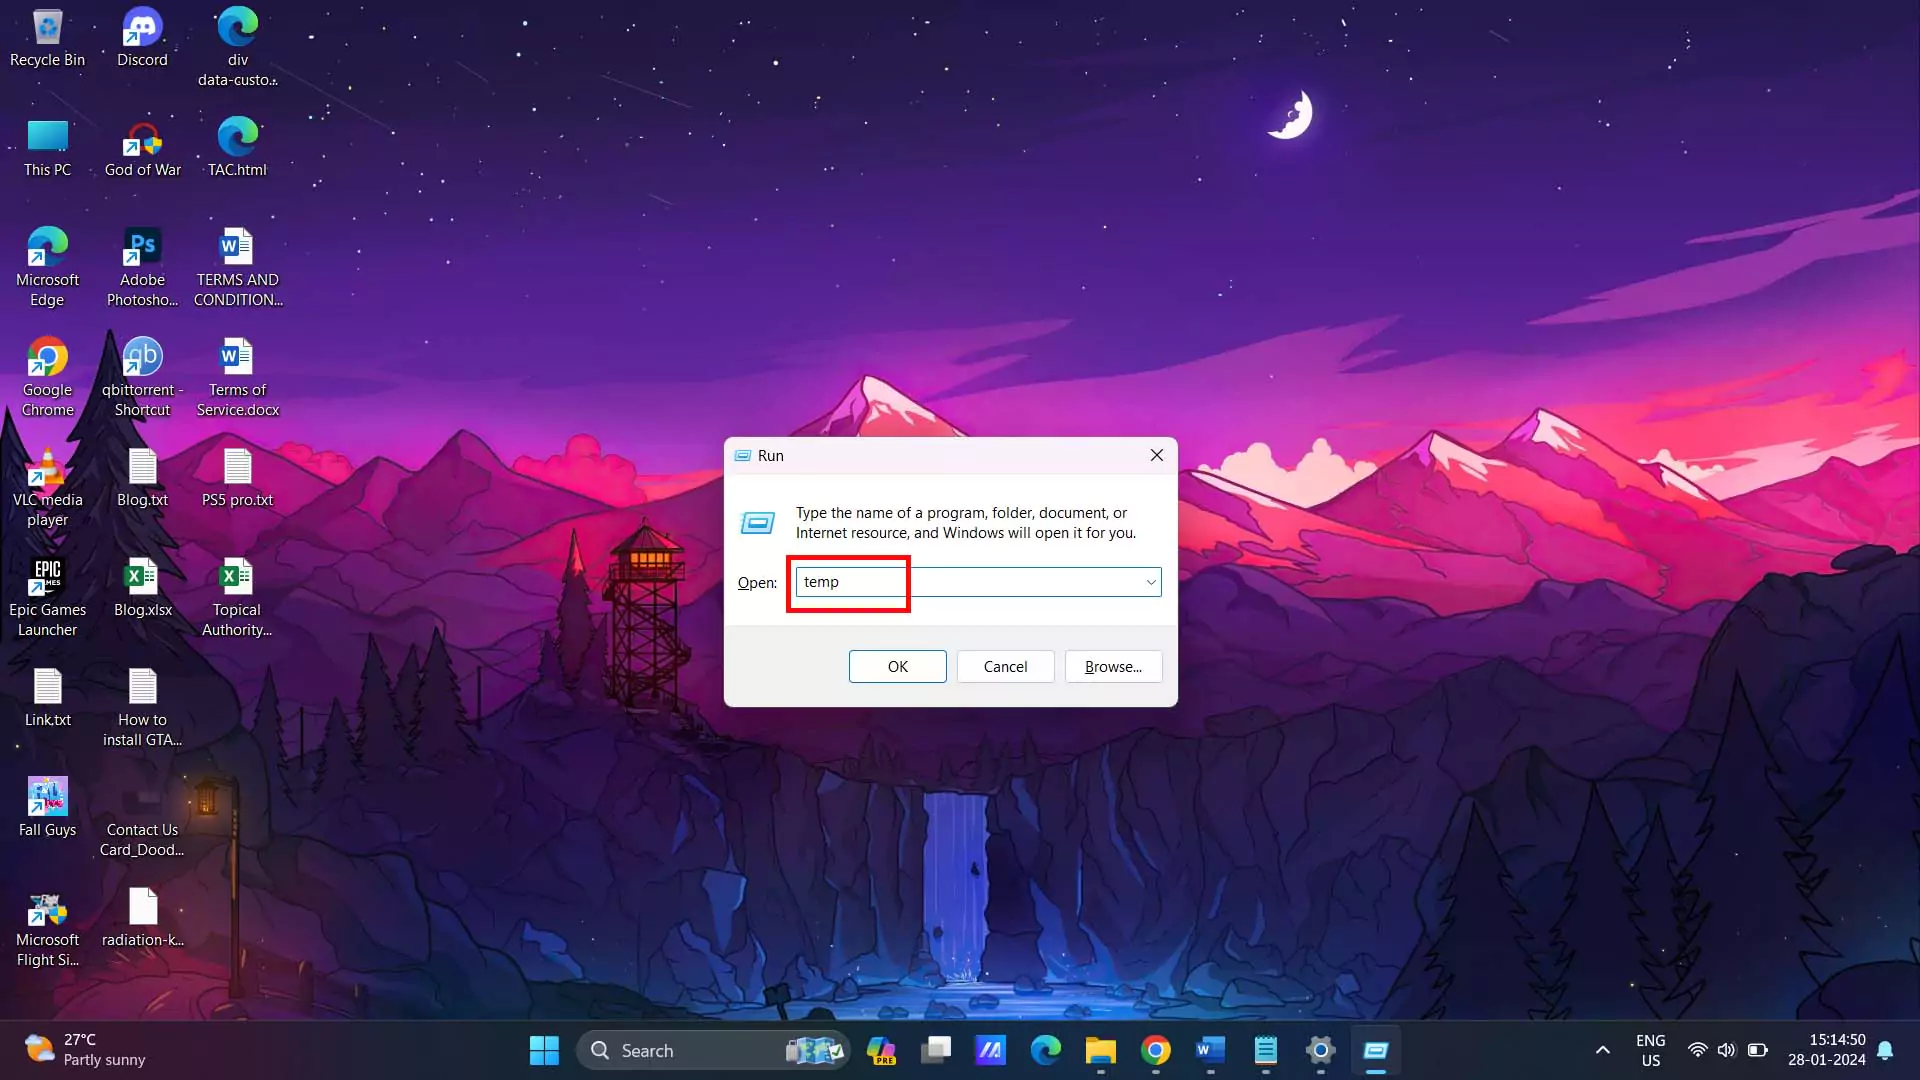
· Press Windows Key + R to open ‘Run’ dialogue box.
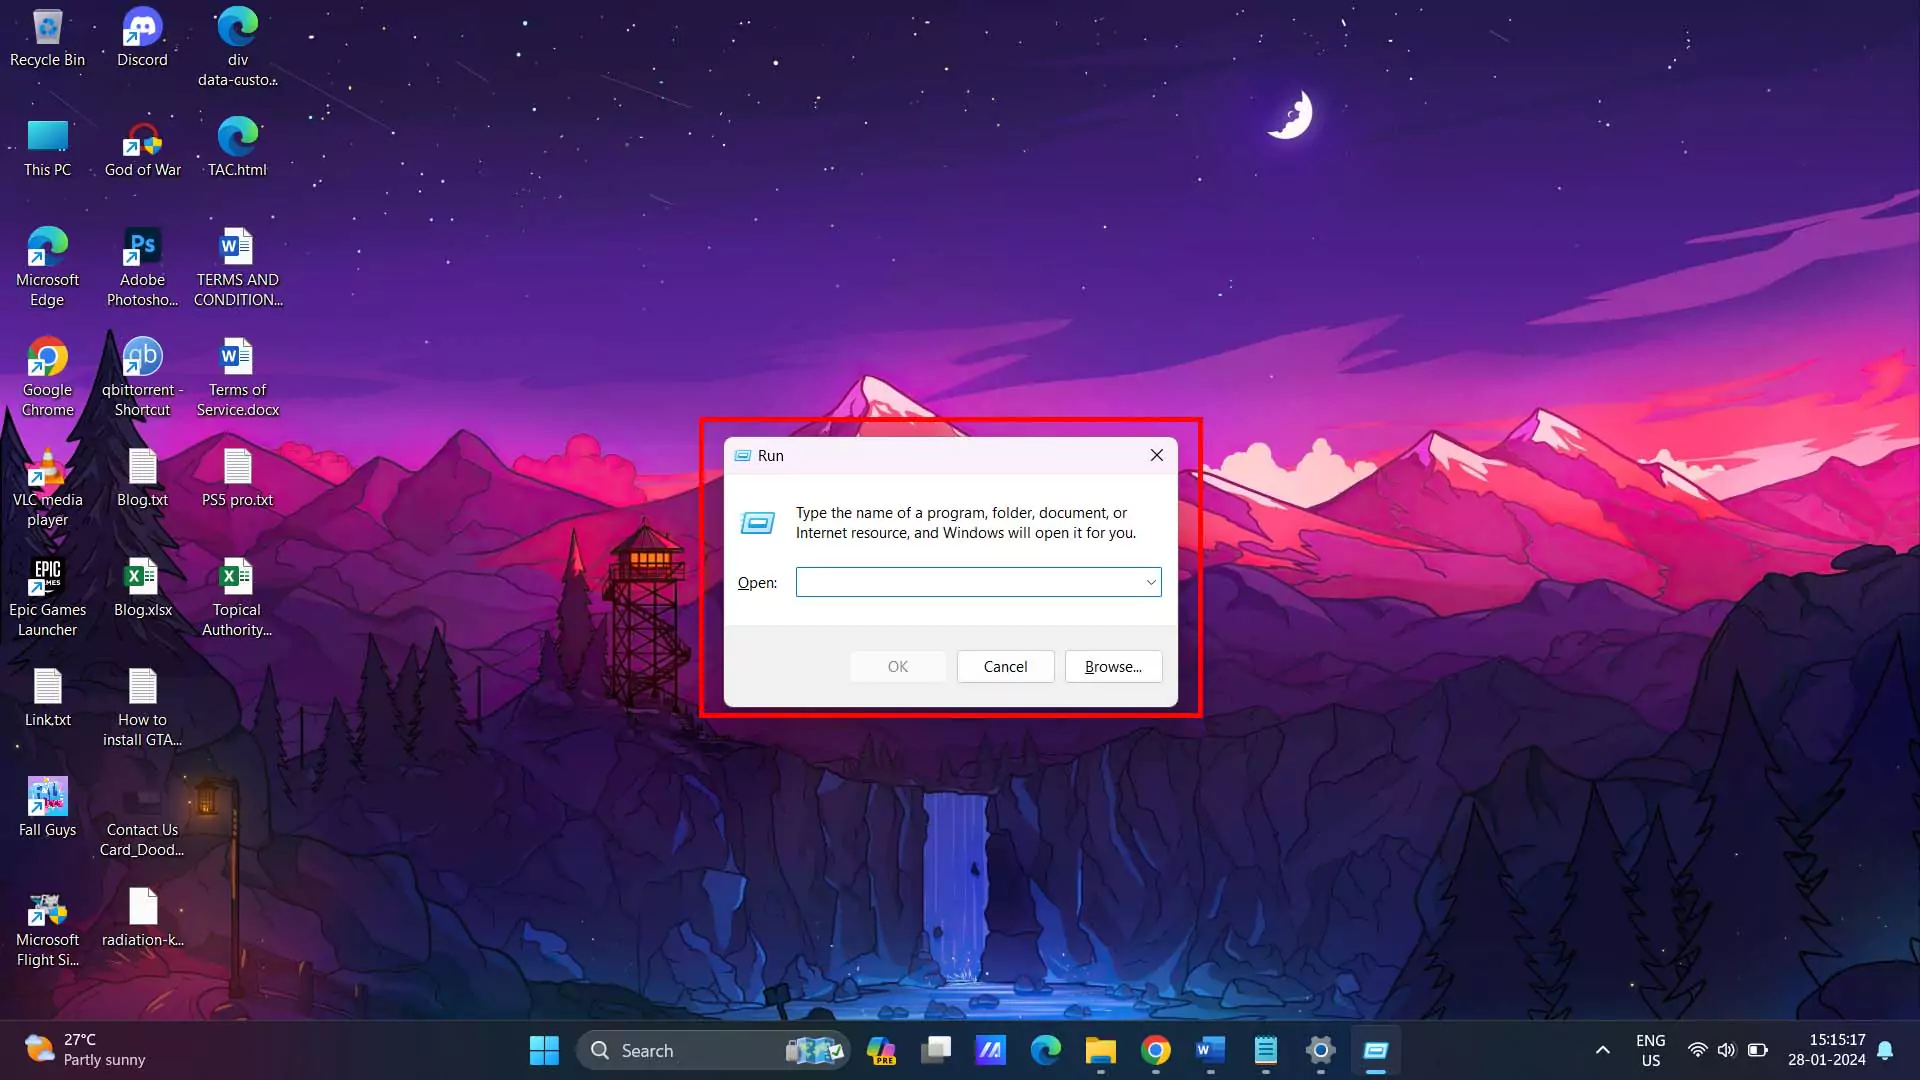
· Type “temp” and press Enter, then allow permission to access temporary files.
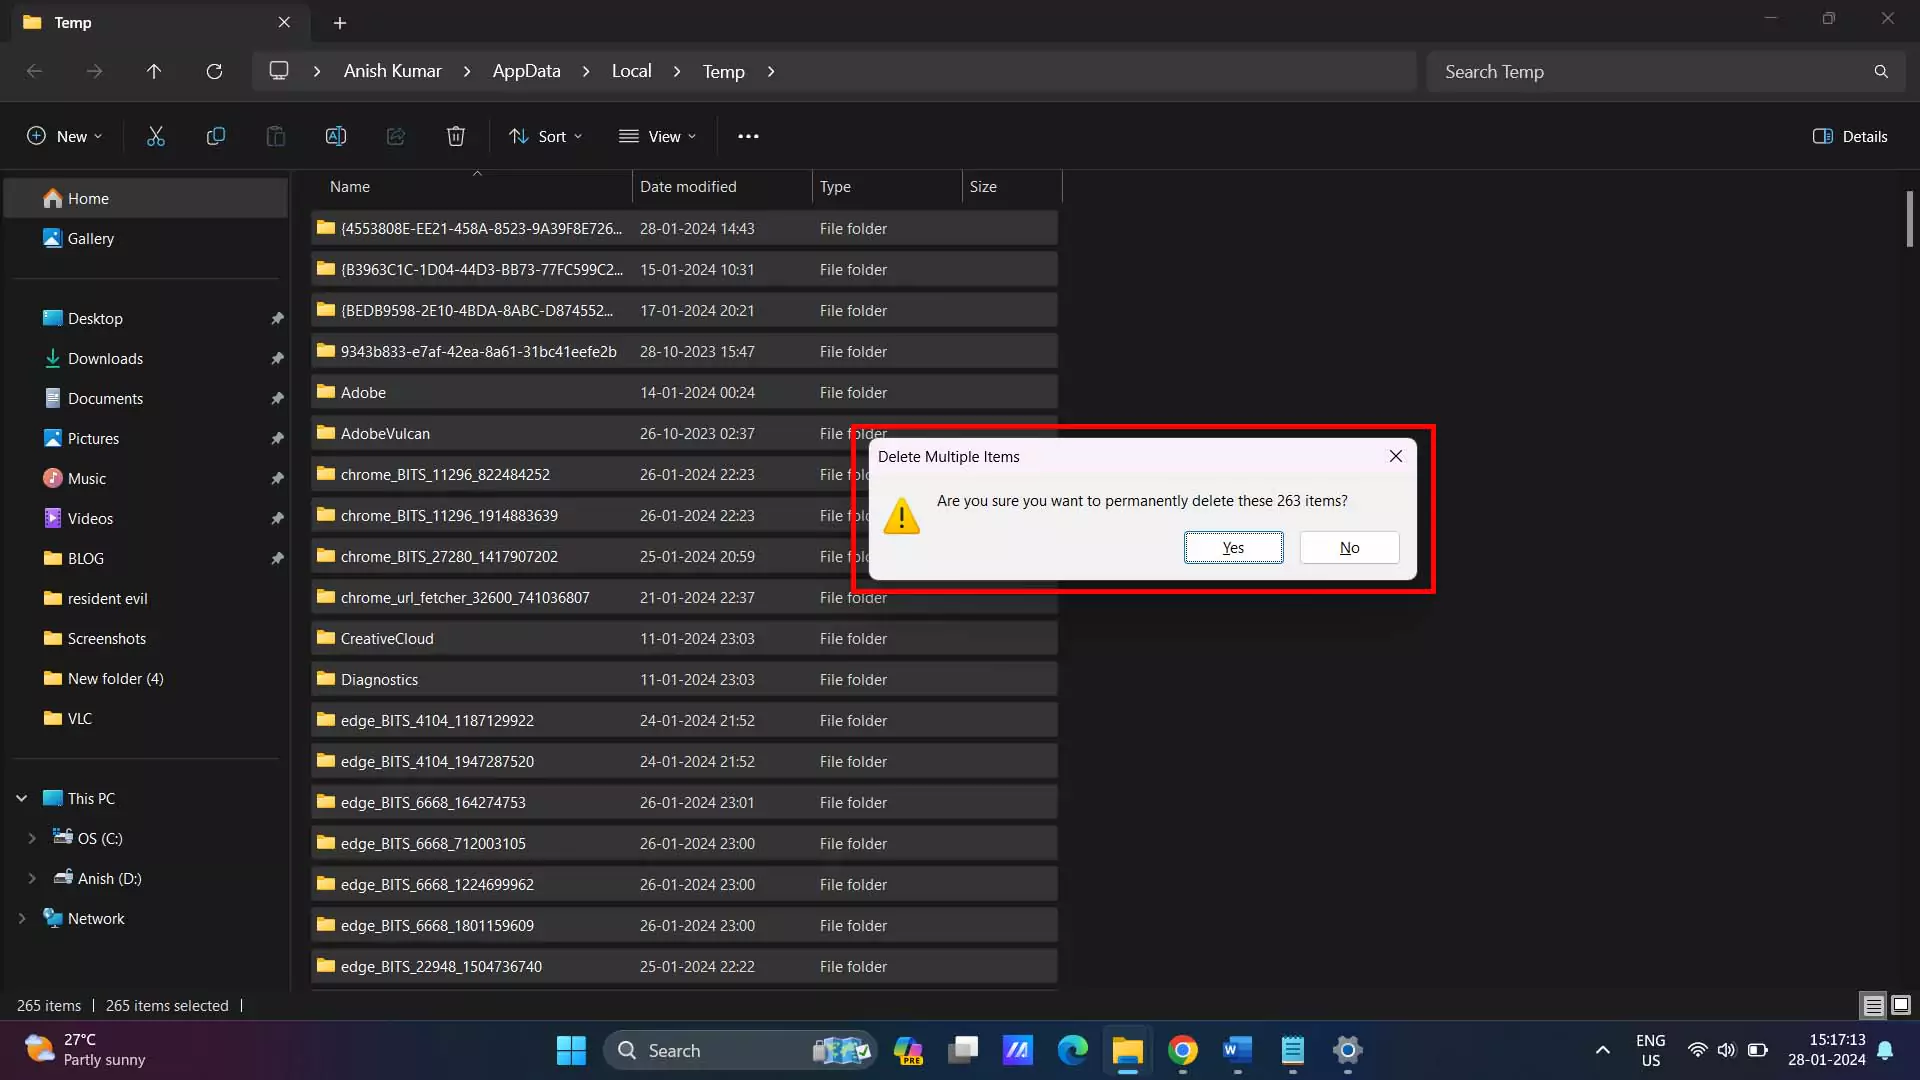
· Select All the Temporary Files and delete it. In Temp files some files and folders can’t be deleted, just skip for those files and continue.

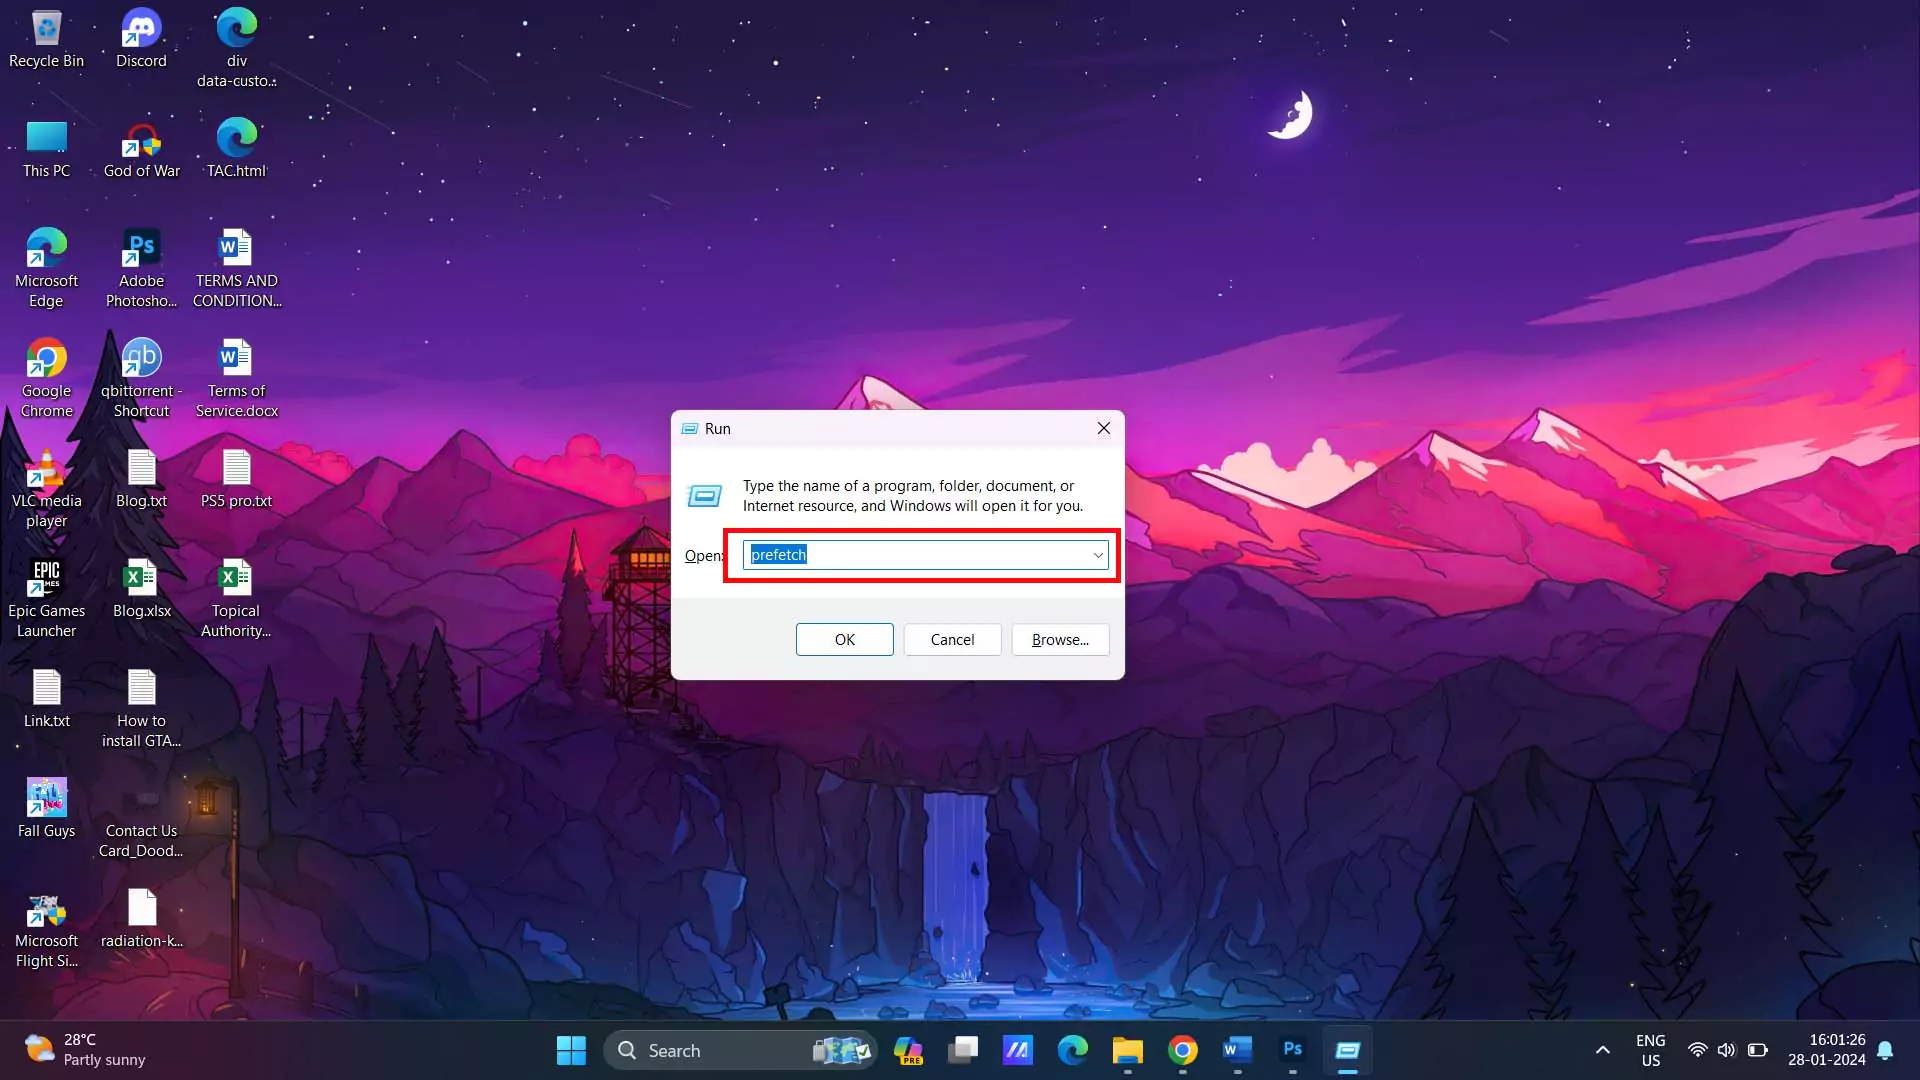
· Once done close it and follow the same procedure to enter “%temp%” in Run dialogue box and delete all the temp files. Then enter “prefetch” in Run and follow the same to delete the temp files. Refer to the Images below:

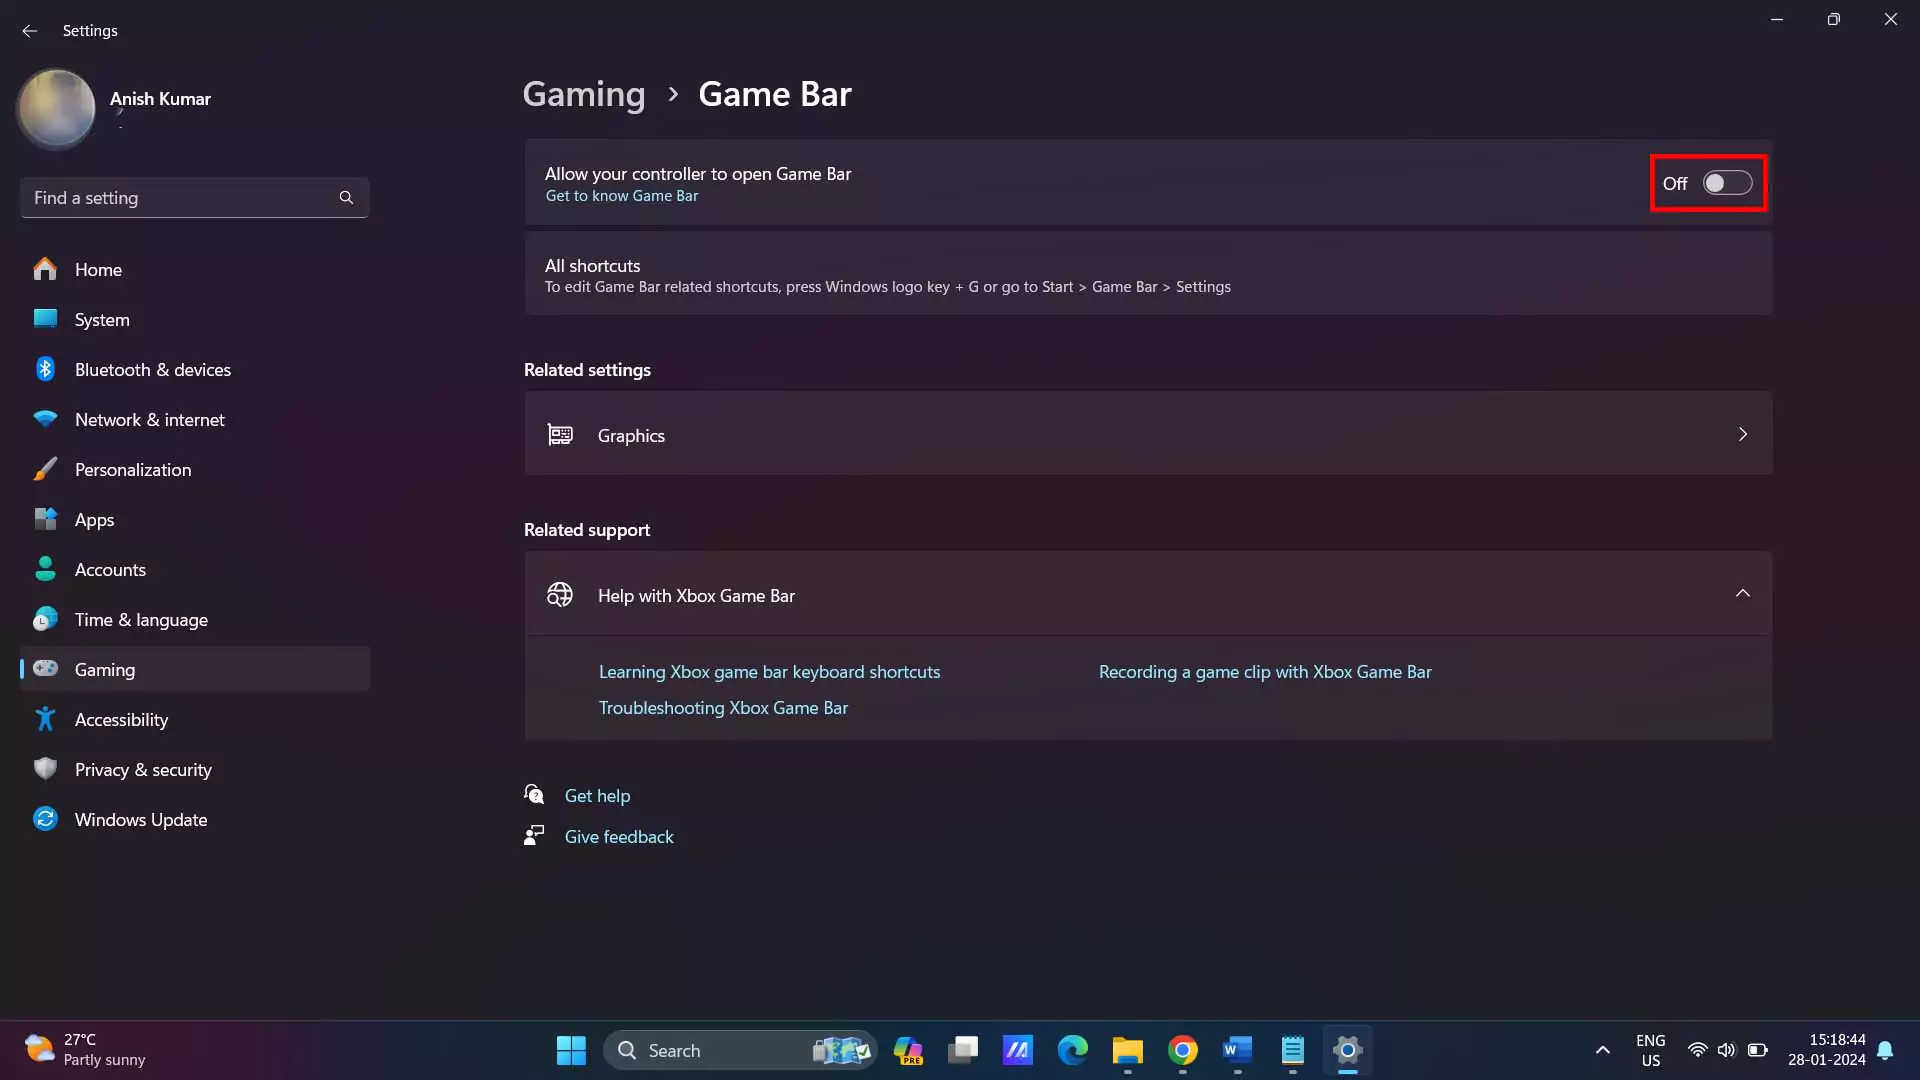
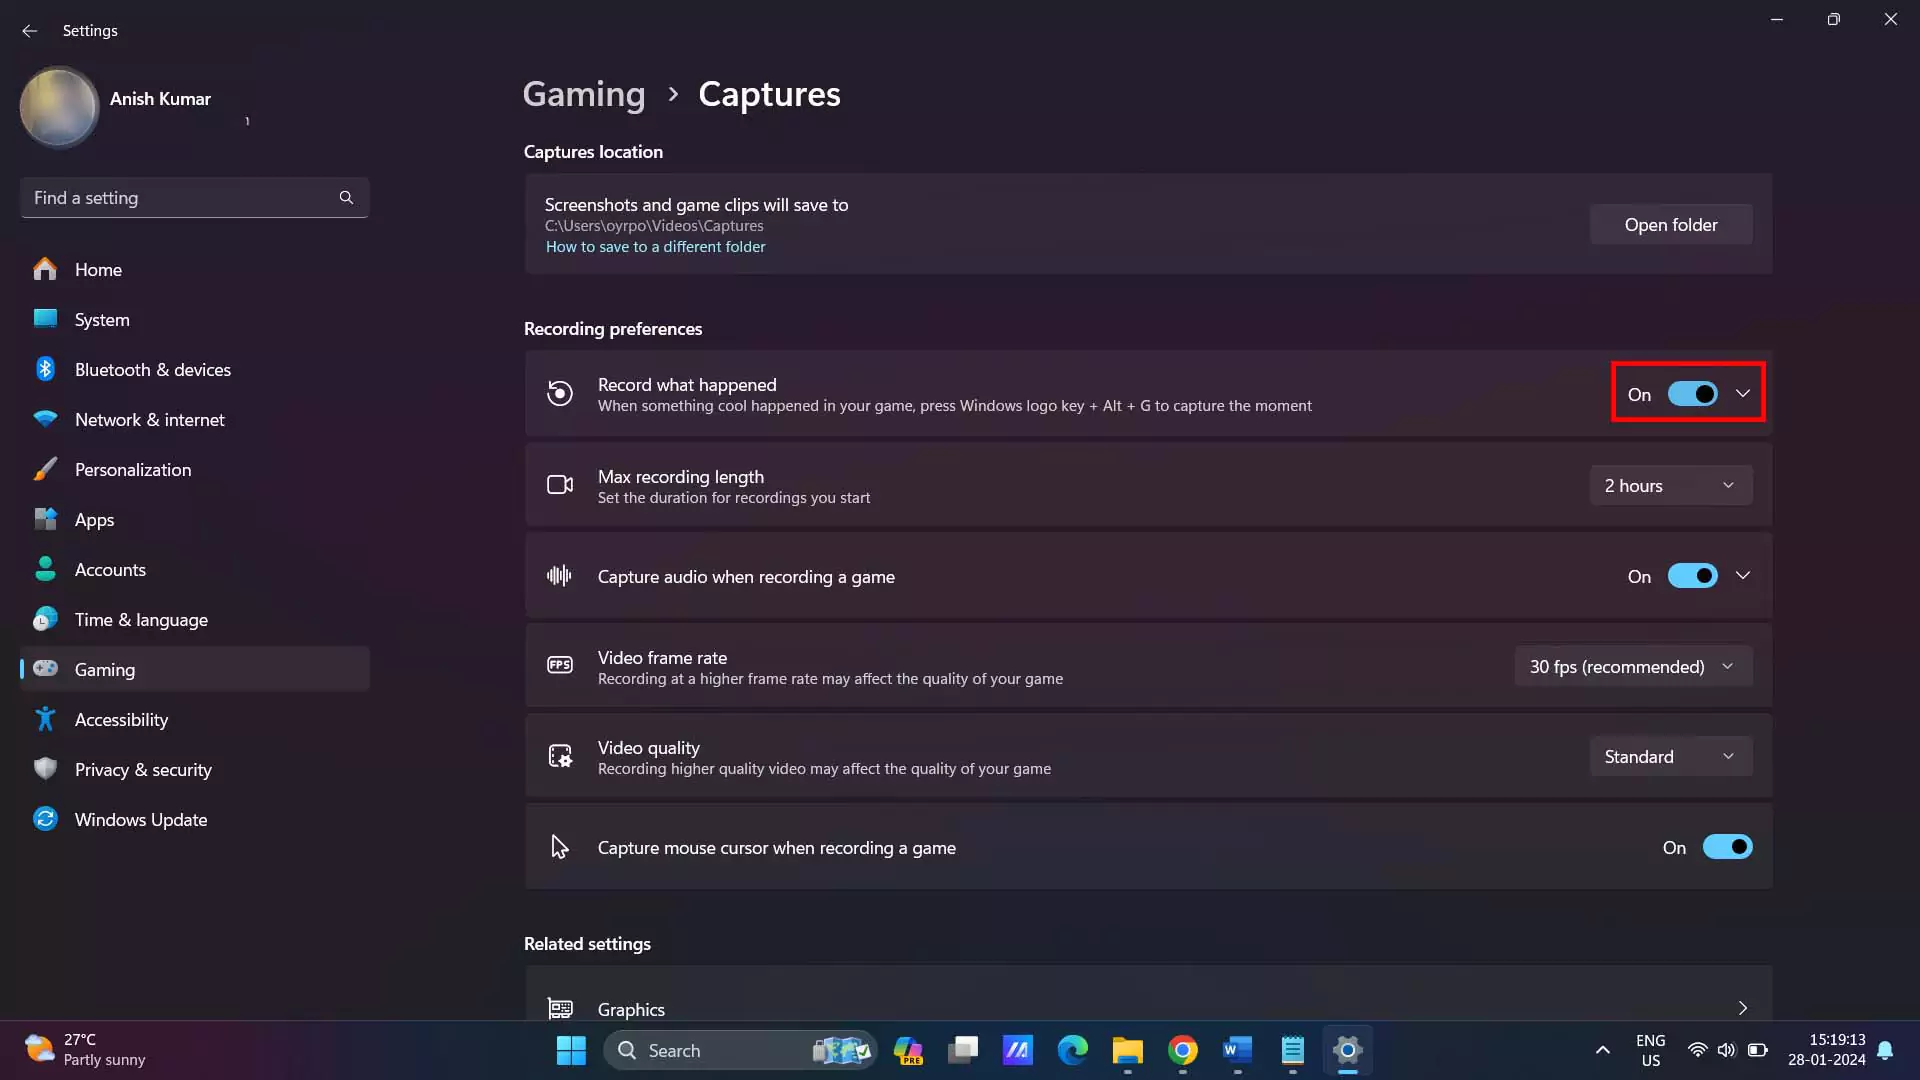
5. Disable Xbox Game Bar & Captures:
· Go to Settings > Gaming > Xbox Game Bar.
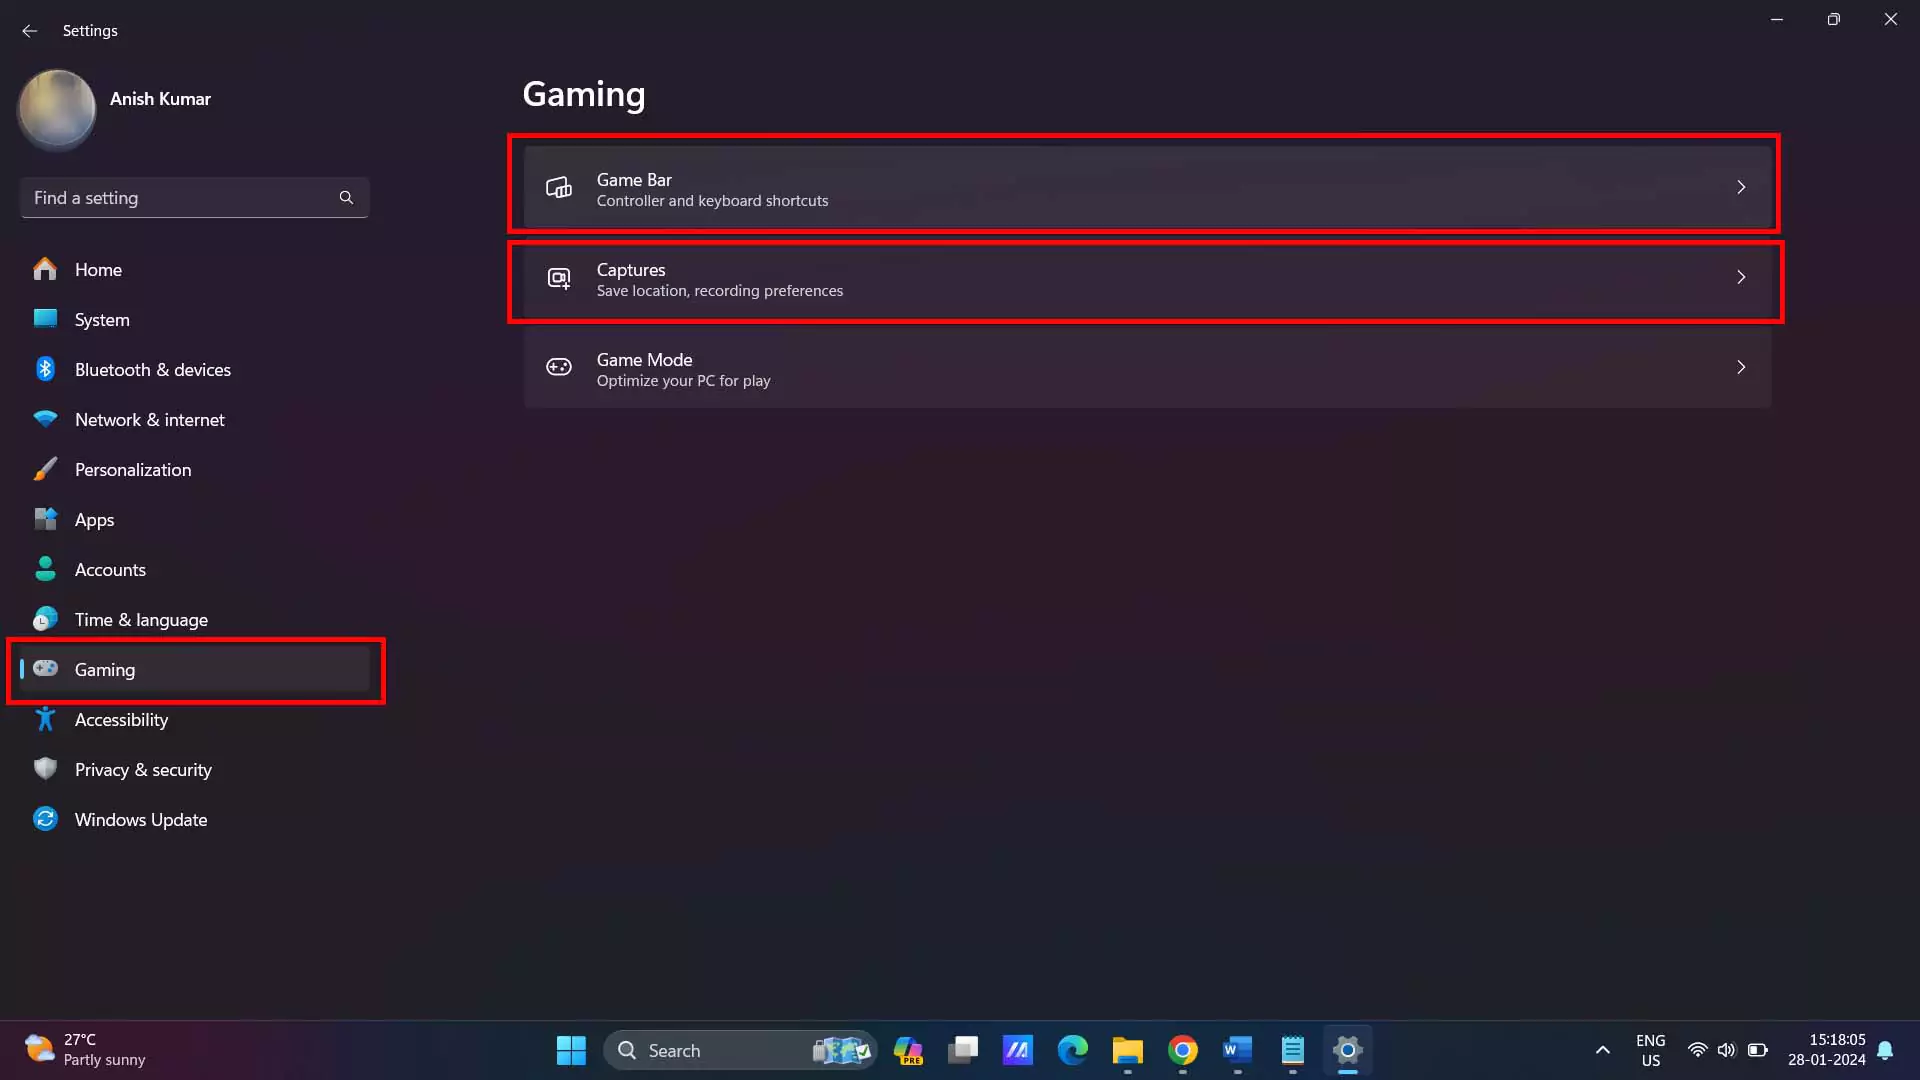
· Disable the Xbox Game Bar and Captures, as it increases your system usage more to capture the gameplay moments while you are playing games.
Meanwhile you can use other alternatives to record your gameplay, such as OBS and Nvidia Overlays if you have Nvidia graphics card in your system, which is actually way better than the Xbox Game Bar.
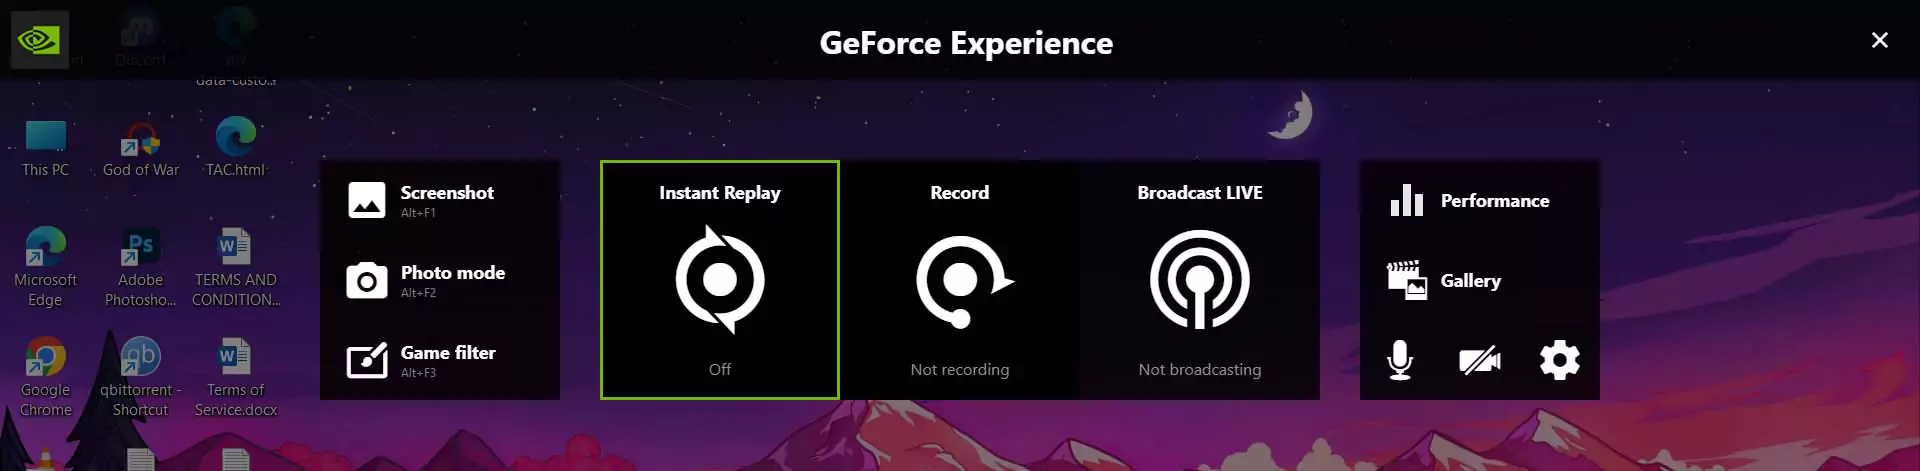 (Nvidia Overlays)
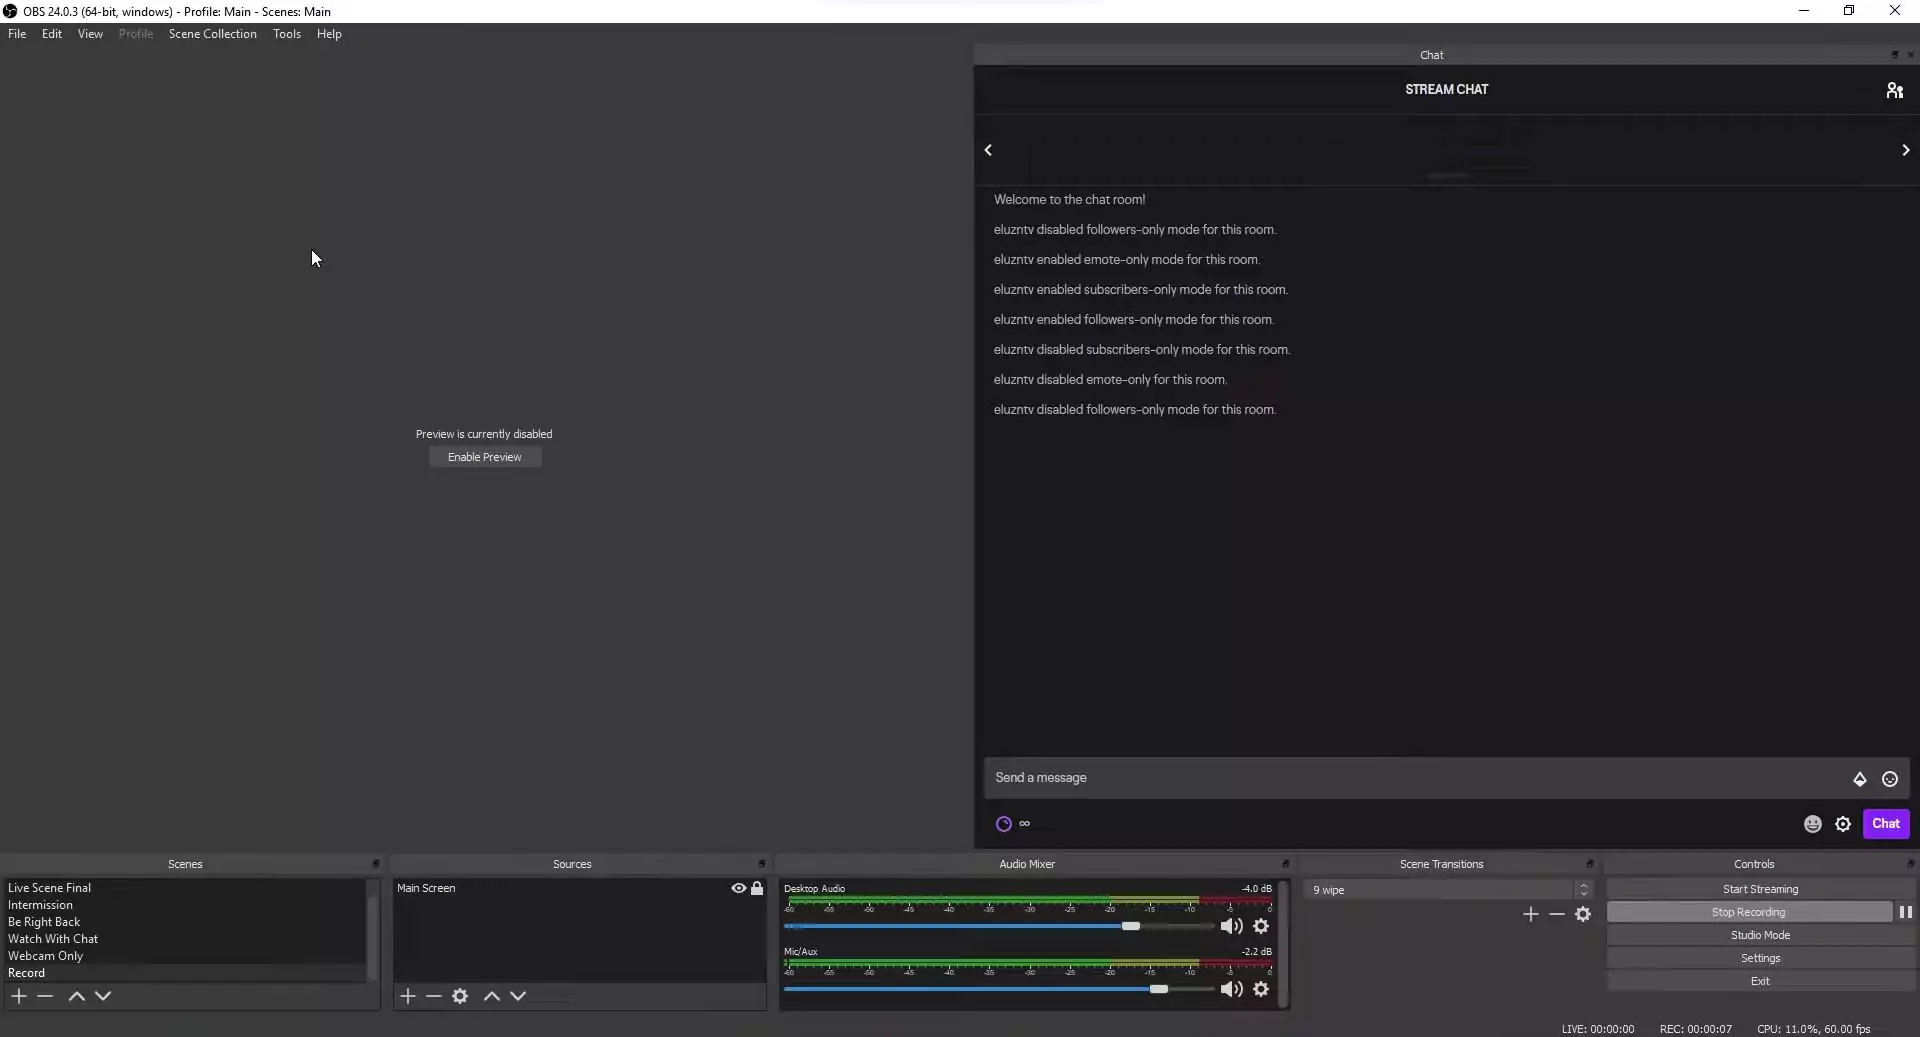 (OBS Dashboard)
6. Update Windows and CPU Drivers:
Often, we keep our Graphics Card drivers updated and forget to update our CPU drivers, which can affect gaming performance in our PC. Sometimes, updating your CPU drivers can bring major improvements in your game FPS, as many games are CPU intensive games such as Strategy Games, Competitive Games and many more. To update the Windows and CPU drivers follow these simple steps.
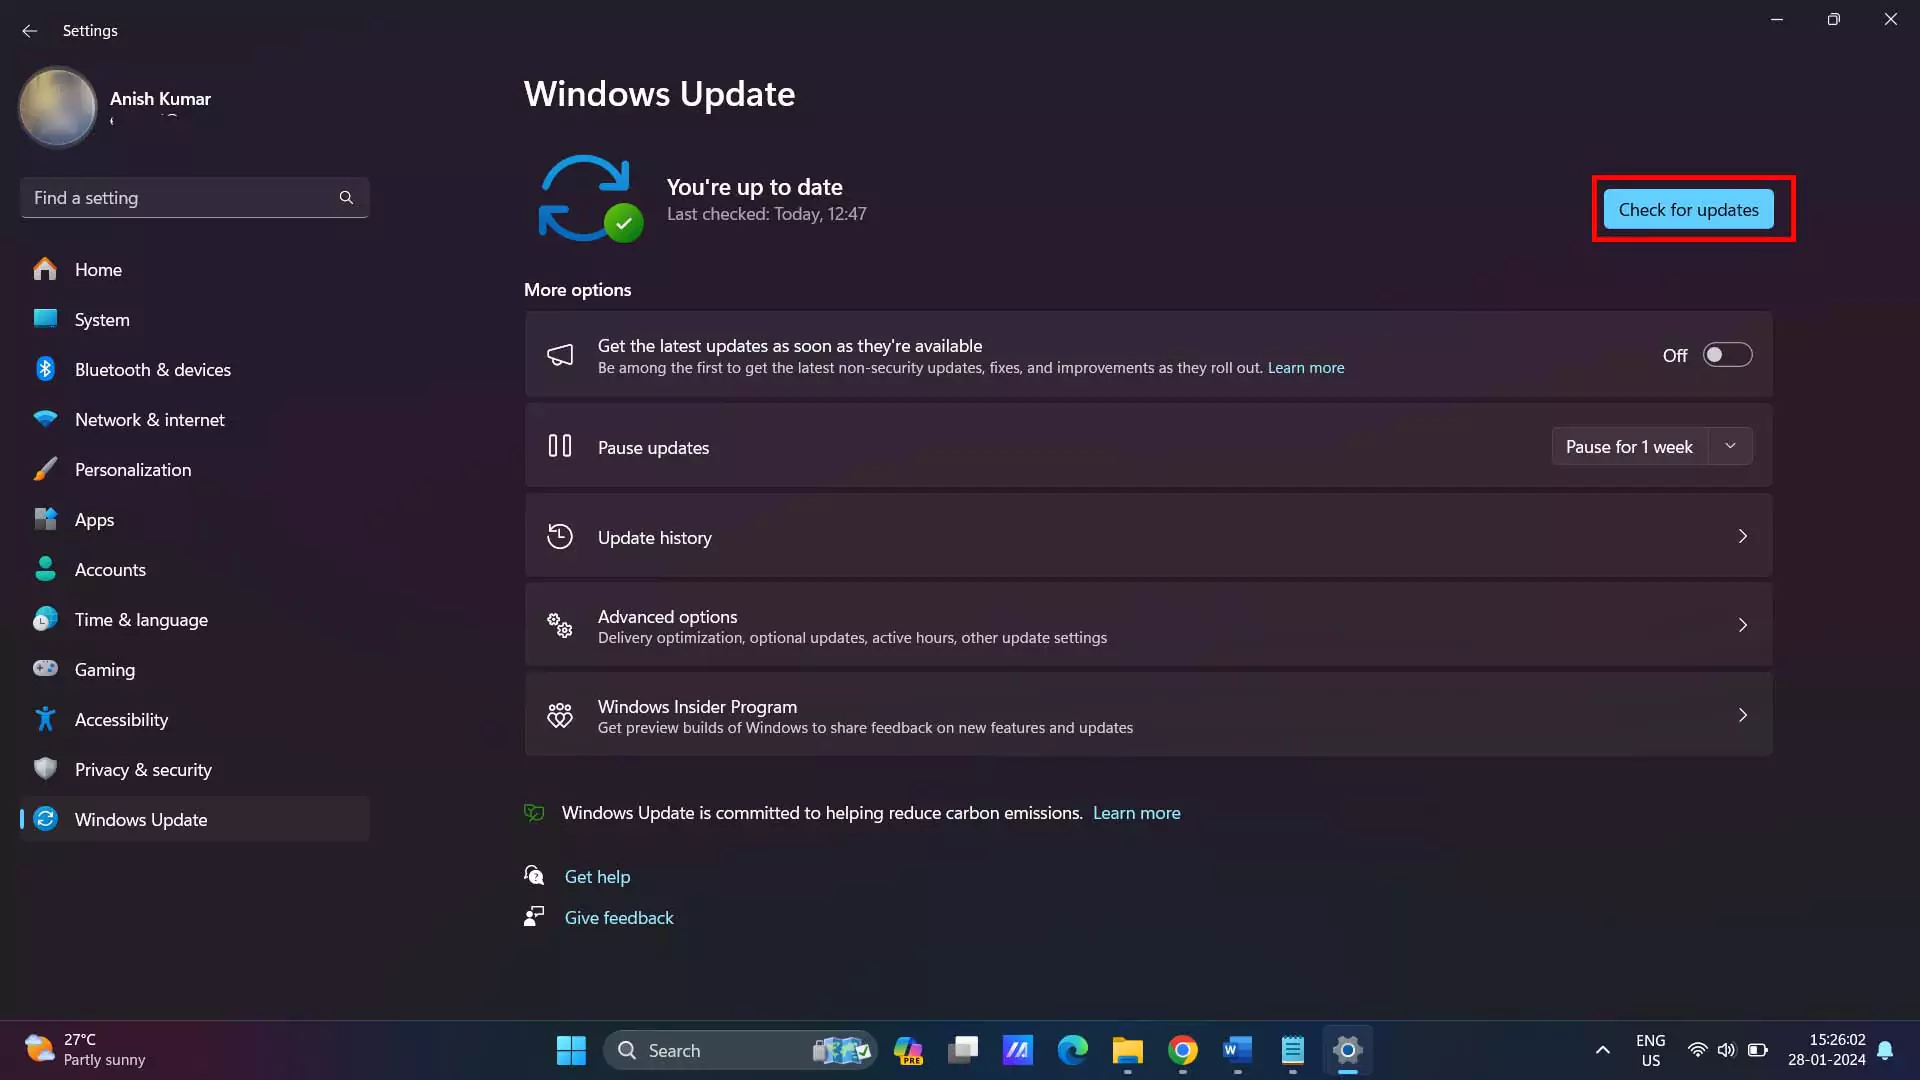
Windows Update:
· Go to Settings > Windows Update.
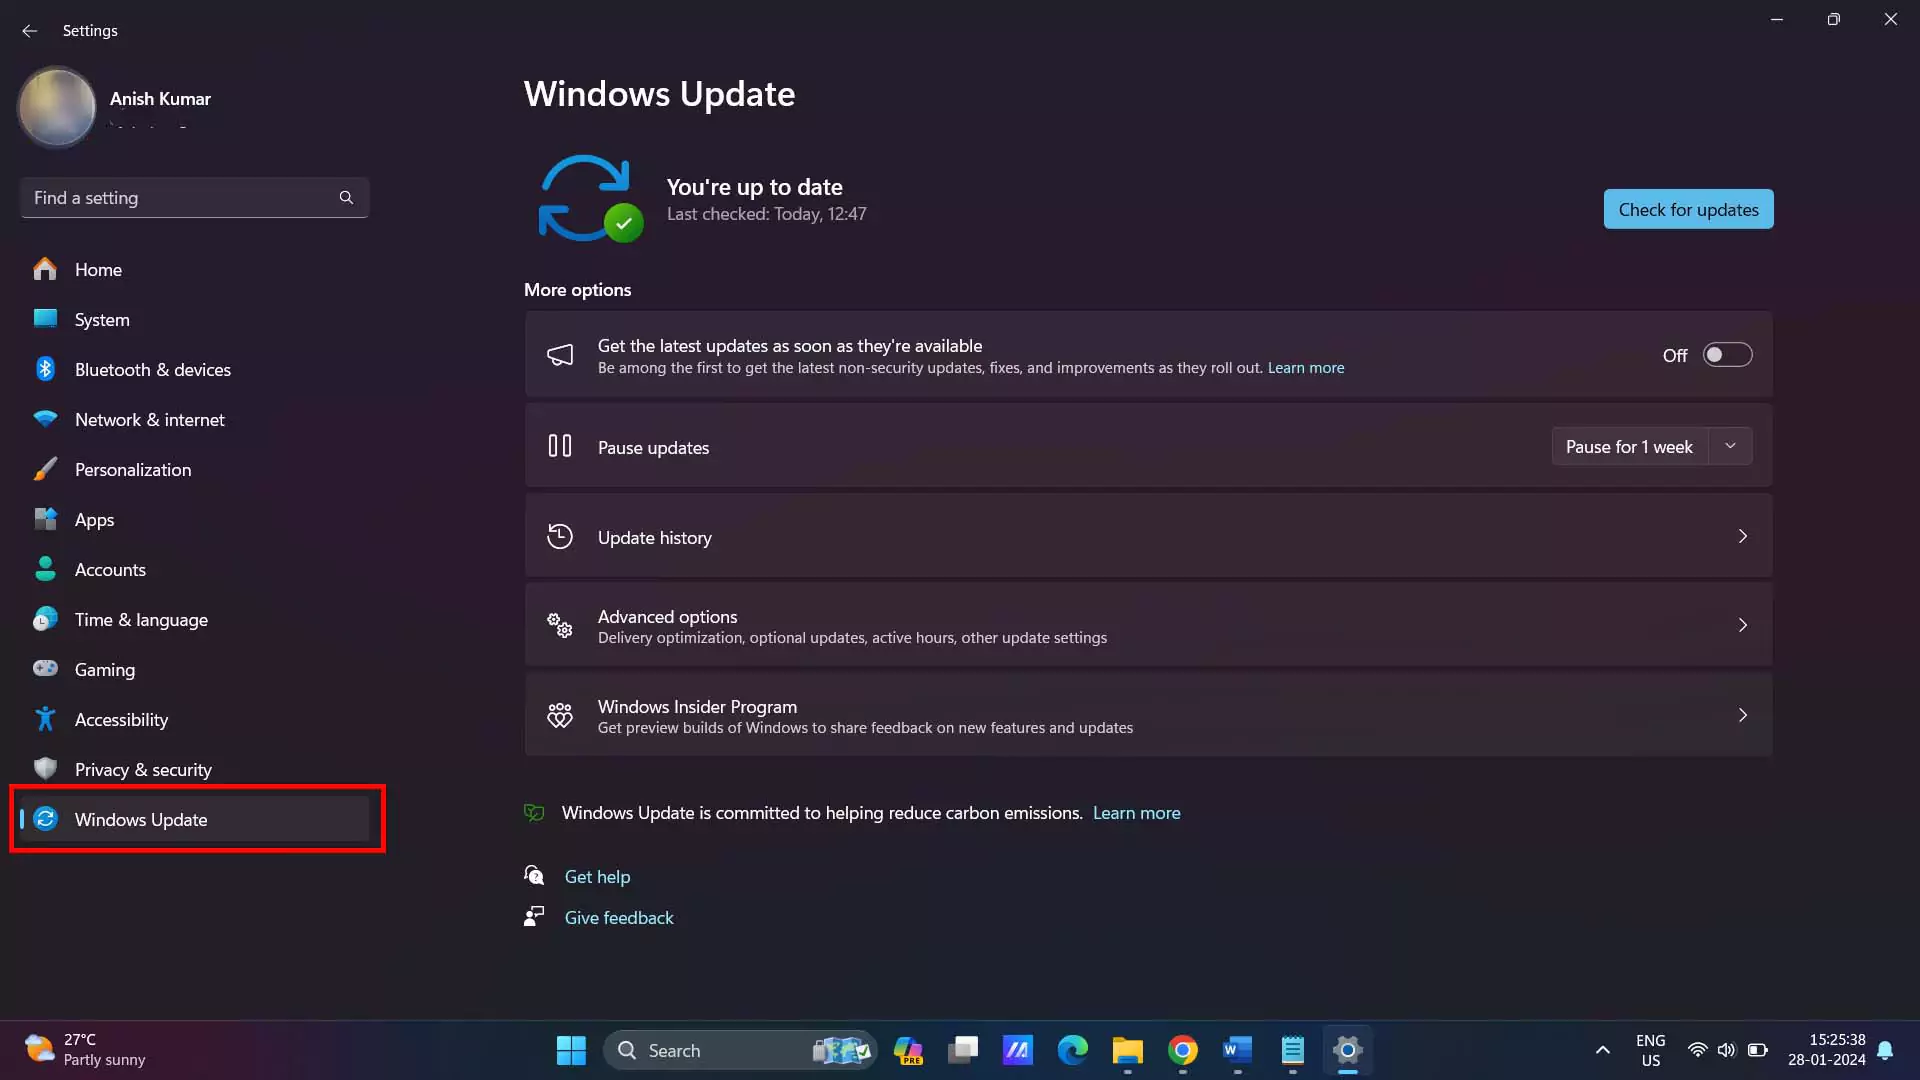
· Click on Check for updates. Download and install all the updates if available.
CPU Drivers Update:
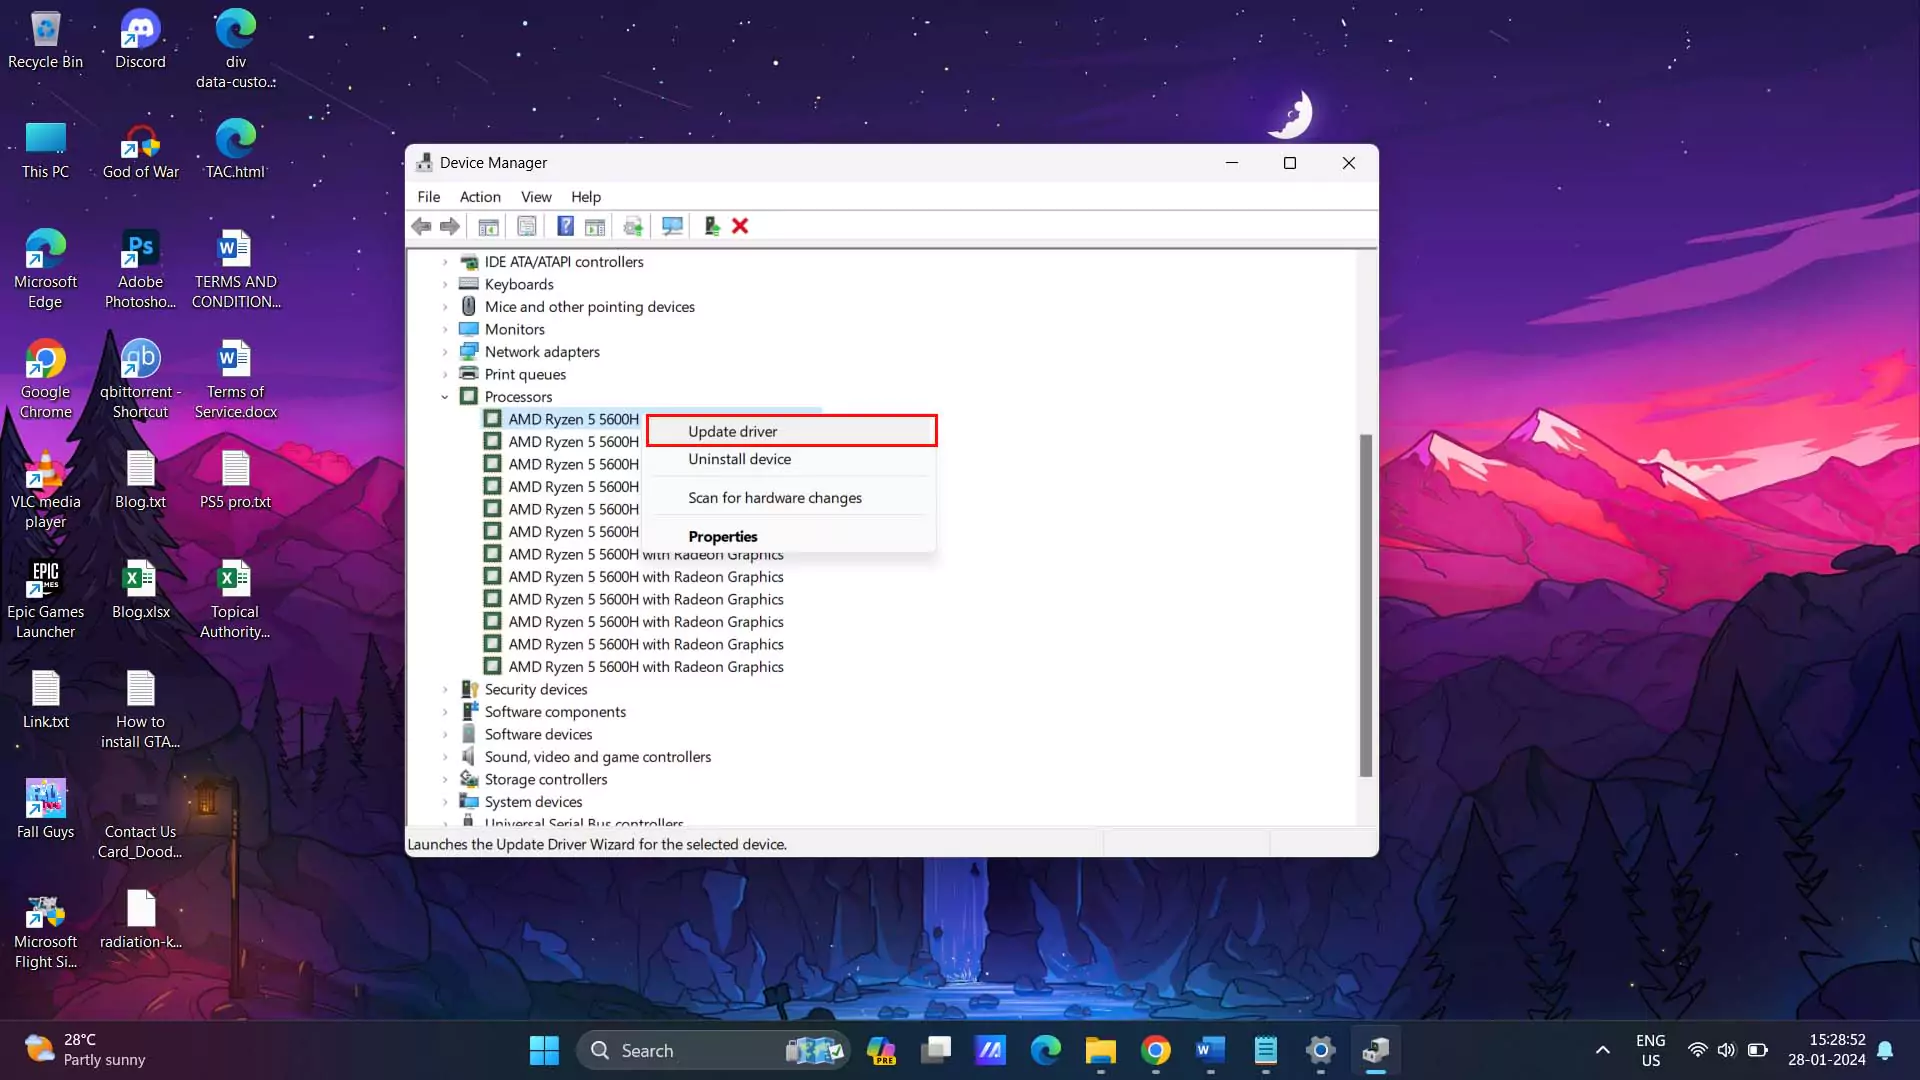
· To update CPU drivers, go to Start Menu and search Device Manager and open.

· In Device Manager select Processors.
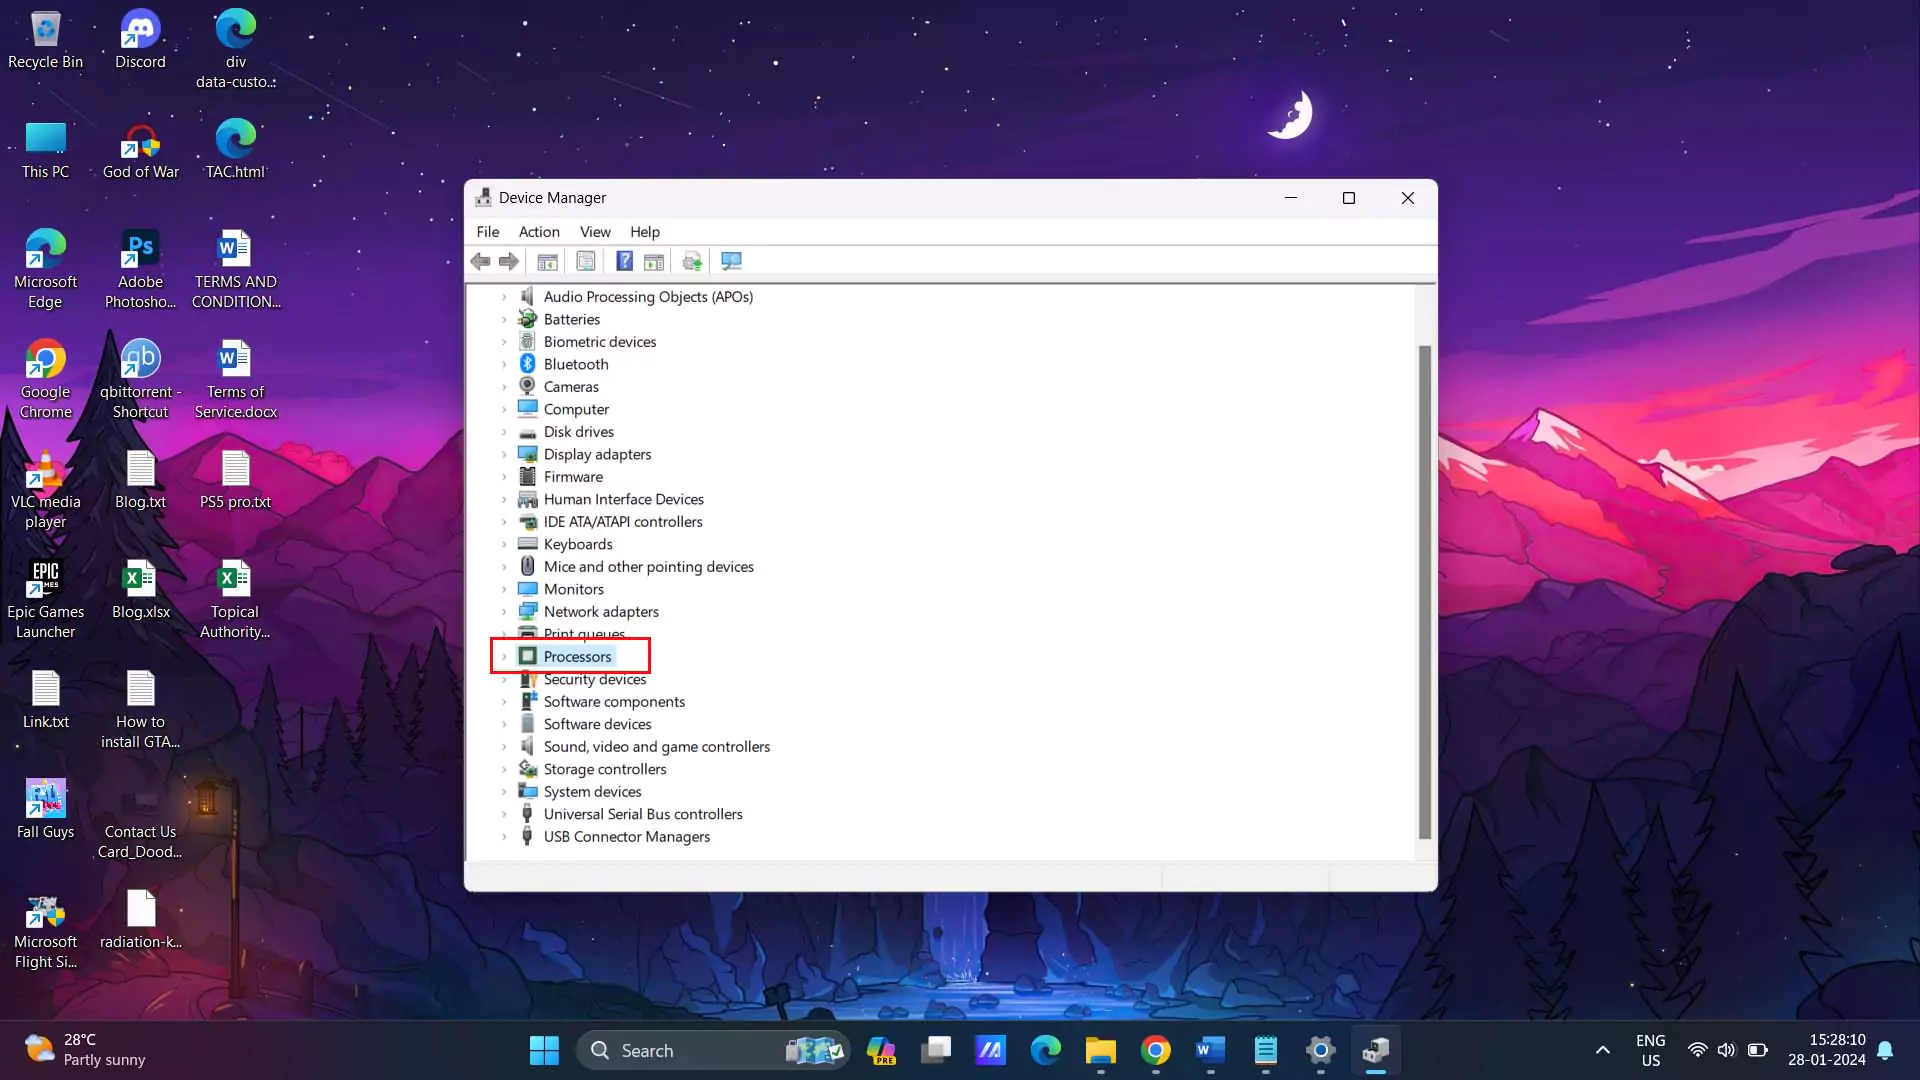
· Right Click and select update drivers and choose Search Automatically for Drivers to download and update CPU drivers.
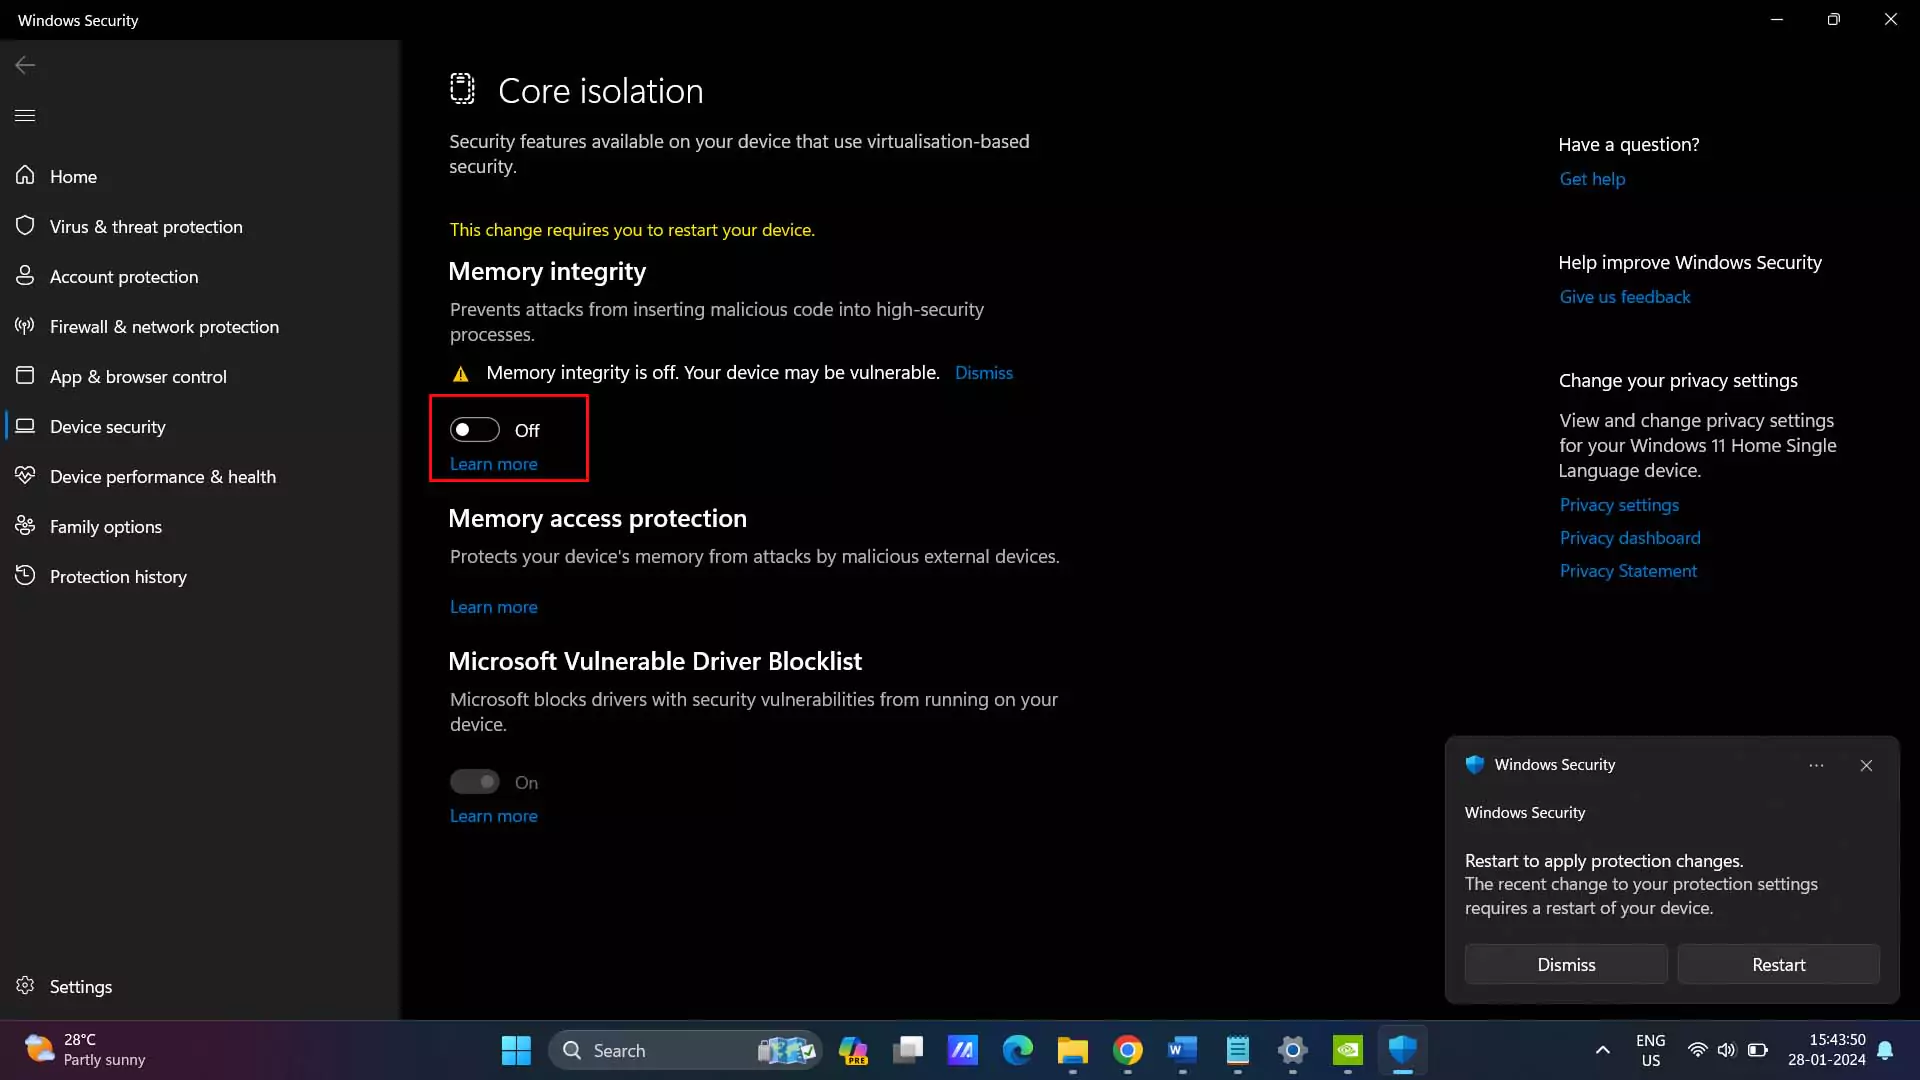
7. Disable Memory Integrity & VMP:
Windows 11 Memory Integrity and VMP are there to protect you against malware attacks, but it uses CPU resources to some extent and it can affect your gaming performance. You can disable it while you are gaming to improve performance and re-enable it later to keep your system protected. To disable it follow the below steps:
· Go to Start Menu and search for Core Isolation.

· Open Core Isolation and disable Memory Integrity.
· To disable Virtual Machine Platform (VMP) go to Control Panel.
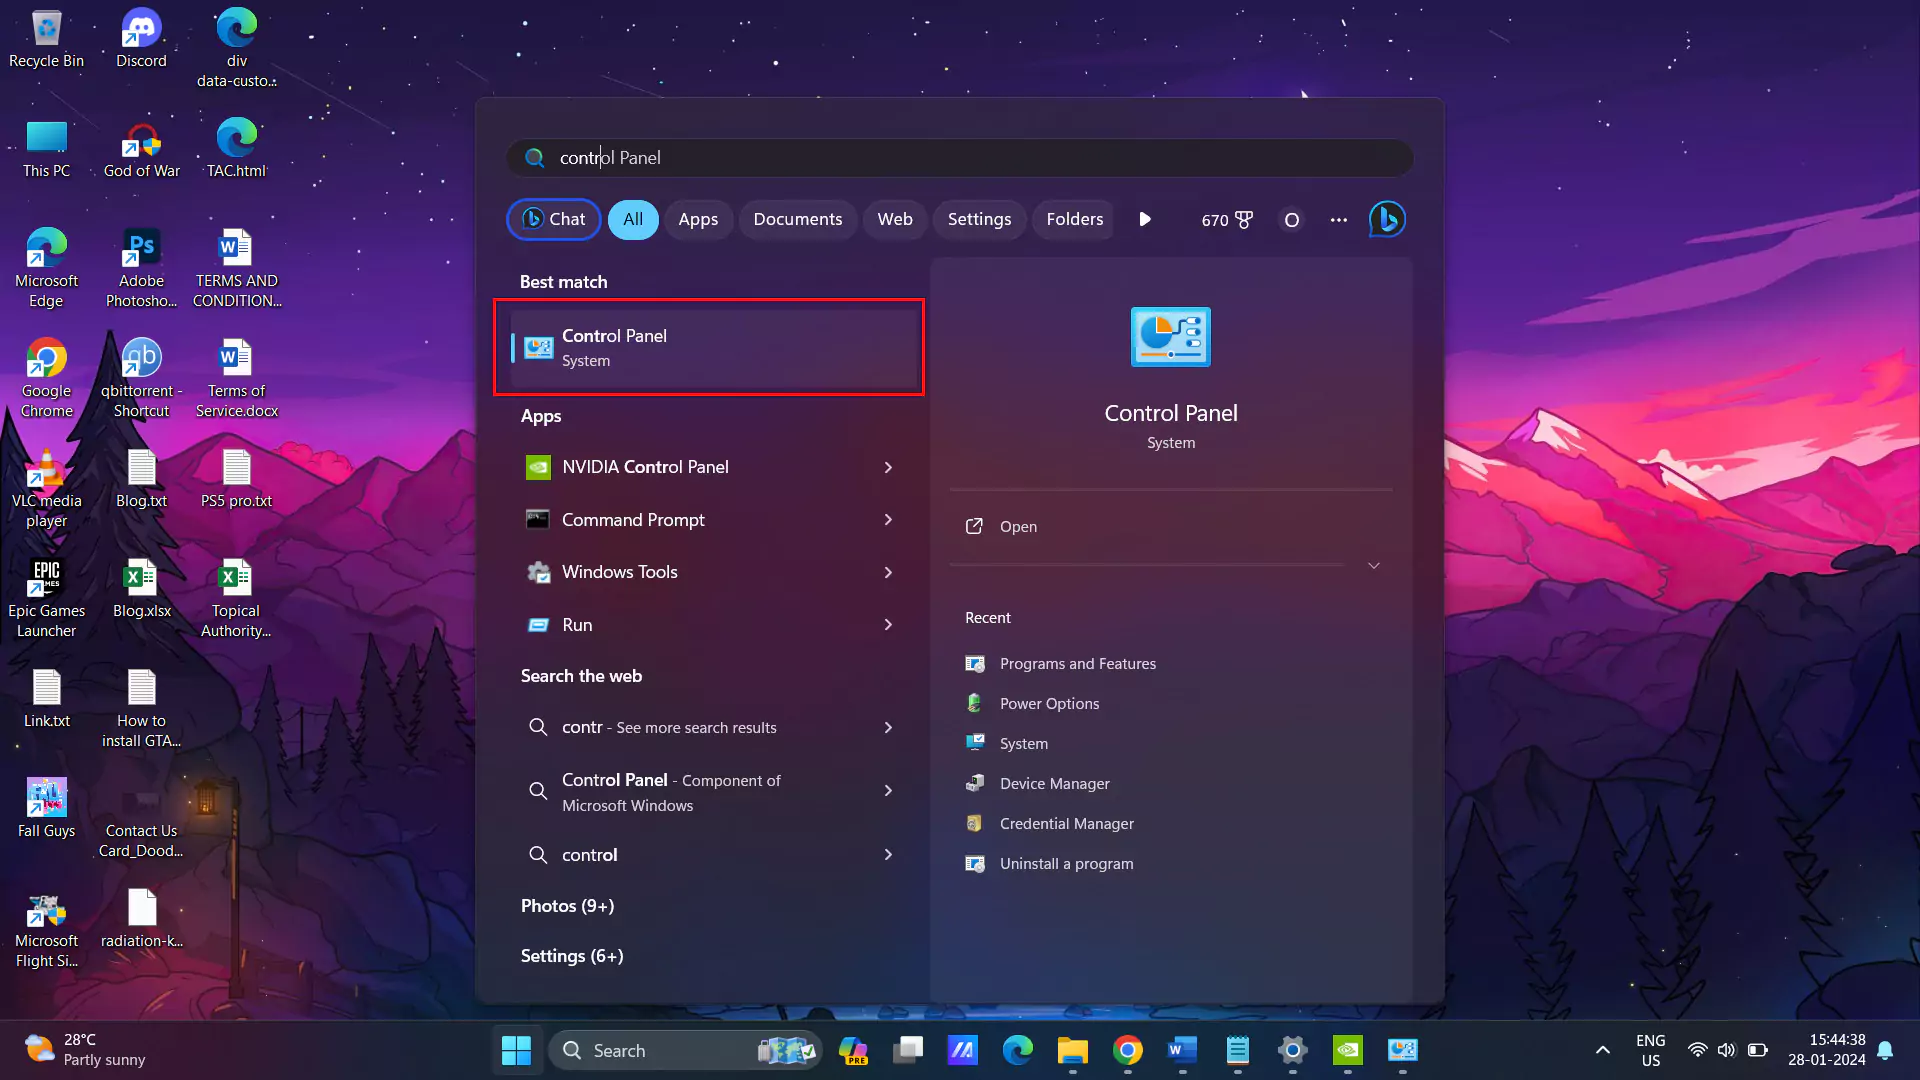
· Select Program and Features.
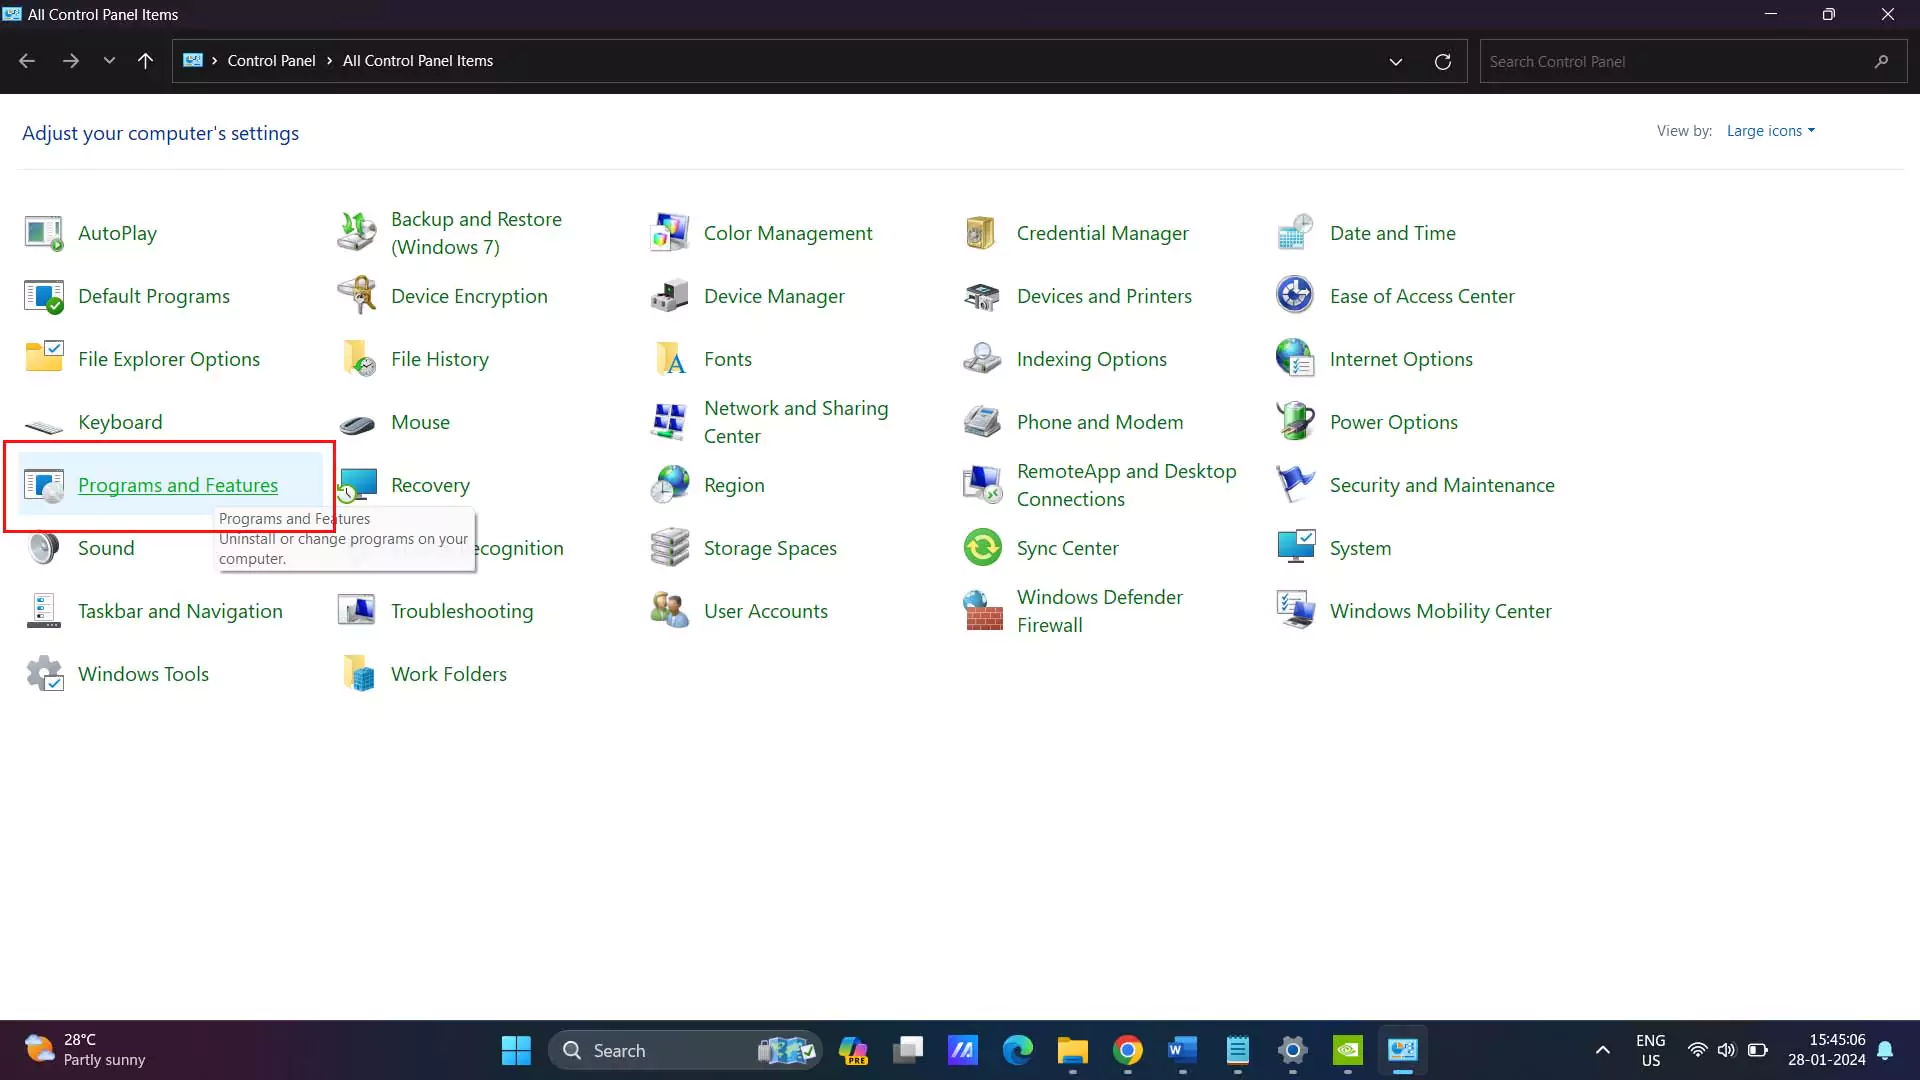
· Then select Turn Windows Feature on or off as shown in picture below.
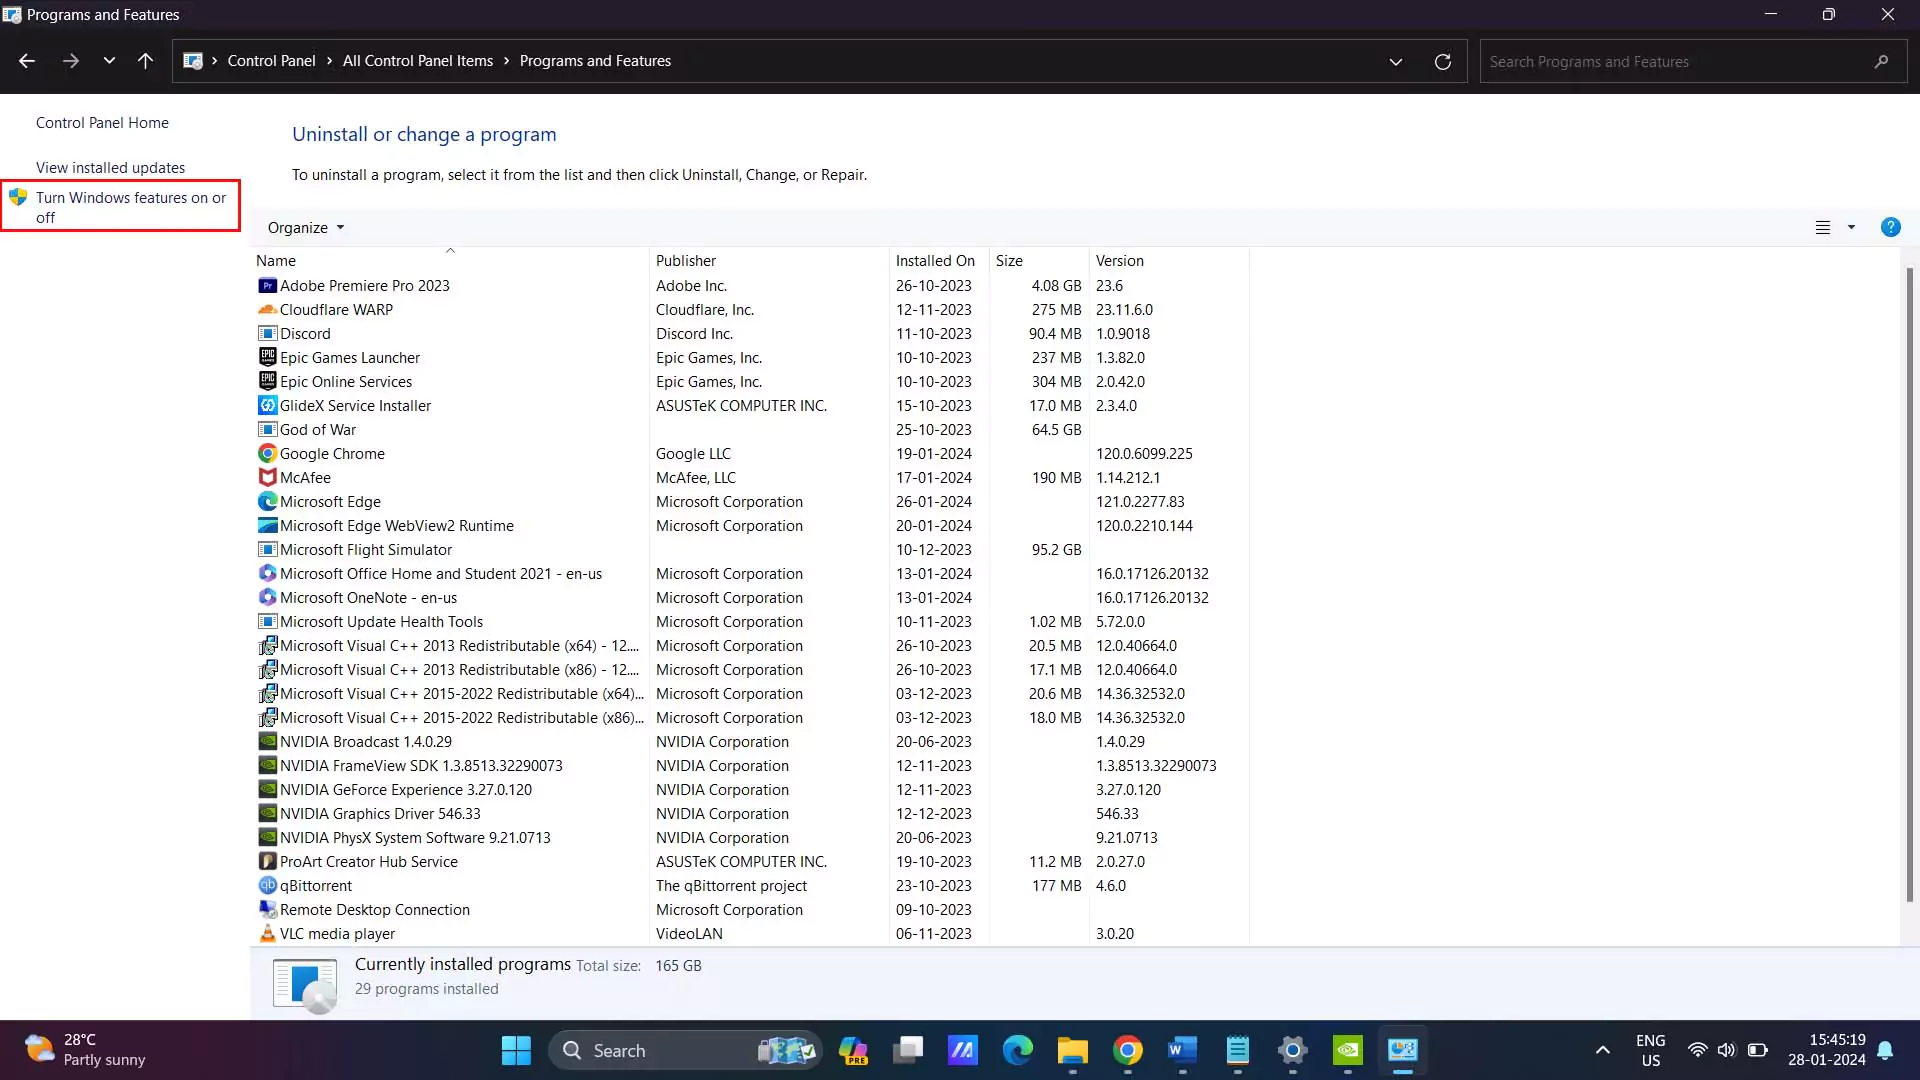
· Scroll down and look for Virtual Machine Platform (VMP). Uncheck the box and hit OK.
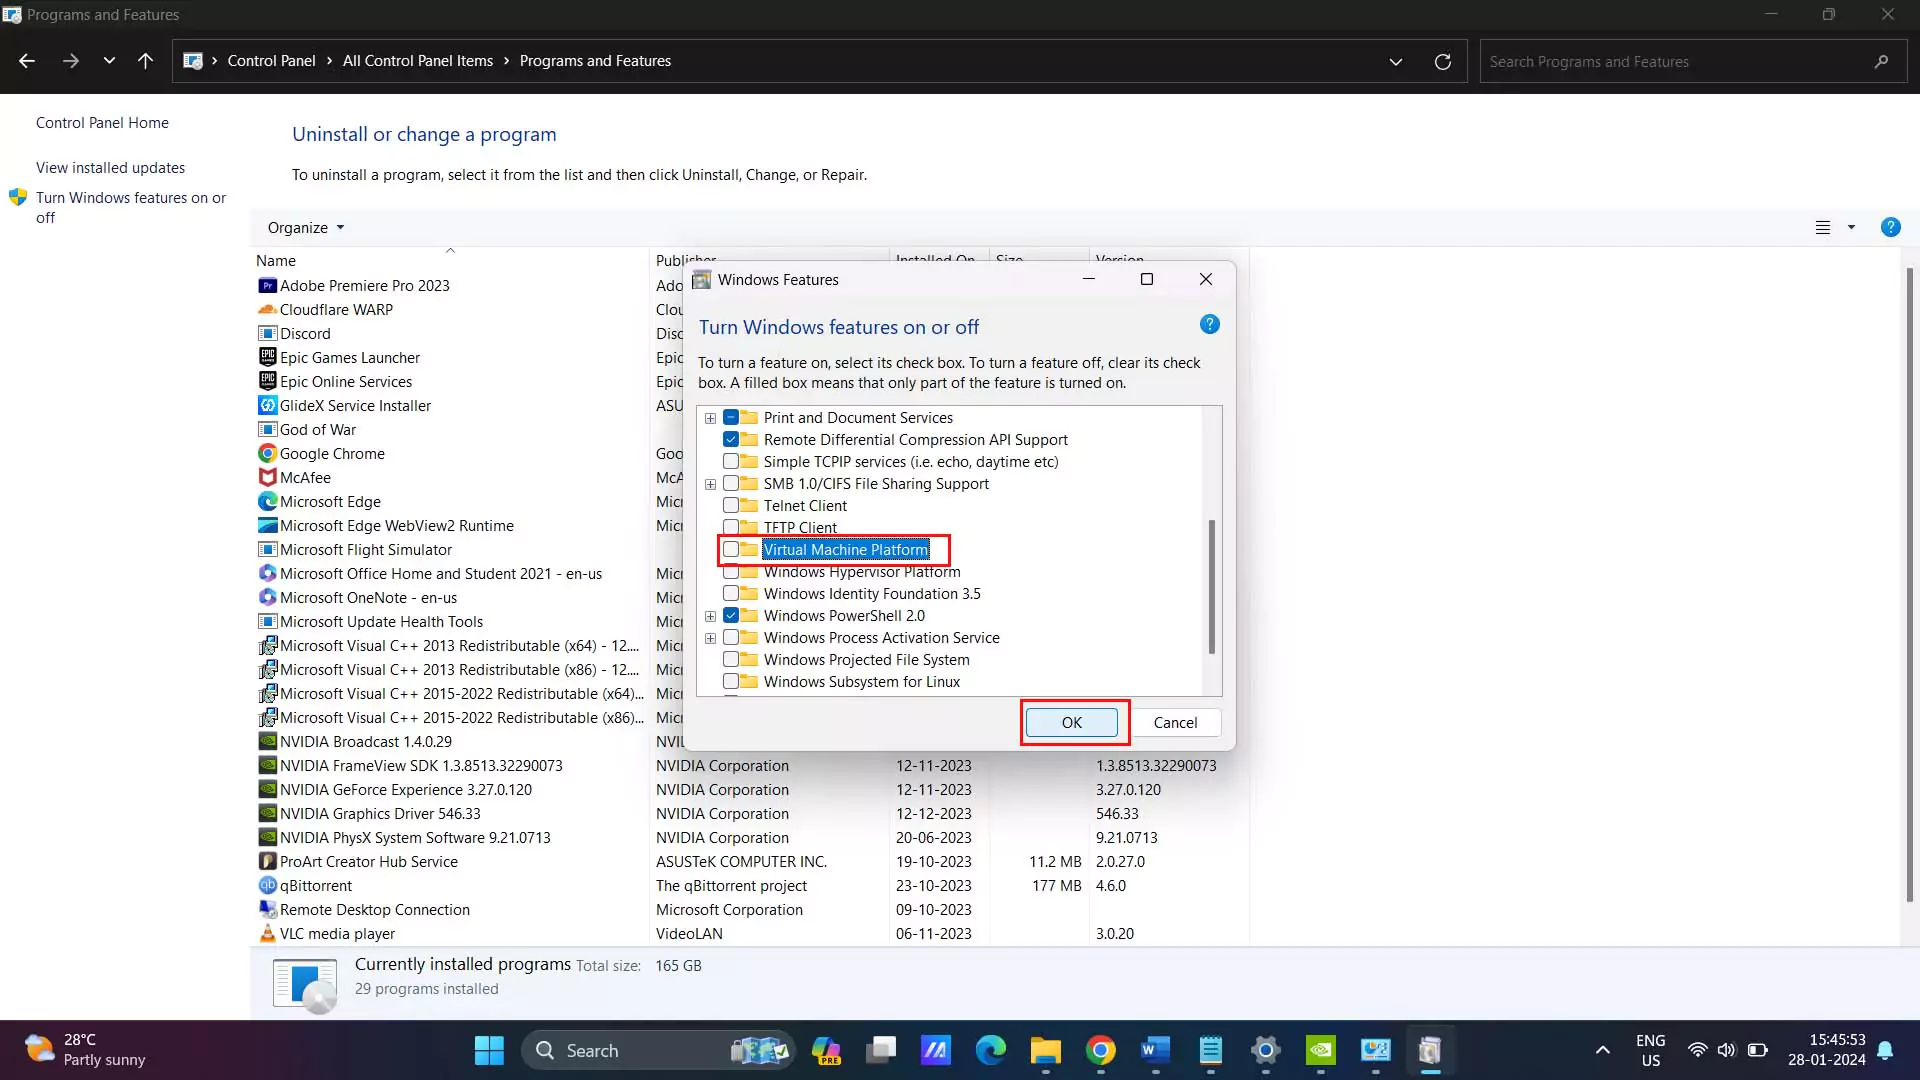
Restart your system once these settings are changed.
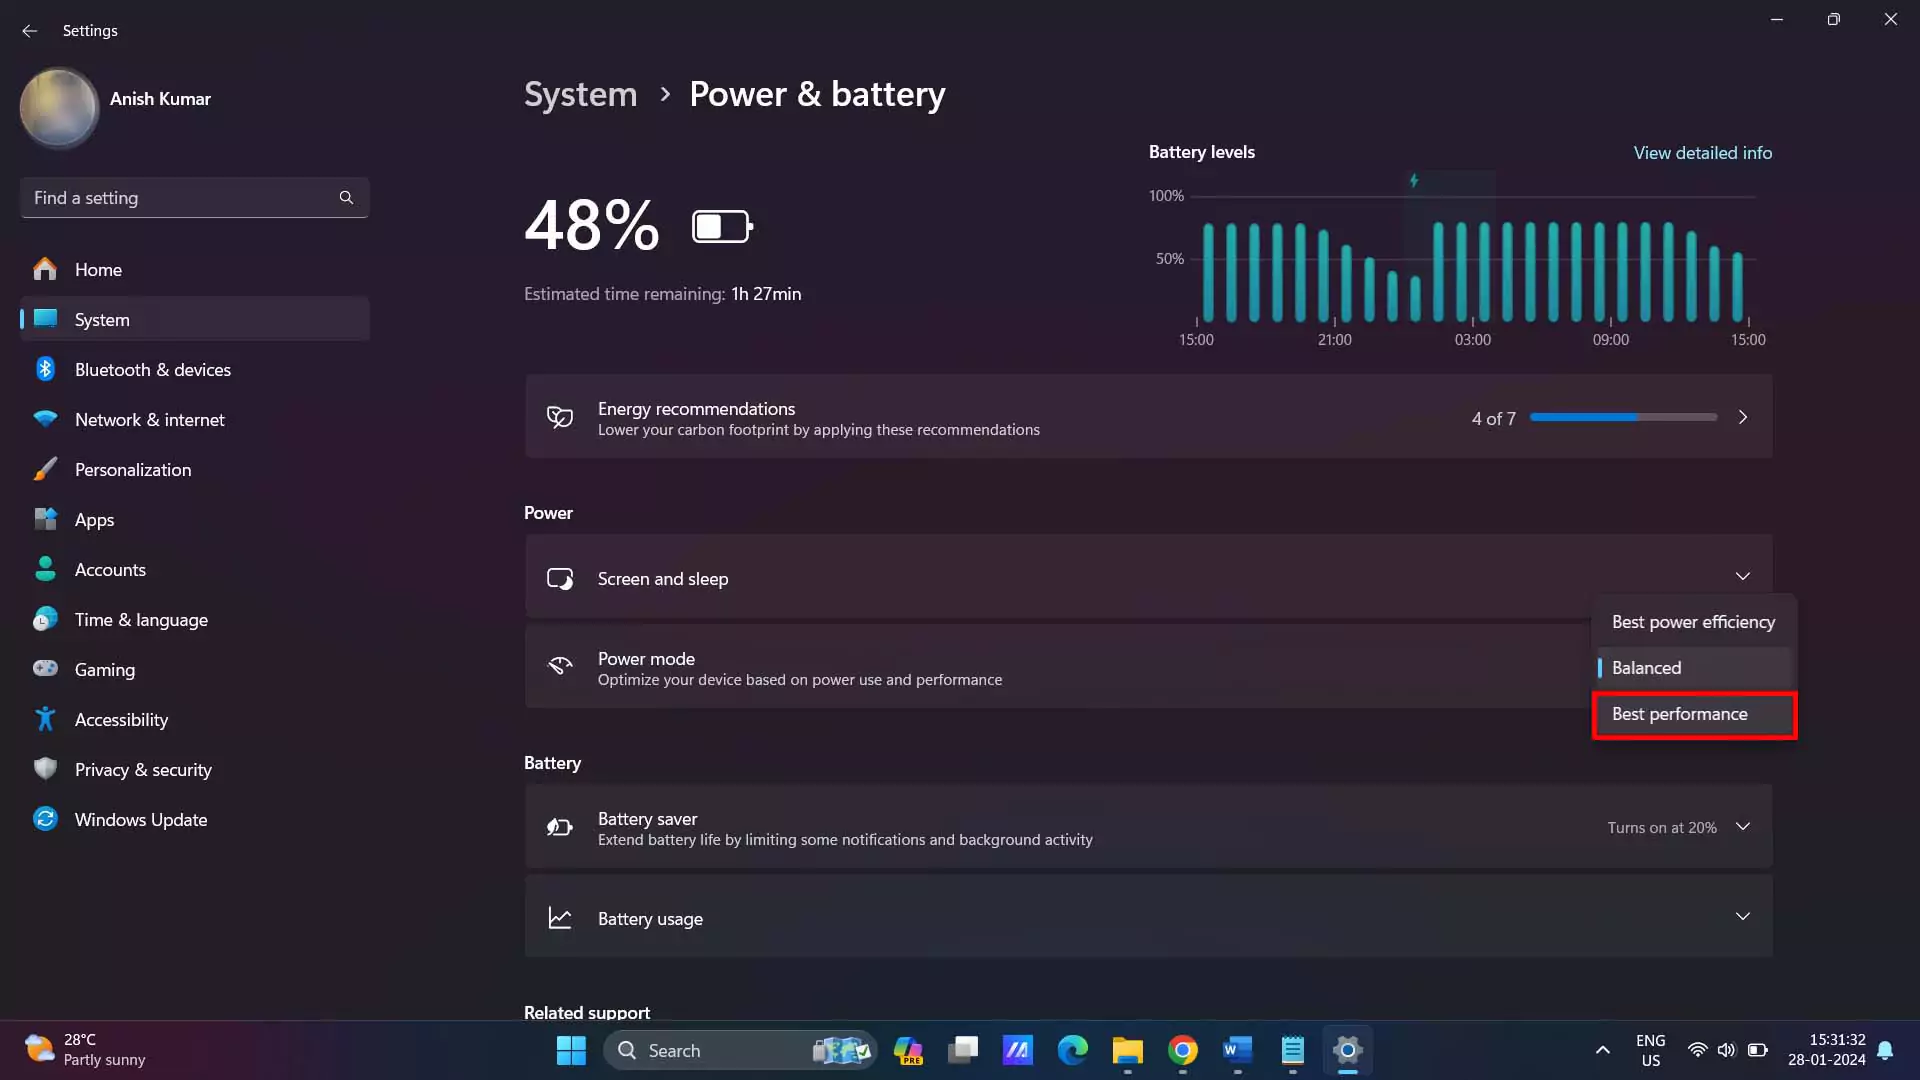
8. Enable High Performance Mode:
In Windows 11 you can directly change the power mode from settings, without going to control panel. Changing the performance mode can improve gaming performance to optimal level, however if you are playing on laptop then it can decrease your battery performance.
· Go to Settings > System > Power & Battery.
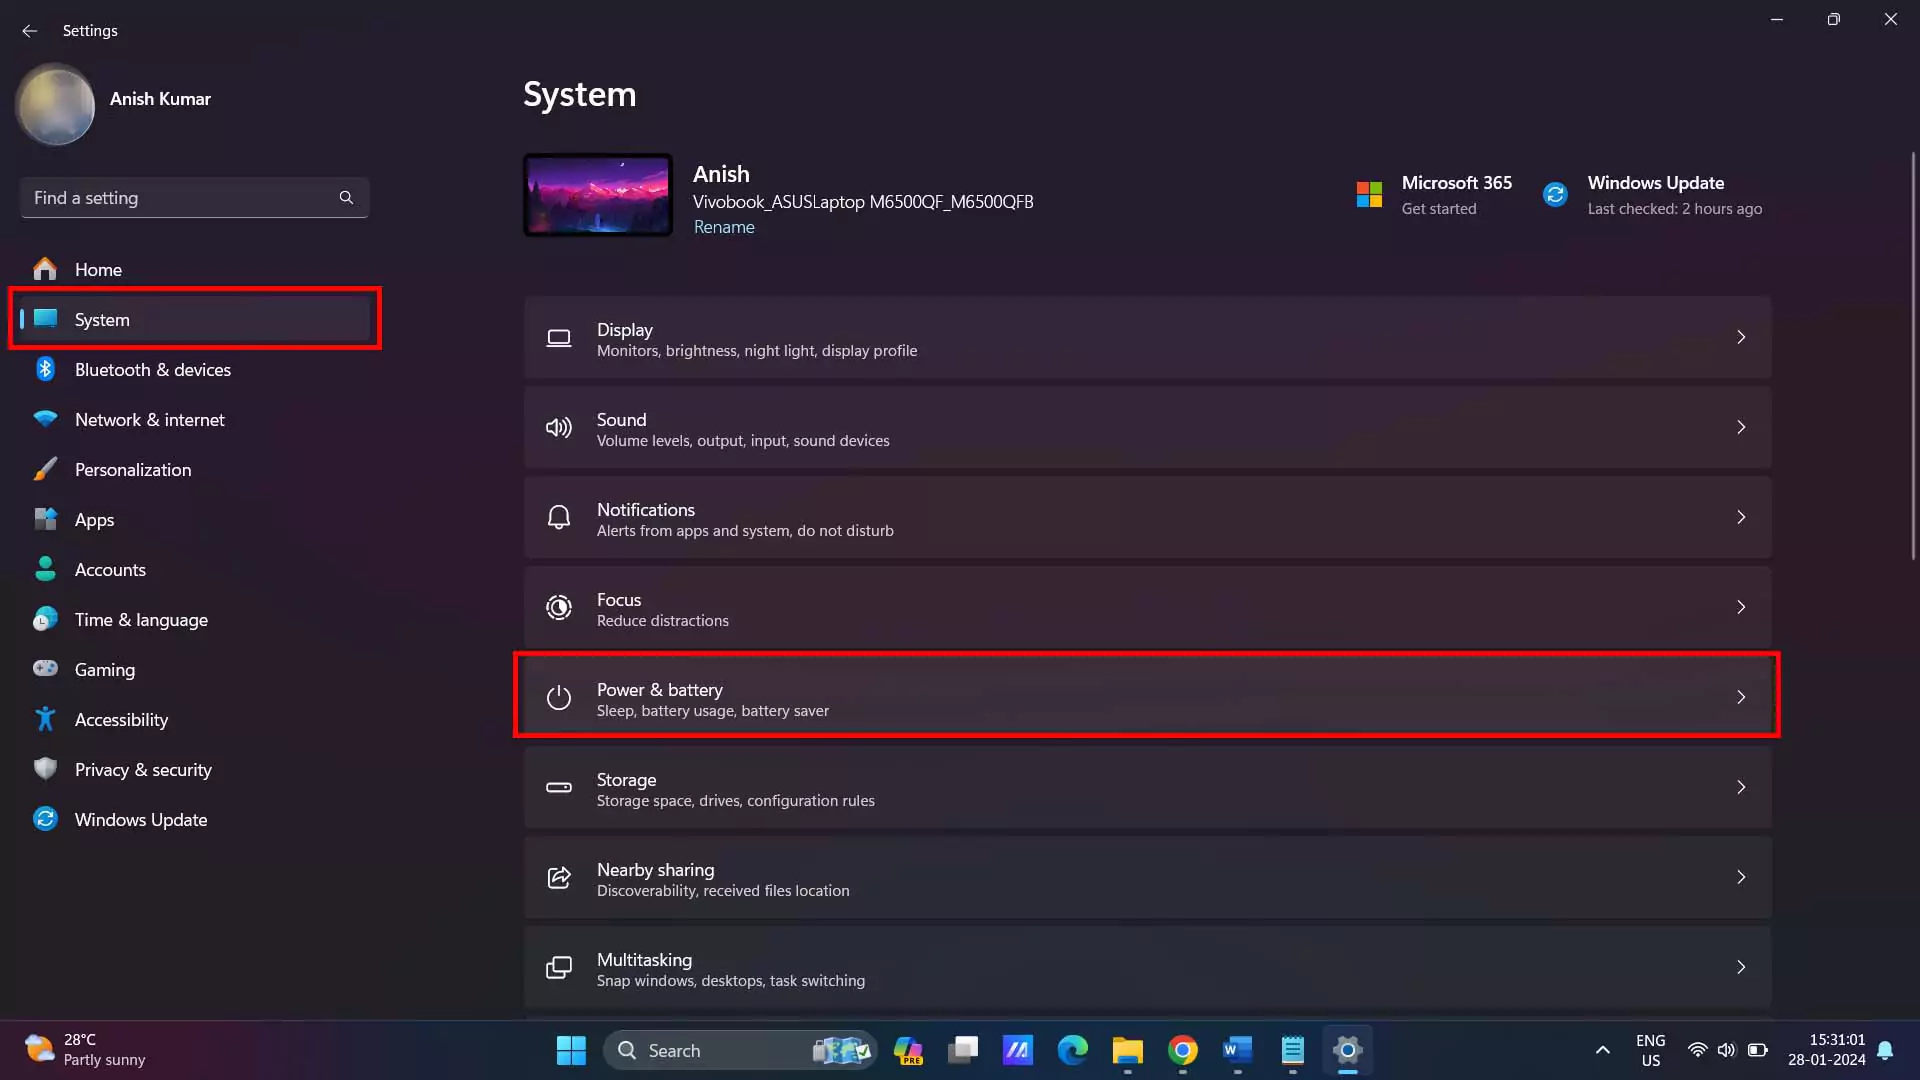
· Select “Power Mode” and choose “Best Performance”.
9. Disable Personalized Ads from Privacy Policy:
· Go to Settings > Privacy & Security > General.
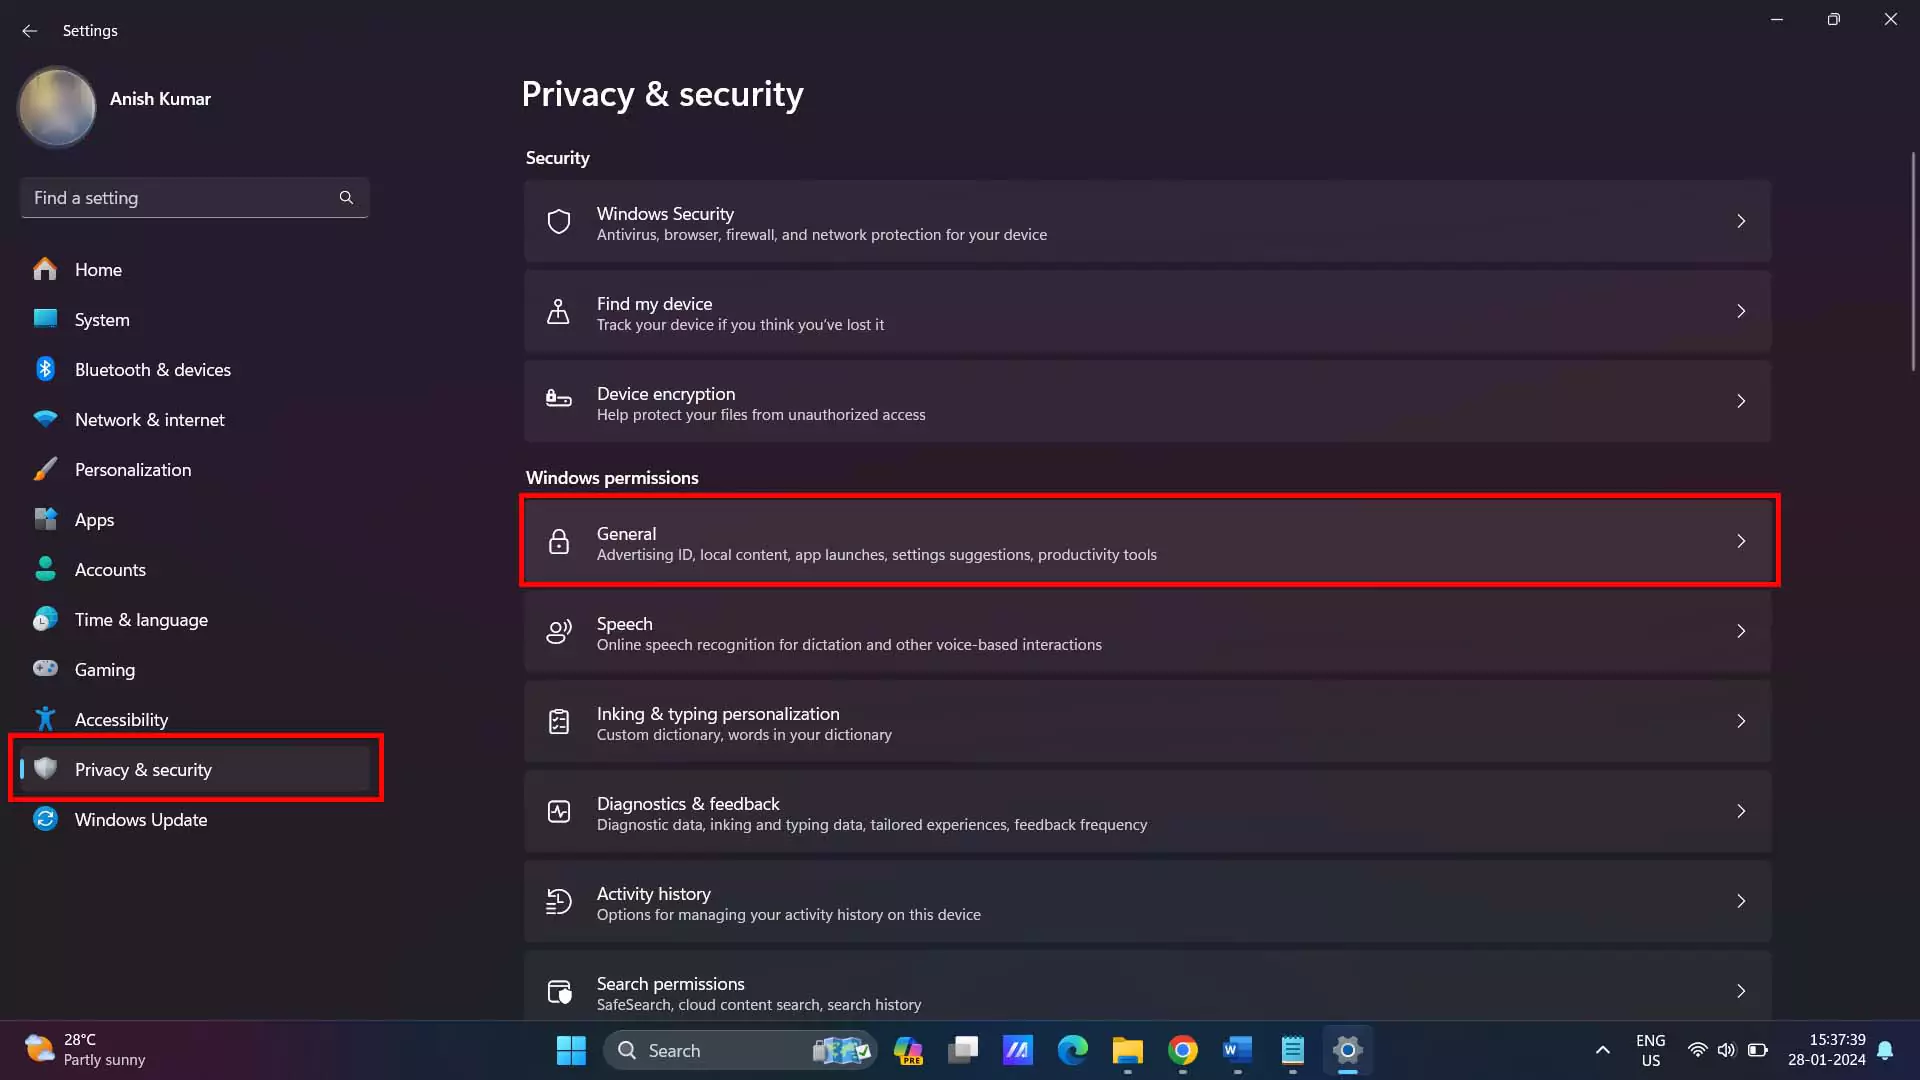
· Inside the General tab make sure you disable all the options shown below to increase performance optimization in Windows 11.

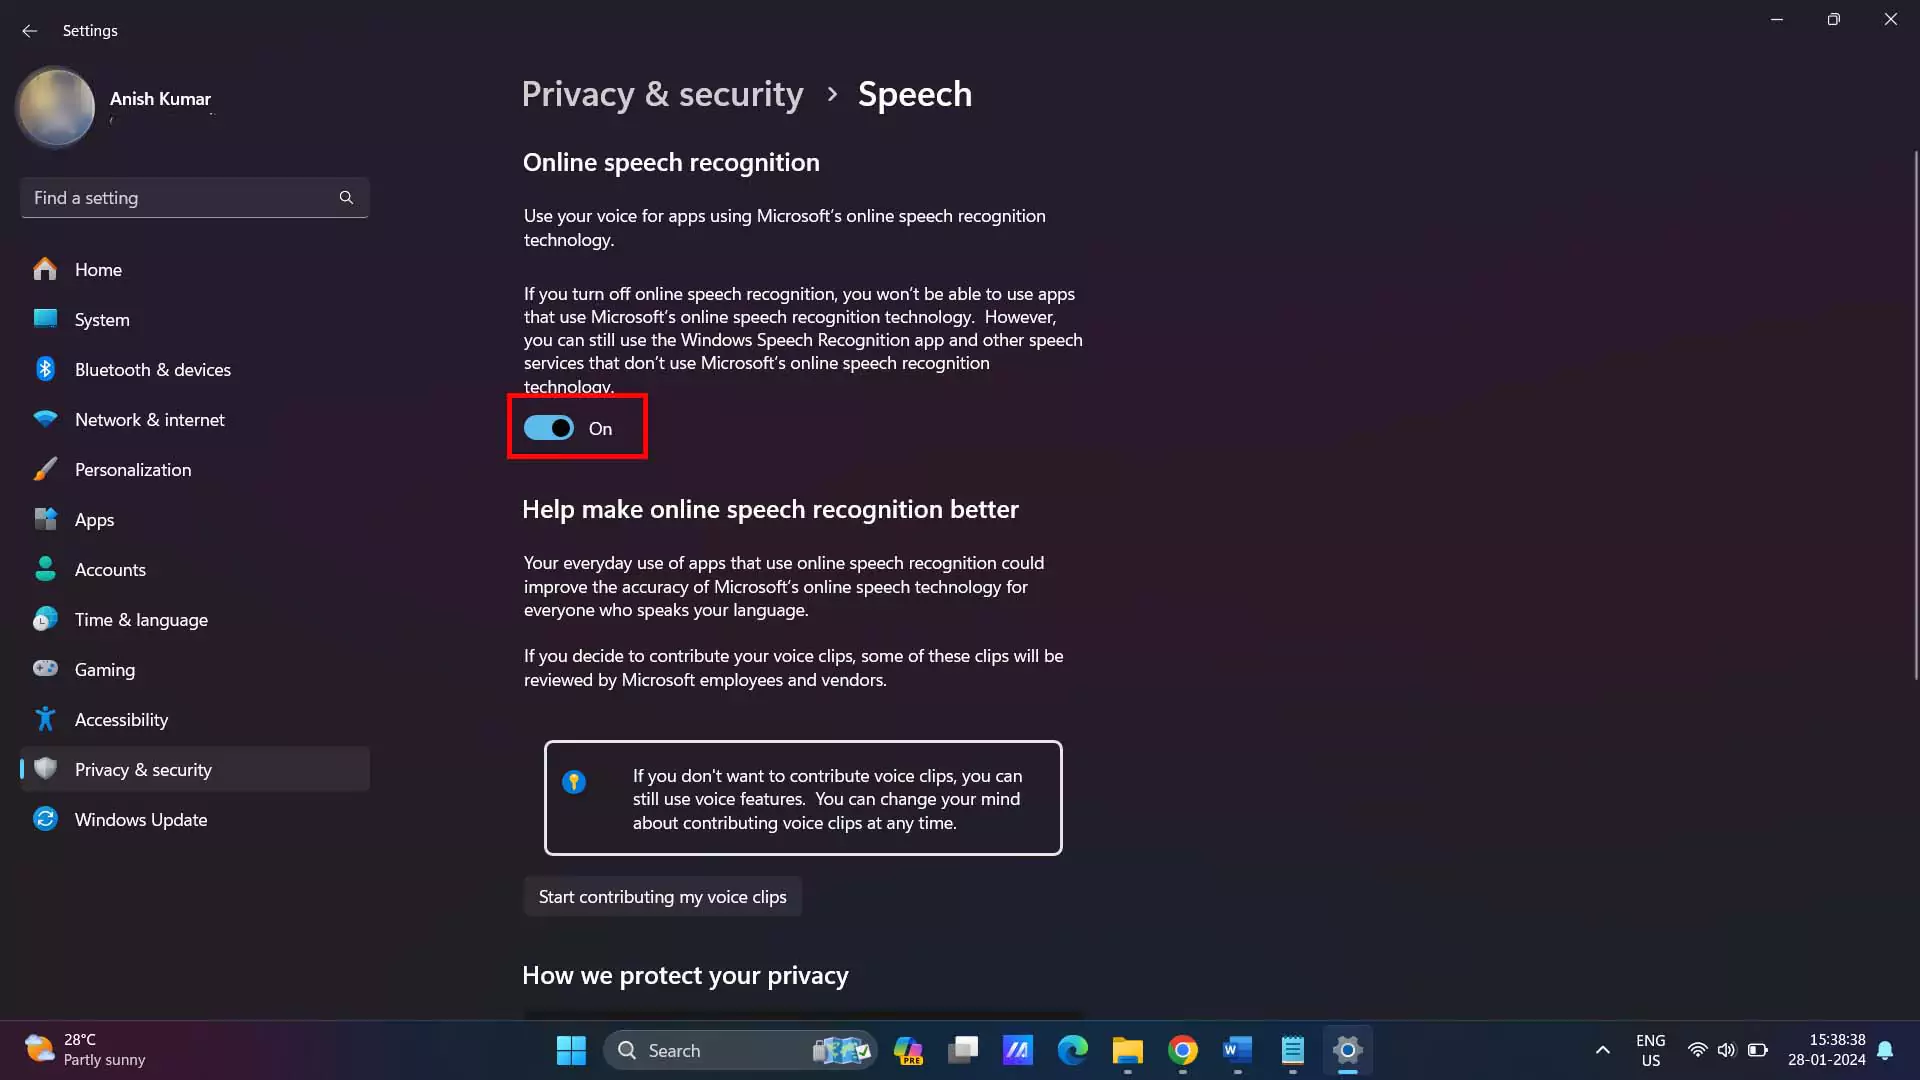
· Disable Speech Recognition (Optional).
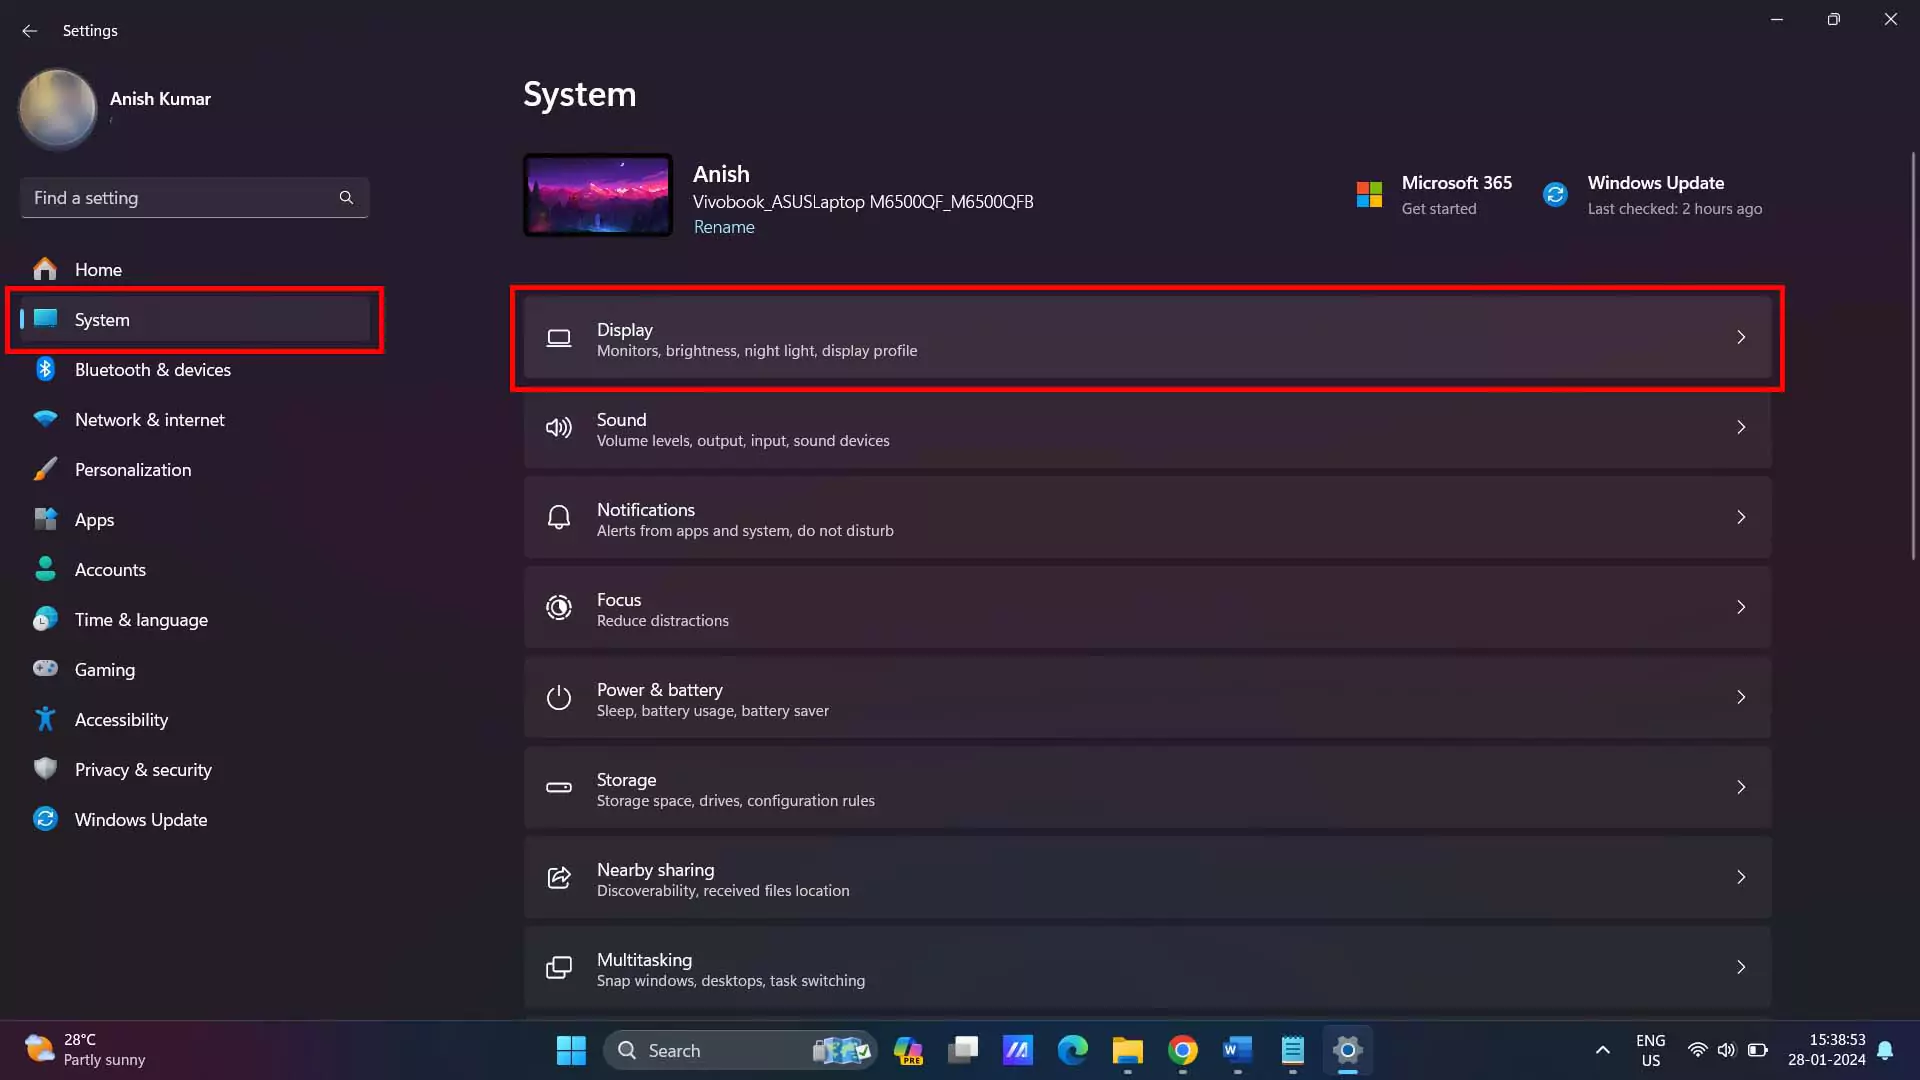
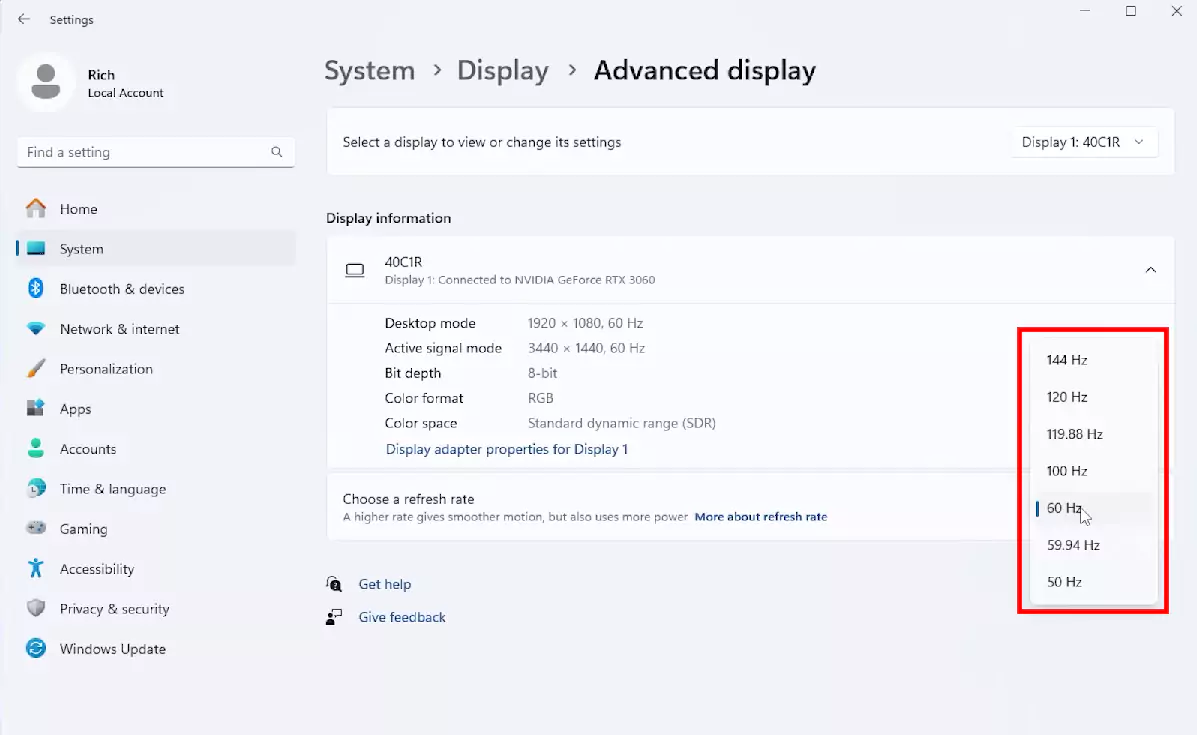
10. Set the Refresh Rate of Display:
If you have a 144Hz monitor or laptop or maybe 90Hz monitor or laptop, make sure you are utilizing the display to its maximum refresh rate for more smooth performance in games.
· Go to Settings > System > Display.
· In Display, scroll down and look for the option Advance display.
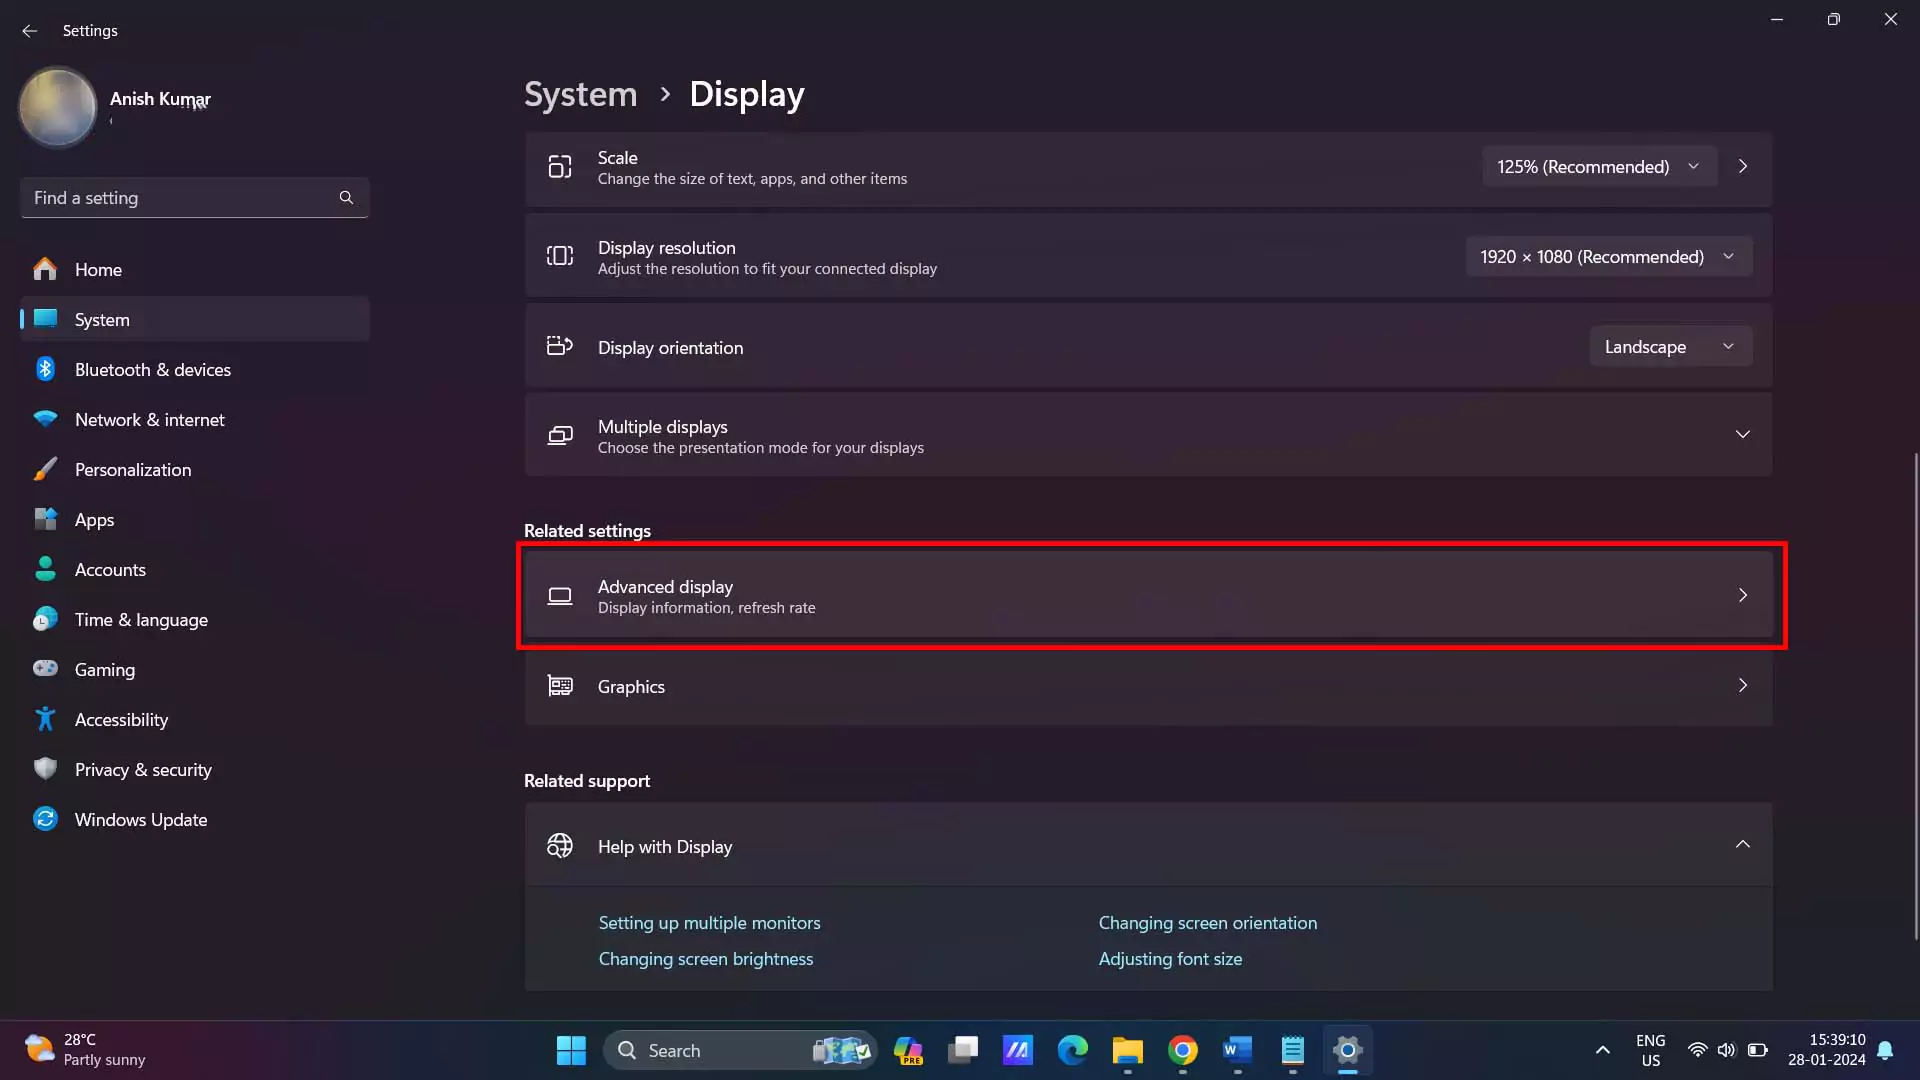
· In advance display choose refresh rate and select the highest refresh rate available for your display, for more smoothest performance in competitive games.
11. Disable Unnecessary Services:
· Go to Start Menu and Search for “Services”.
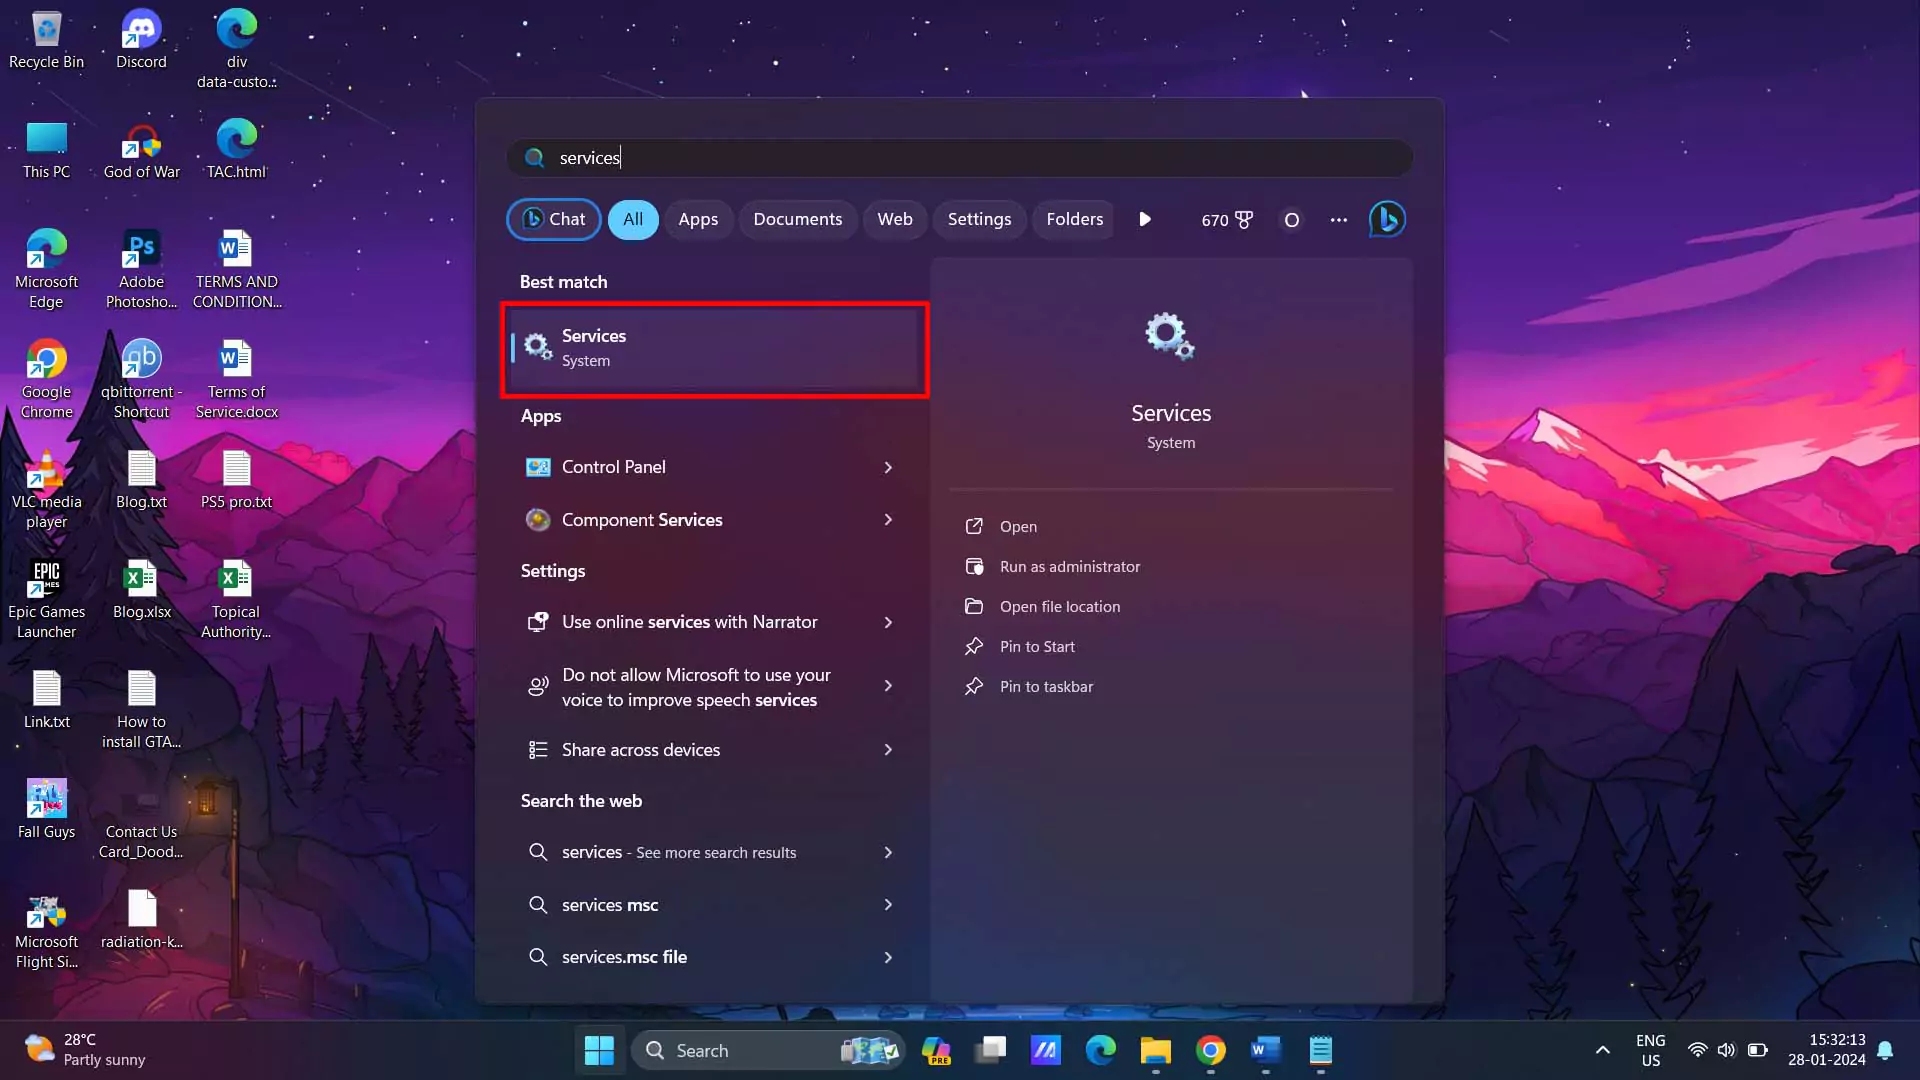
· Open Services and here you search for all Xbox services and disable, as it will be using system resources in background.
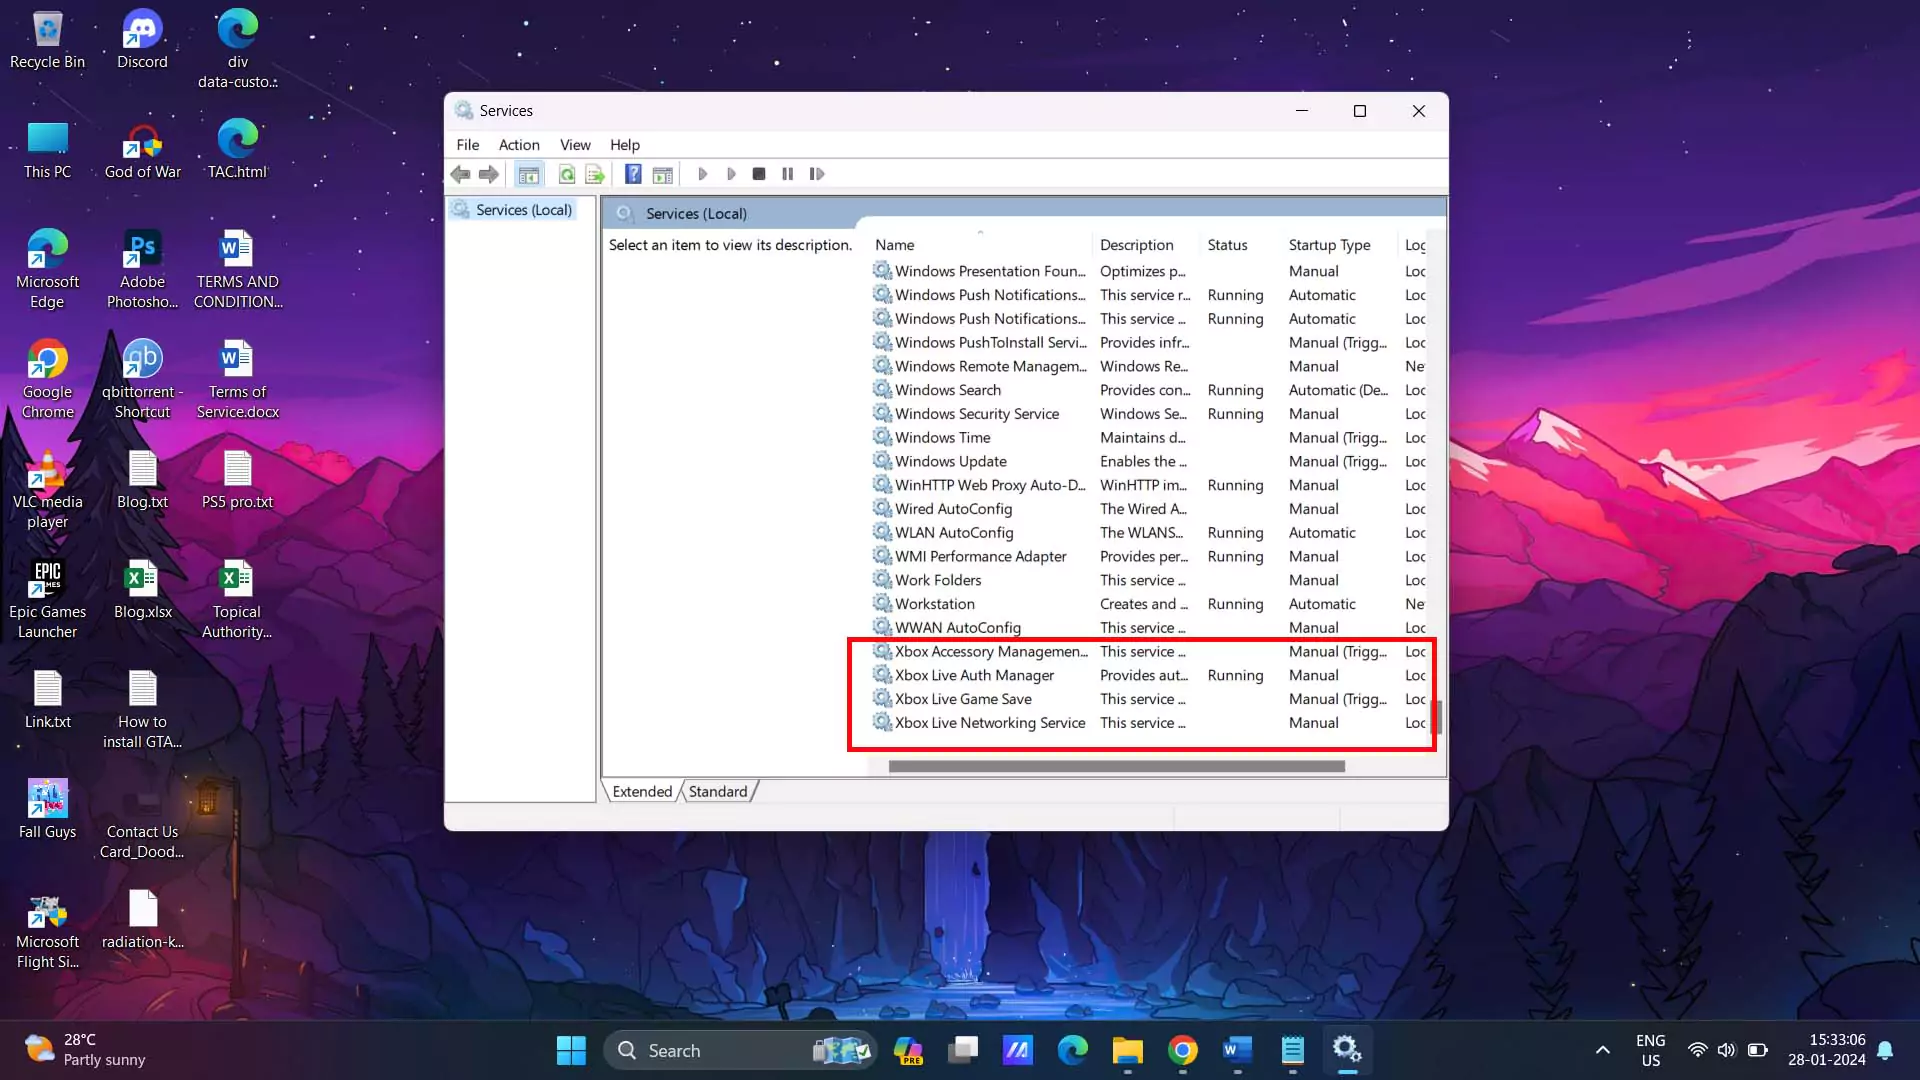
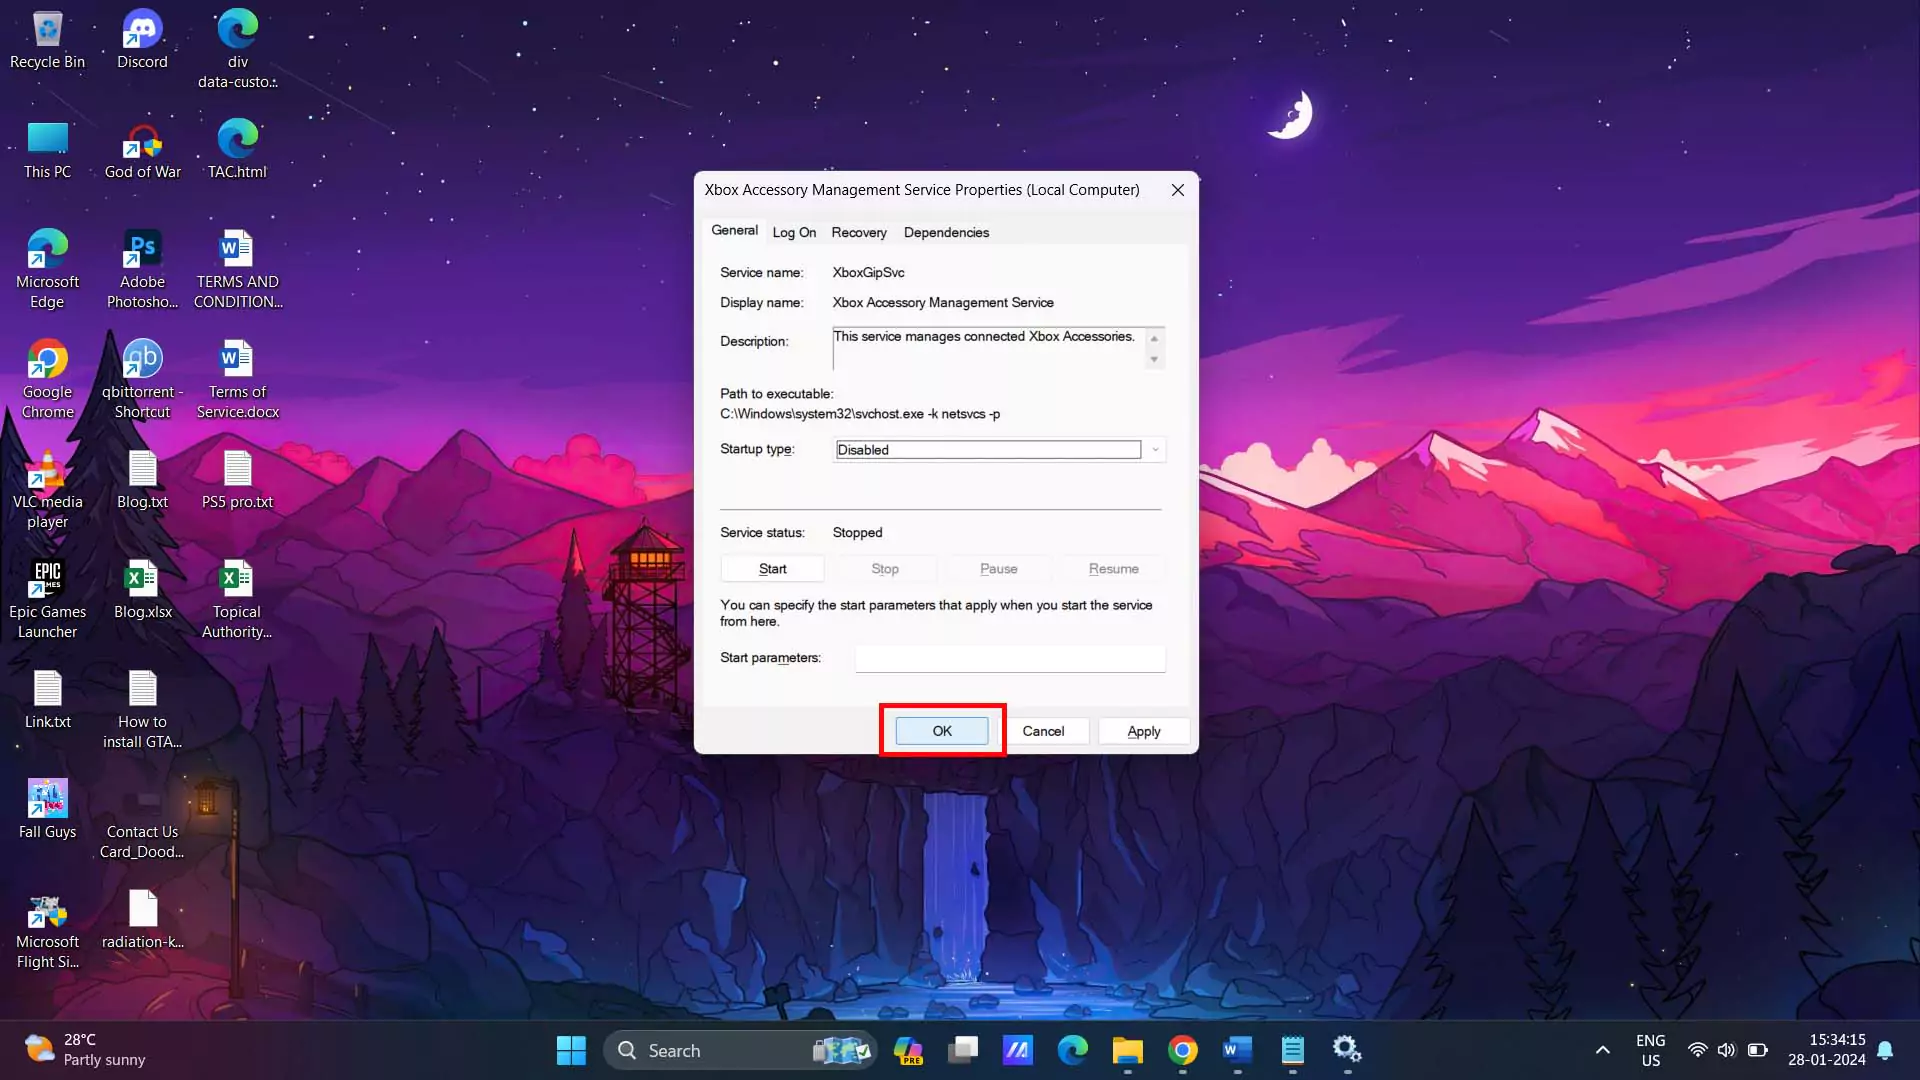
· Double click on the Service and select the Startup type.
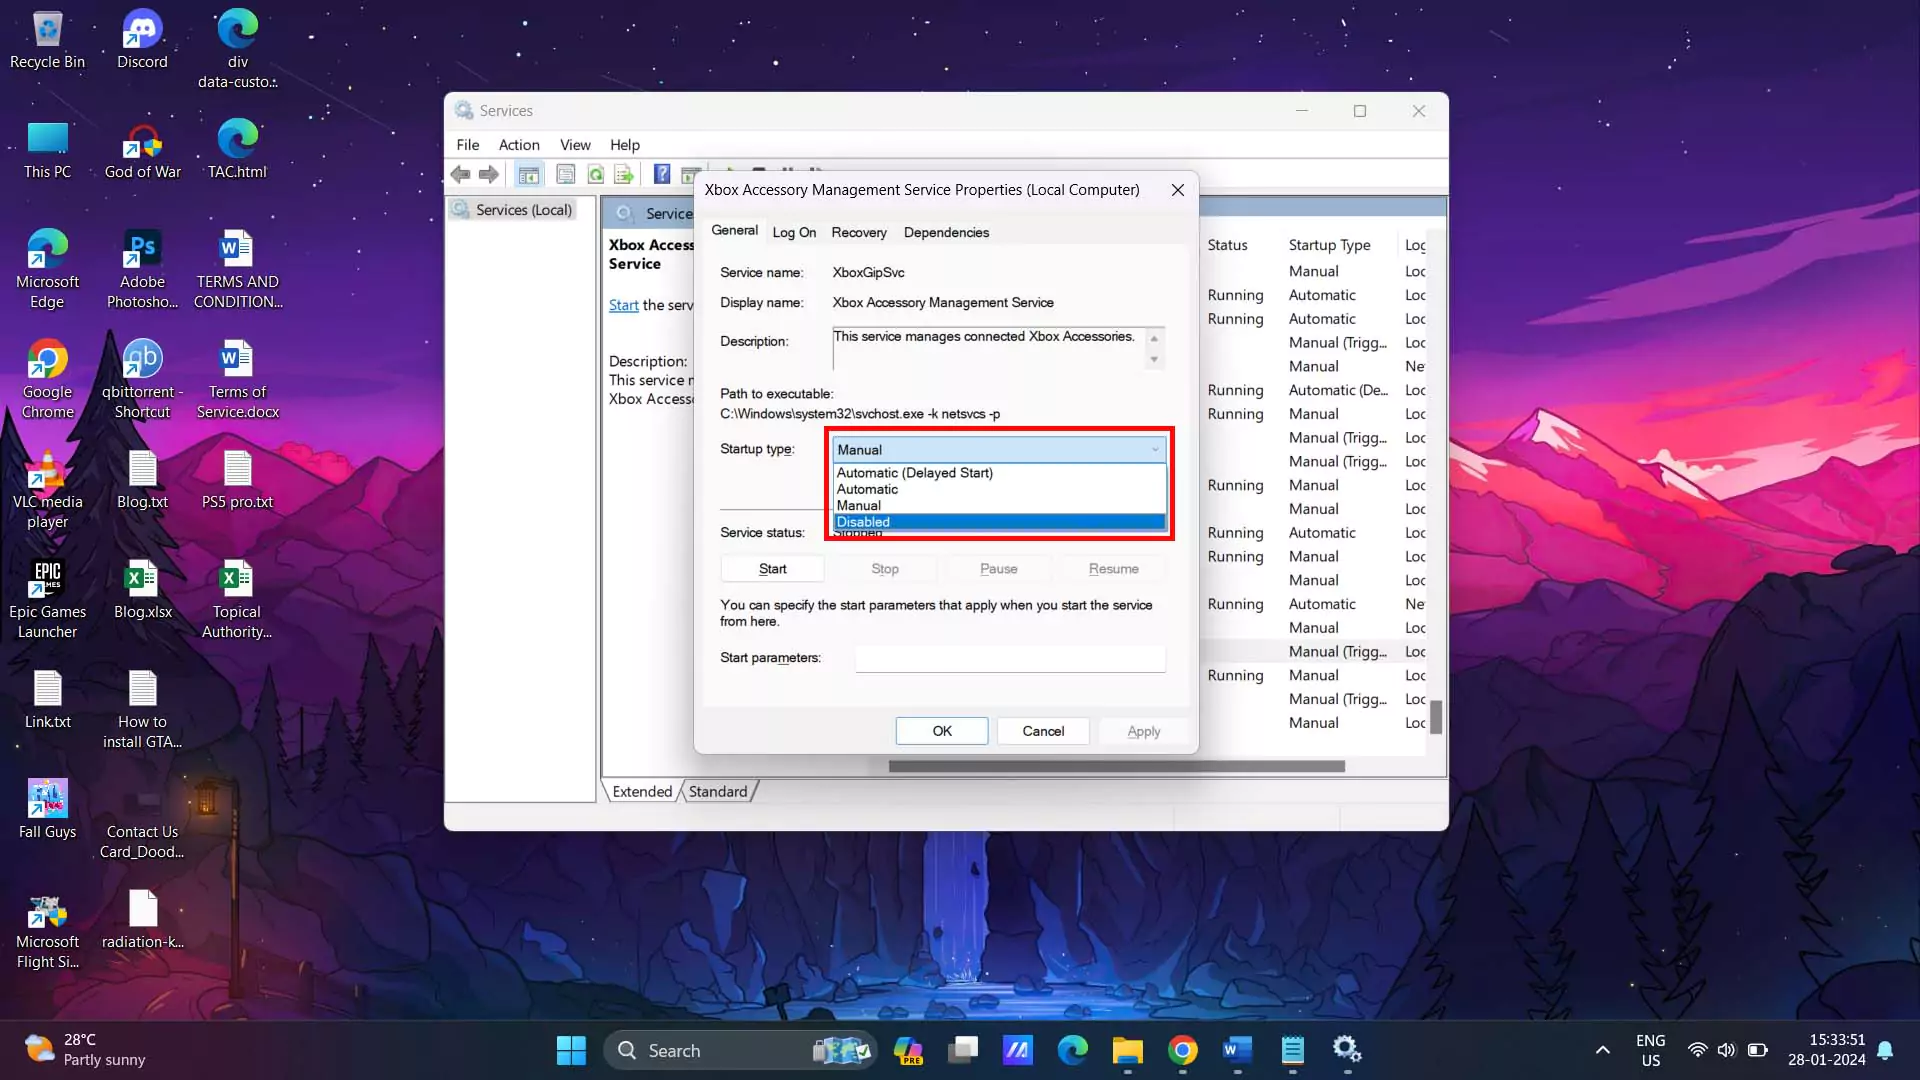
· Choose Disabled and hit OK.
Follow the same procedure to disable some unnecessary services as well, such as: SysMain, Windows Search (Optional), Fax, Wallet Services.


Keep note, you can enable any of these services if you wish to use it in future.
12. Change Nvidia Control Panel Settings:
If your system have Nvidia graphics card then you can tweak some settings from Nvidia control panel to gain more optimized performance in gaming.
· Go to Nvidia Control Panel from system tray in Taskbar. (or you can search in Start Menu)
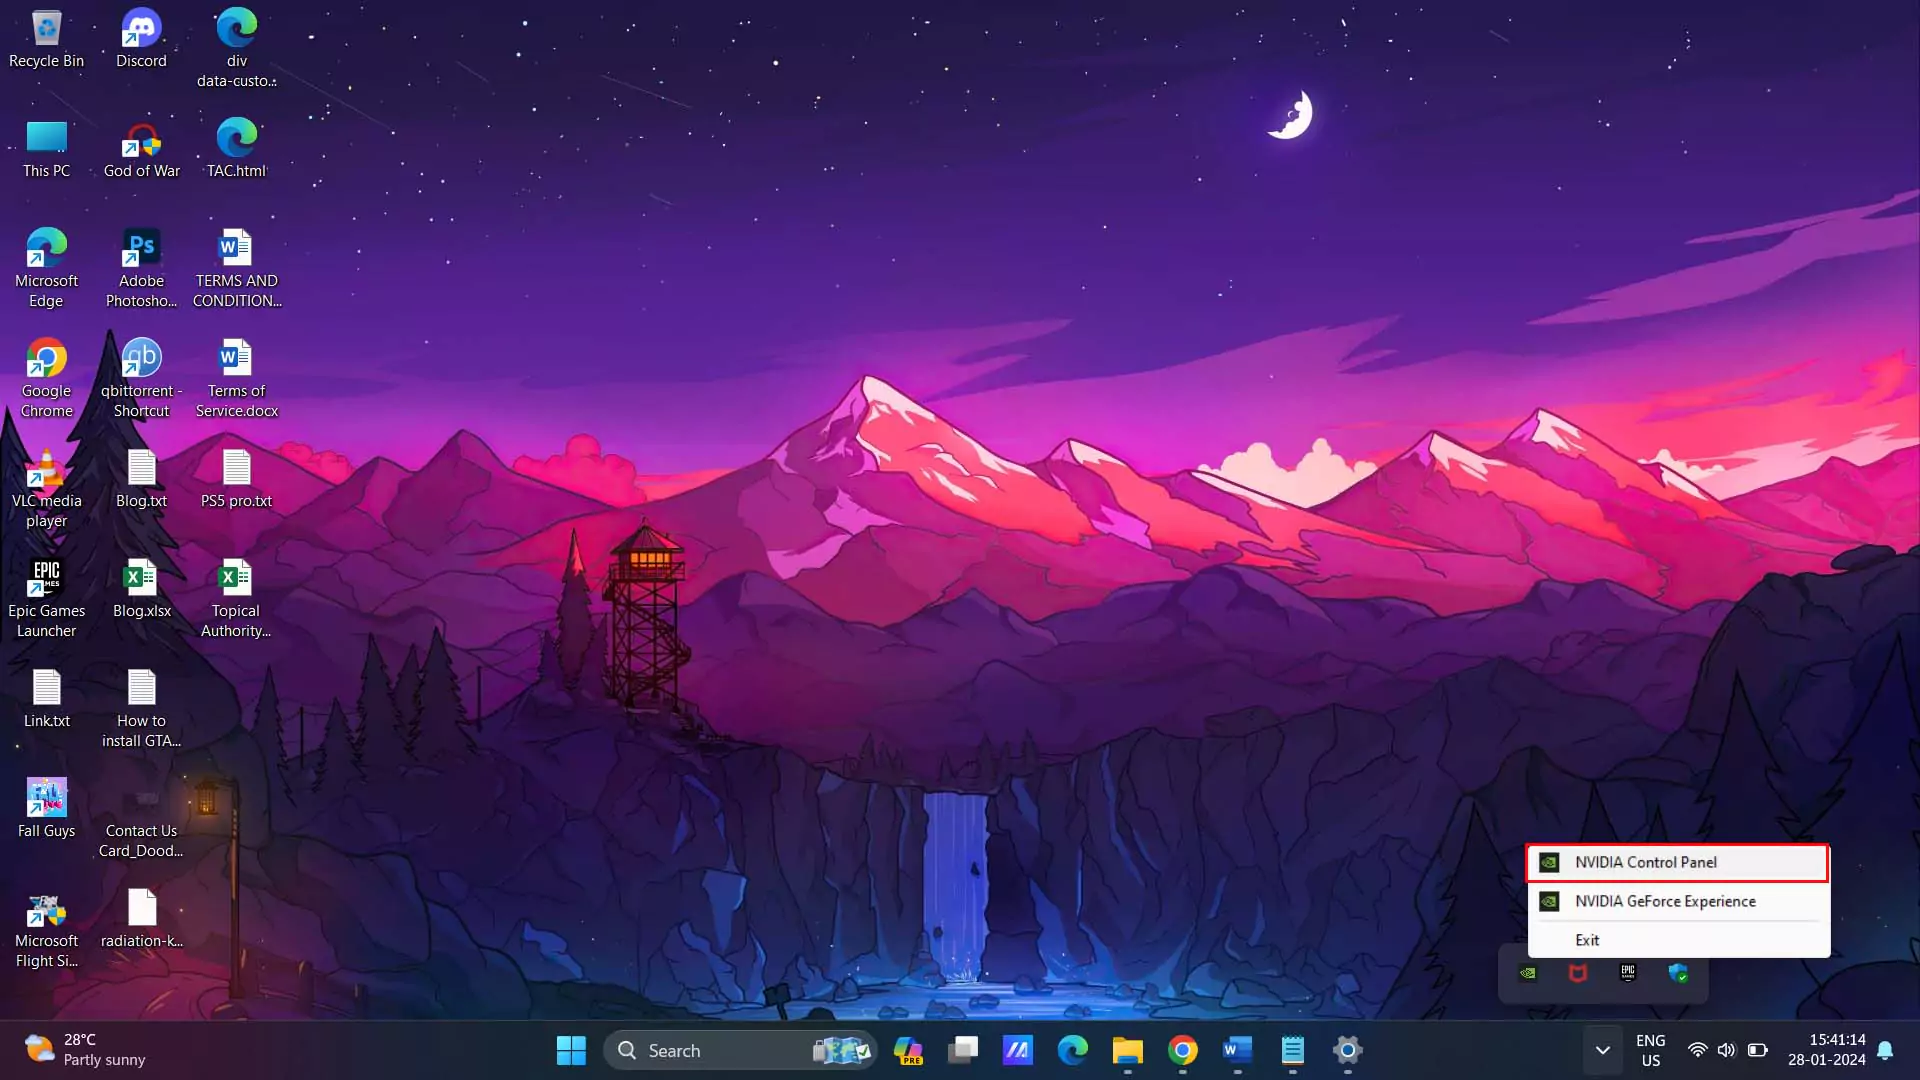
· In the Nvidia Control Panel select Mange 3D Settings.
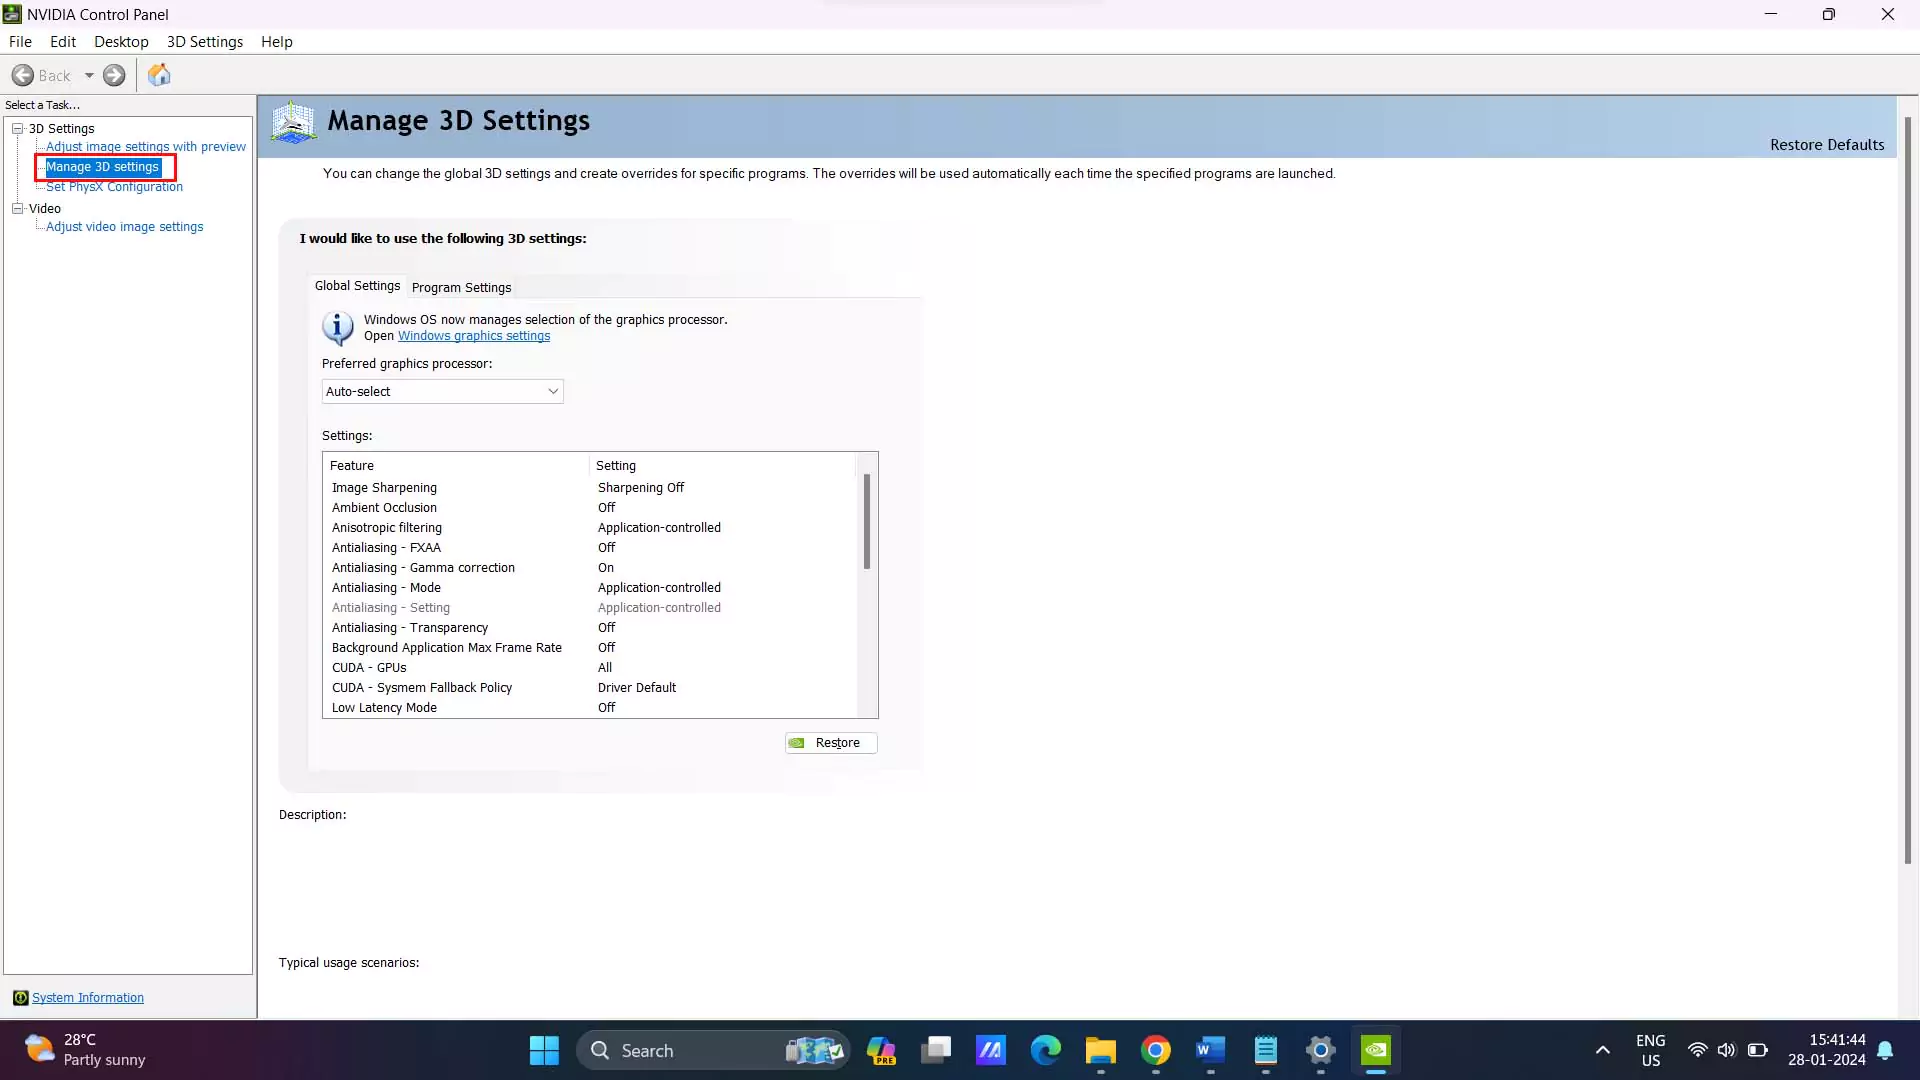
· Scroll down and select Power management mode and change it to Prefer maximum performance as shown below.
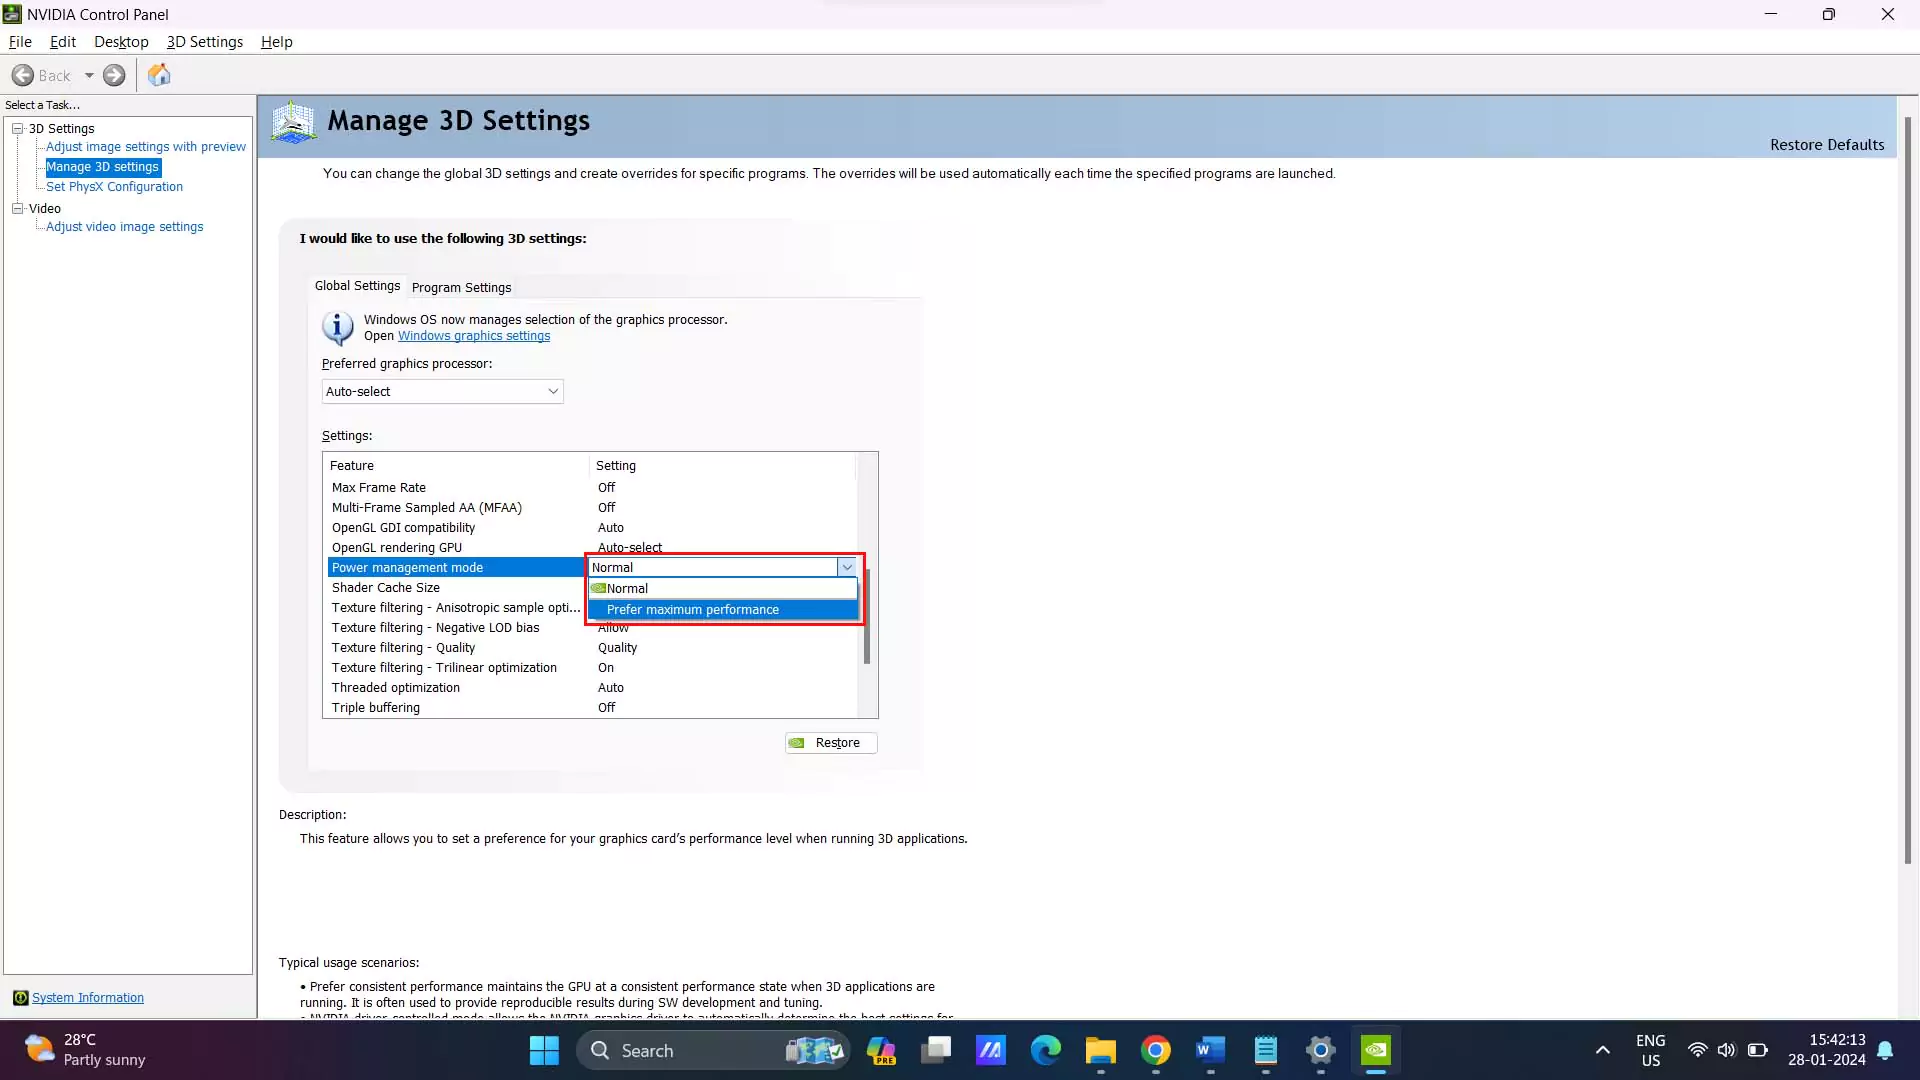
· Then select Texture Filtering – Quality and change it to High Performance and save the changes.
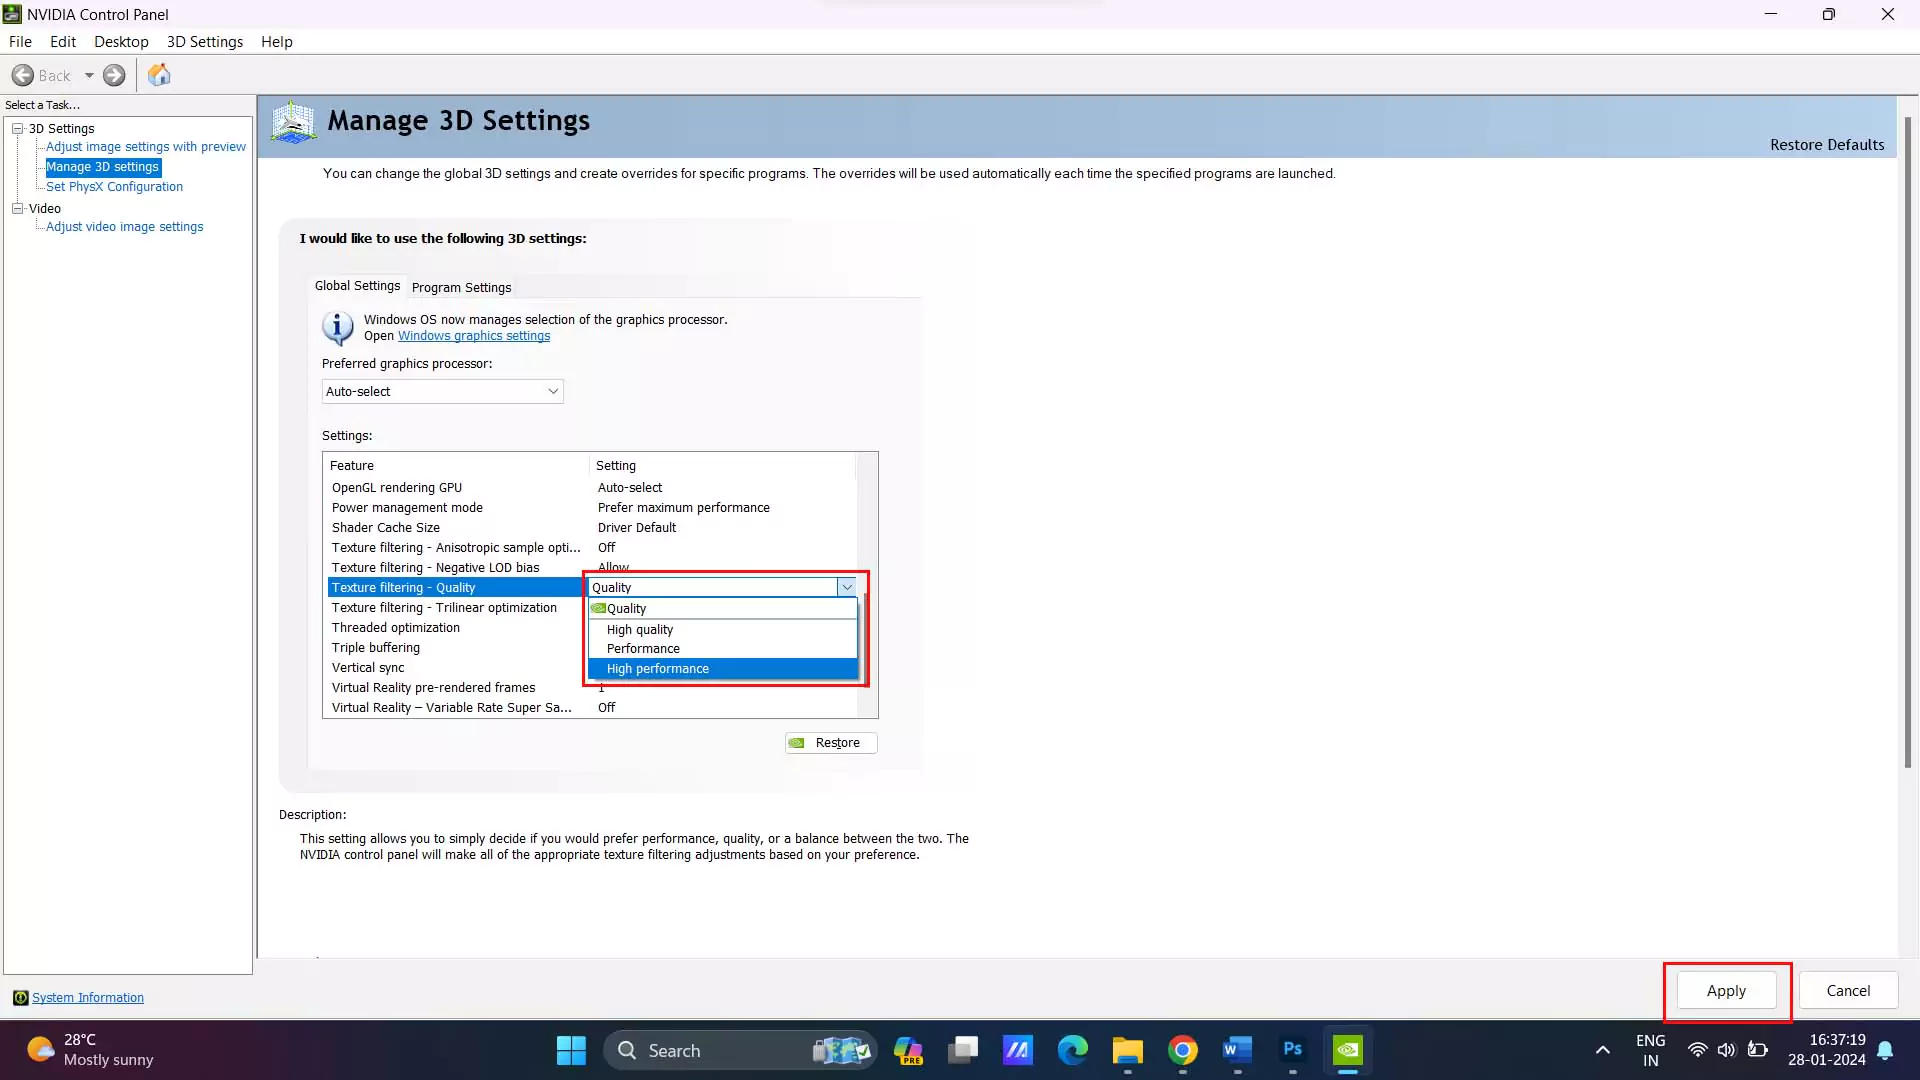
Changing the texture quality will not mess with your games quality too much, but it can bring you some more FPS in games.
13. Optimize In-Game Settings:
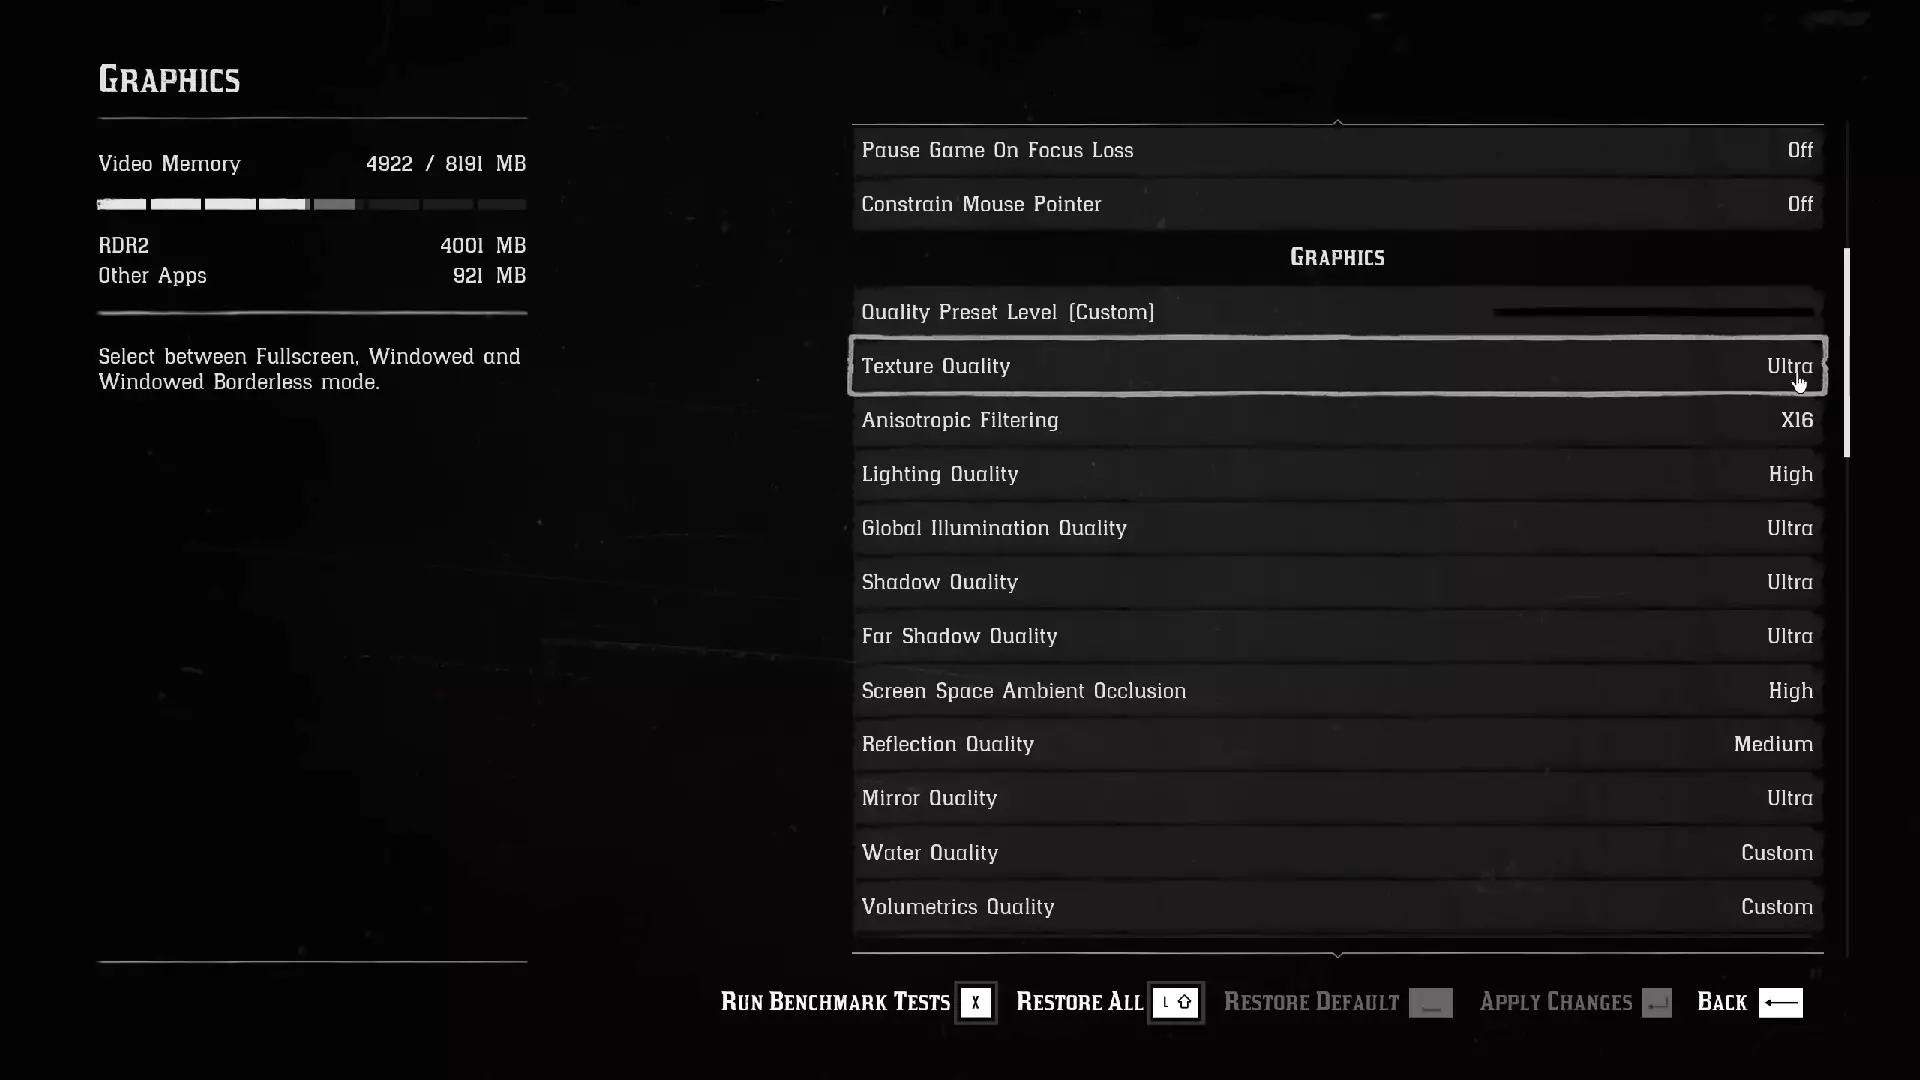
Now, let’s talk about the performance optimization by optimizing in-game settings. Explore the details of creating visual experience in-game that suits your gaming style. By adjusting in-game graphics setting, you can make a big difference in how well the game performs. Try out different combinations of in-game settings to find out the perfect balance between making your game look good and keeping the game performance optimal. Checkout which are the most anticipated games of 2024.
Here are the major tweaks you can do to increase performance optimization:
· Display Resolution: Navigate to display settings in game, adjust the display resolution based on your monitors resolution for performance and optimal clarity.
· Graphics Preset: Look for the graphics quality preset options and experiment with different presets, such as “Low”, “Medium”, “High”, or “Ultra”, to find the right balance between visual quality and performance.
· Texture Quality: Locate texture quality settings and adjust it towards performance, based on your GPU capabilities for more FPS and smoother gameplay.
Along with these, change other settings such as Anti-Aliasing, Motion Blur, Depth of field, Post-Processing, etc. Play the game for short period after adjusting these settings and check FPS performance and graphic quality of the game, and as per your liking do the necessary changes till it fits your optimal performance. Try the same with each game.
14. Overclock GPU:
Now if you want to get even more performance from your system, then let’s explore the advanced world of overclocking. But be careful, it’s a bit like walking on a tightrope in the gaming circus.
Overclocking your CPU and GPU can be like playing with fire – it can make your computer faster, but you have to be careful not to make too hot and risk your computer.
Overclocking CPU and GPU is little tricky and technical procedure, below I will link one article from XDA Developers for proper guide on how to overclock your GPU. Make sure to follow the safety rules closely to avoid any issue with your hardware.
15. Upgrade your Hard Drive to SSD:
last but not least is upgrading to a Solid State Drive (SSD) for faster gaming performance, it will give your gaming experience a turbo boost. SSDs, with their speedy flash memory, leaves behind regular Hard Disk Drives (HDDs) in every way. They don't just load games faster but overall it will increase your system performance, it eliminates annoying waiting times, and ensure smooth transitions in open-world games, making your gaming rig a powerhouse of speed and responsiveness.
And beyond faster speed, SSDs are quiet with no noisy spinning parts, and it is more reliable, resistant to shocks, and energy-efficient. Whether you are playing on a laptop or a desktop PC, switching to SSD could be a game-changer for performance, with the fast speed of SSDs it full fills the demands of modern games. At last, you can Upgrade and install SSD in your gaming PC to witness more better performance optimization in your gaming session in Windows 11.
Conclusion:
As we finish this guide on optimizing Windows 11 for gaming performance, you can unleash the full potential of your gaming rig with these tips. We've looked into different parts of Windows 11, like how it deals with games and some advanced features, to give you all useful tips. When you follow these tips, you can optimize your PC or laptop with Windows 11 to perform at its full potential.
Every change you make in your system, whether it's in the graphics or how your computer uses power, adds up to make your gaming experience even smoother.
Remember, whenever you feel lost and want to optimize, just come back and go through this guide to understand things better and to optimize your gaming rig again. And don’t forget to enjoy your favourite games after these optimizations.


